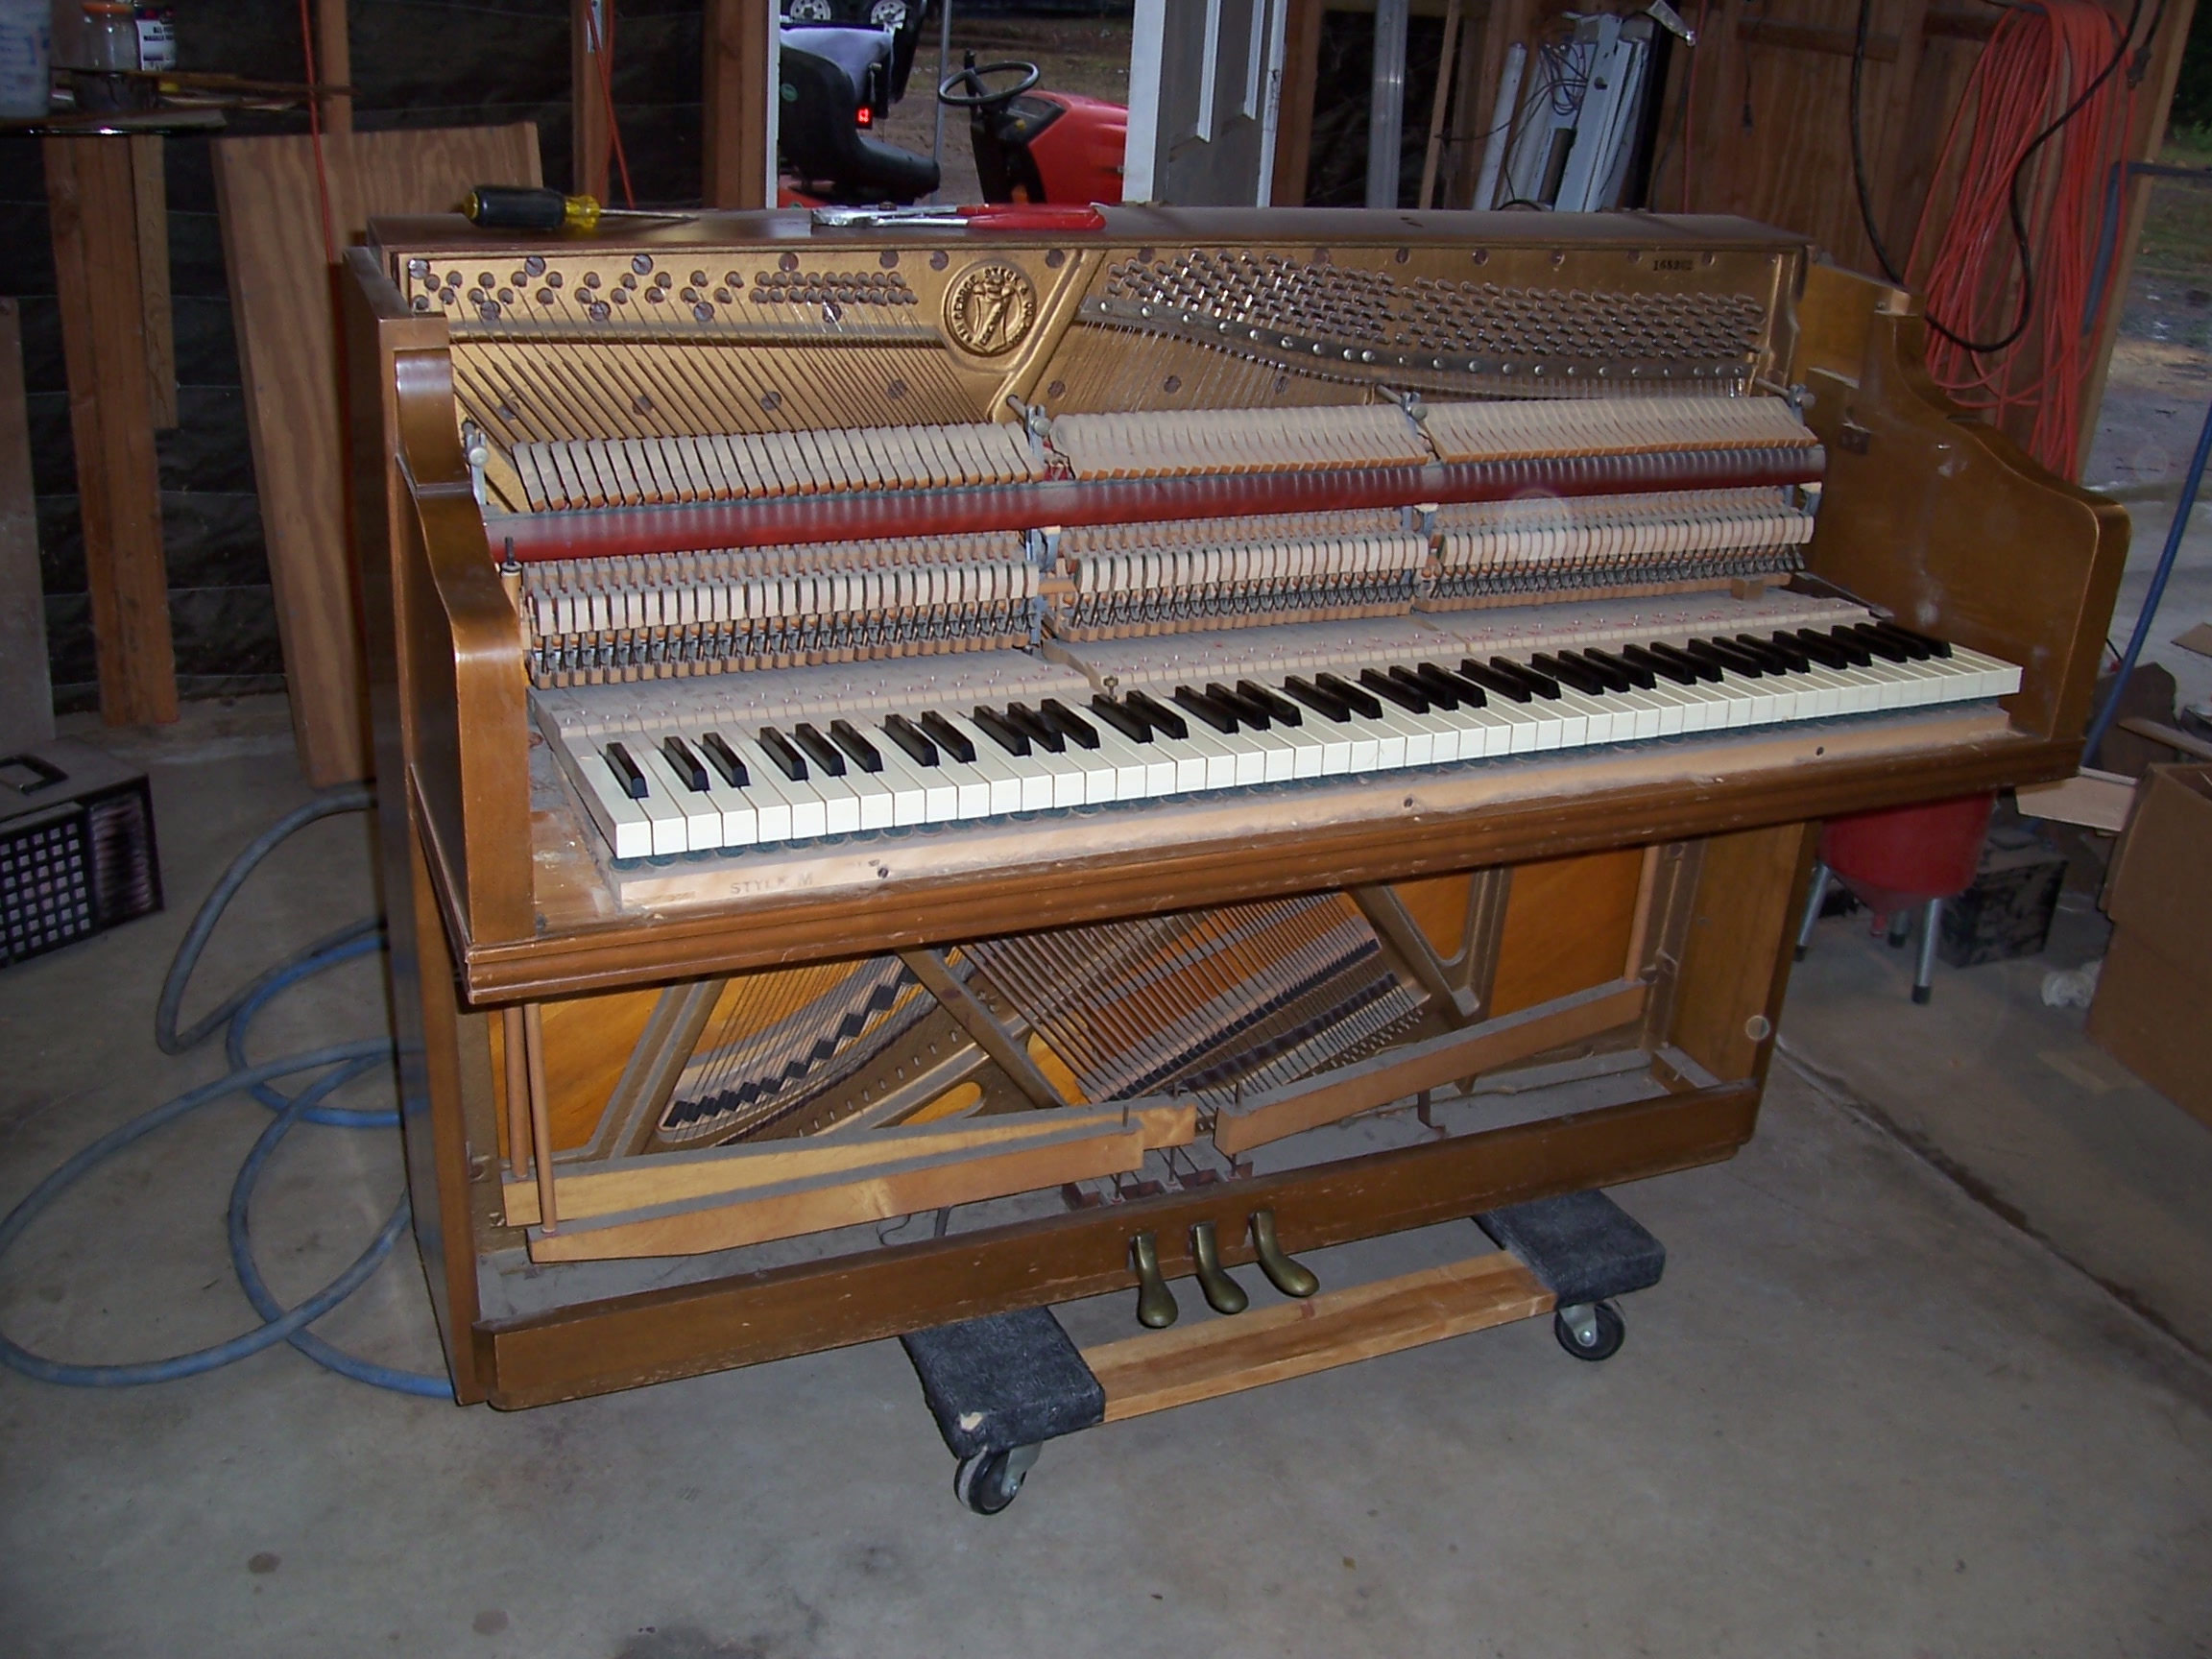
This piano was more than a refinishing project; it was a complete cabinet restoration. It was inherited from a loved family member, had great sentimental value, but had been left outside on a patio prior to that. Similar to antique restoration, I take great care and assure quality results for your treasured items.
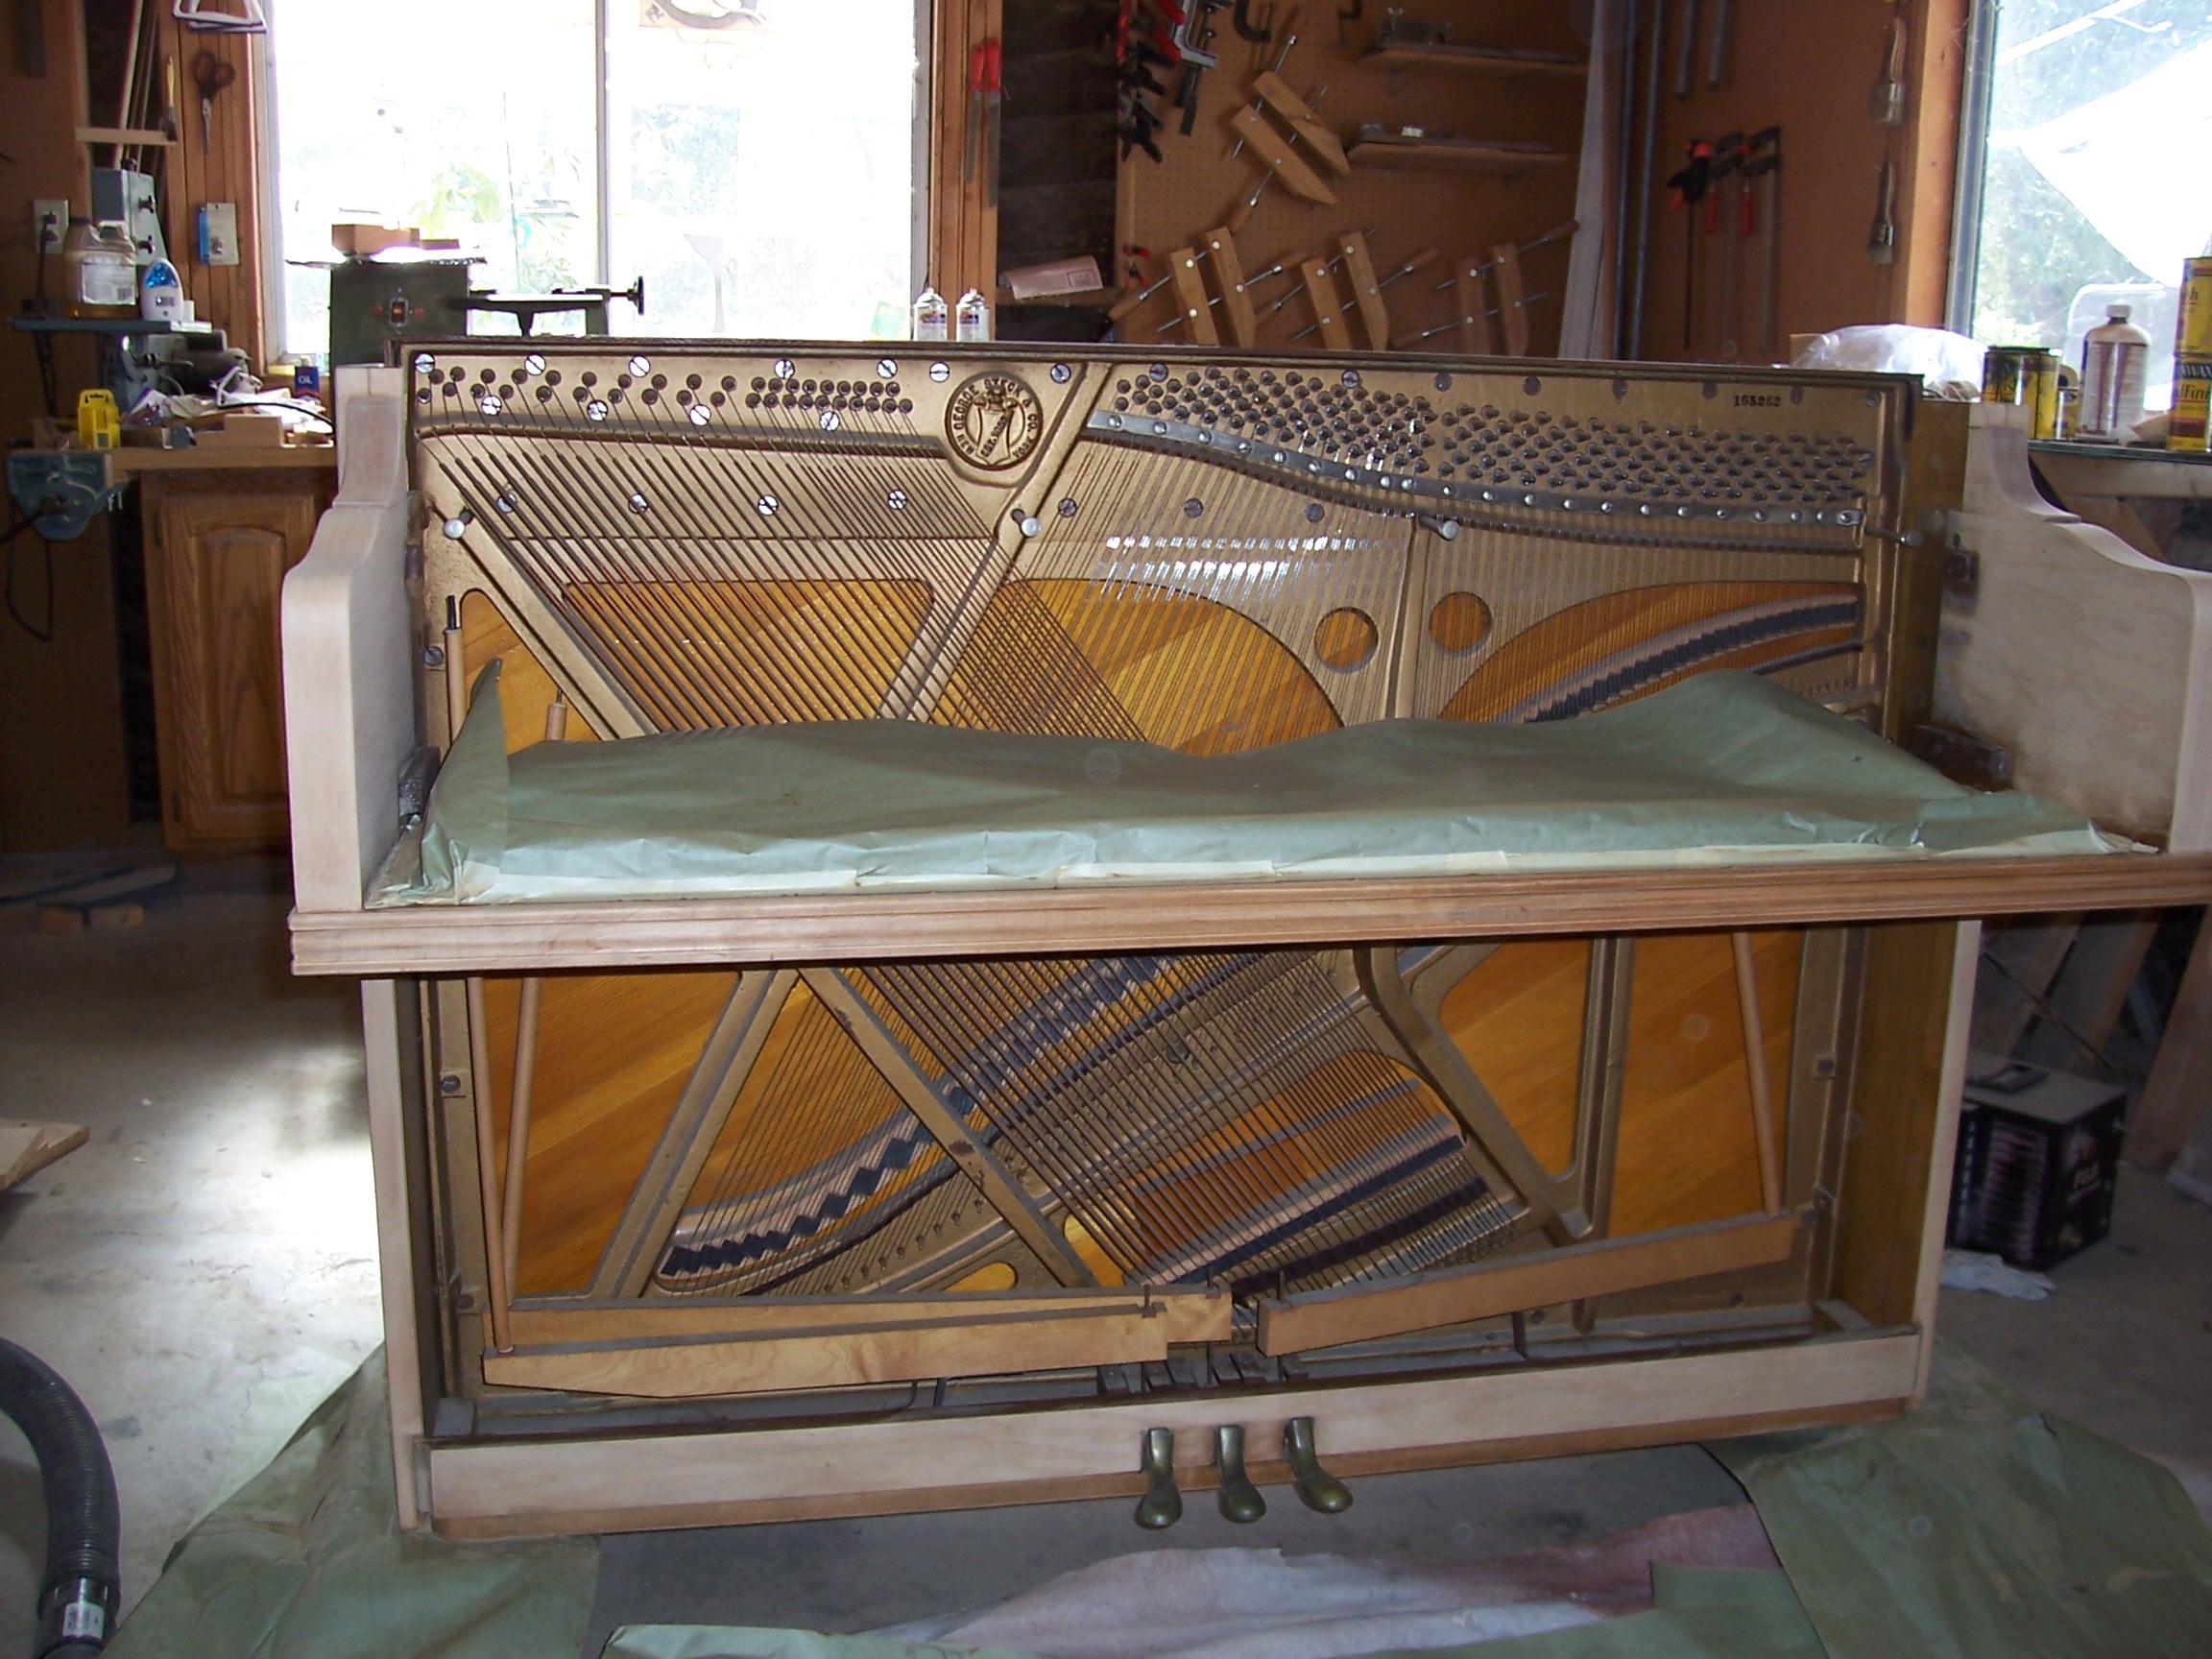
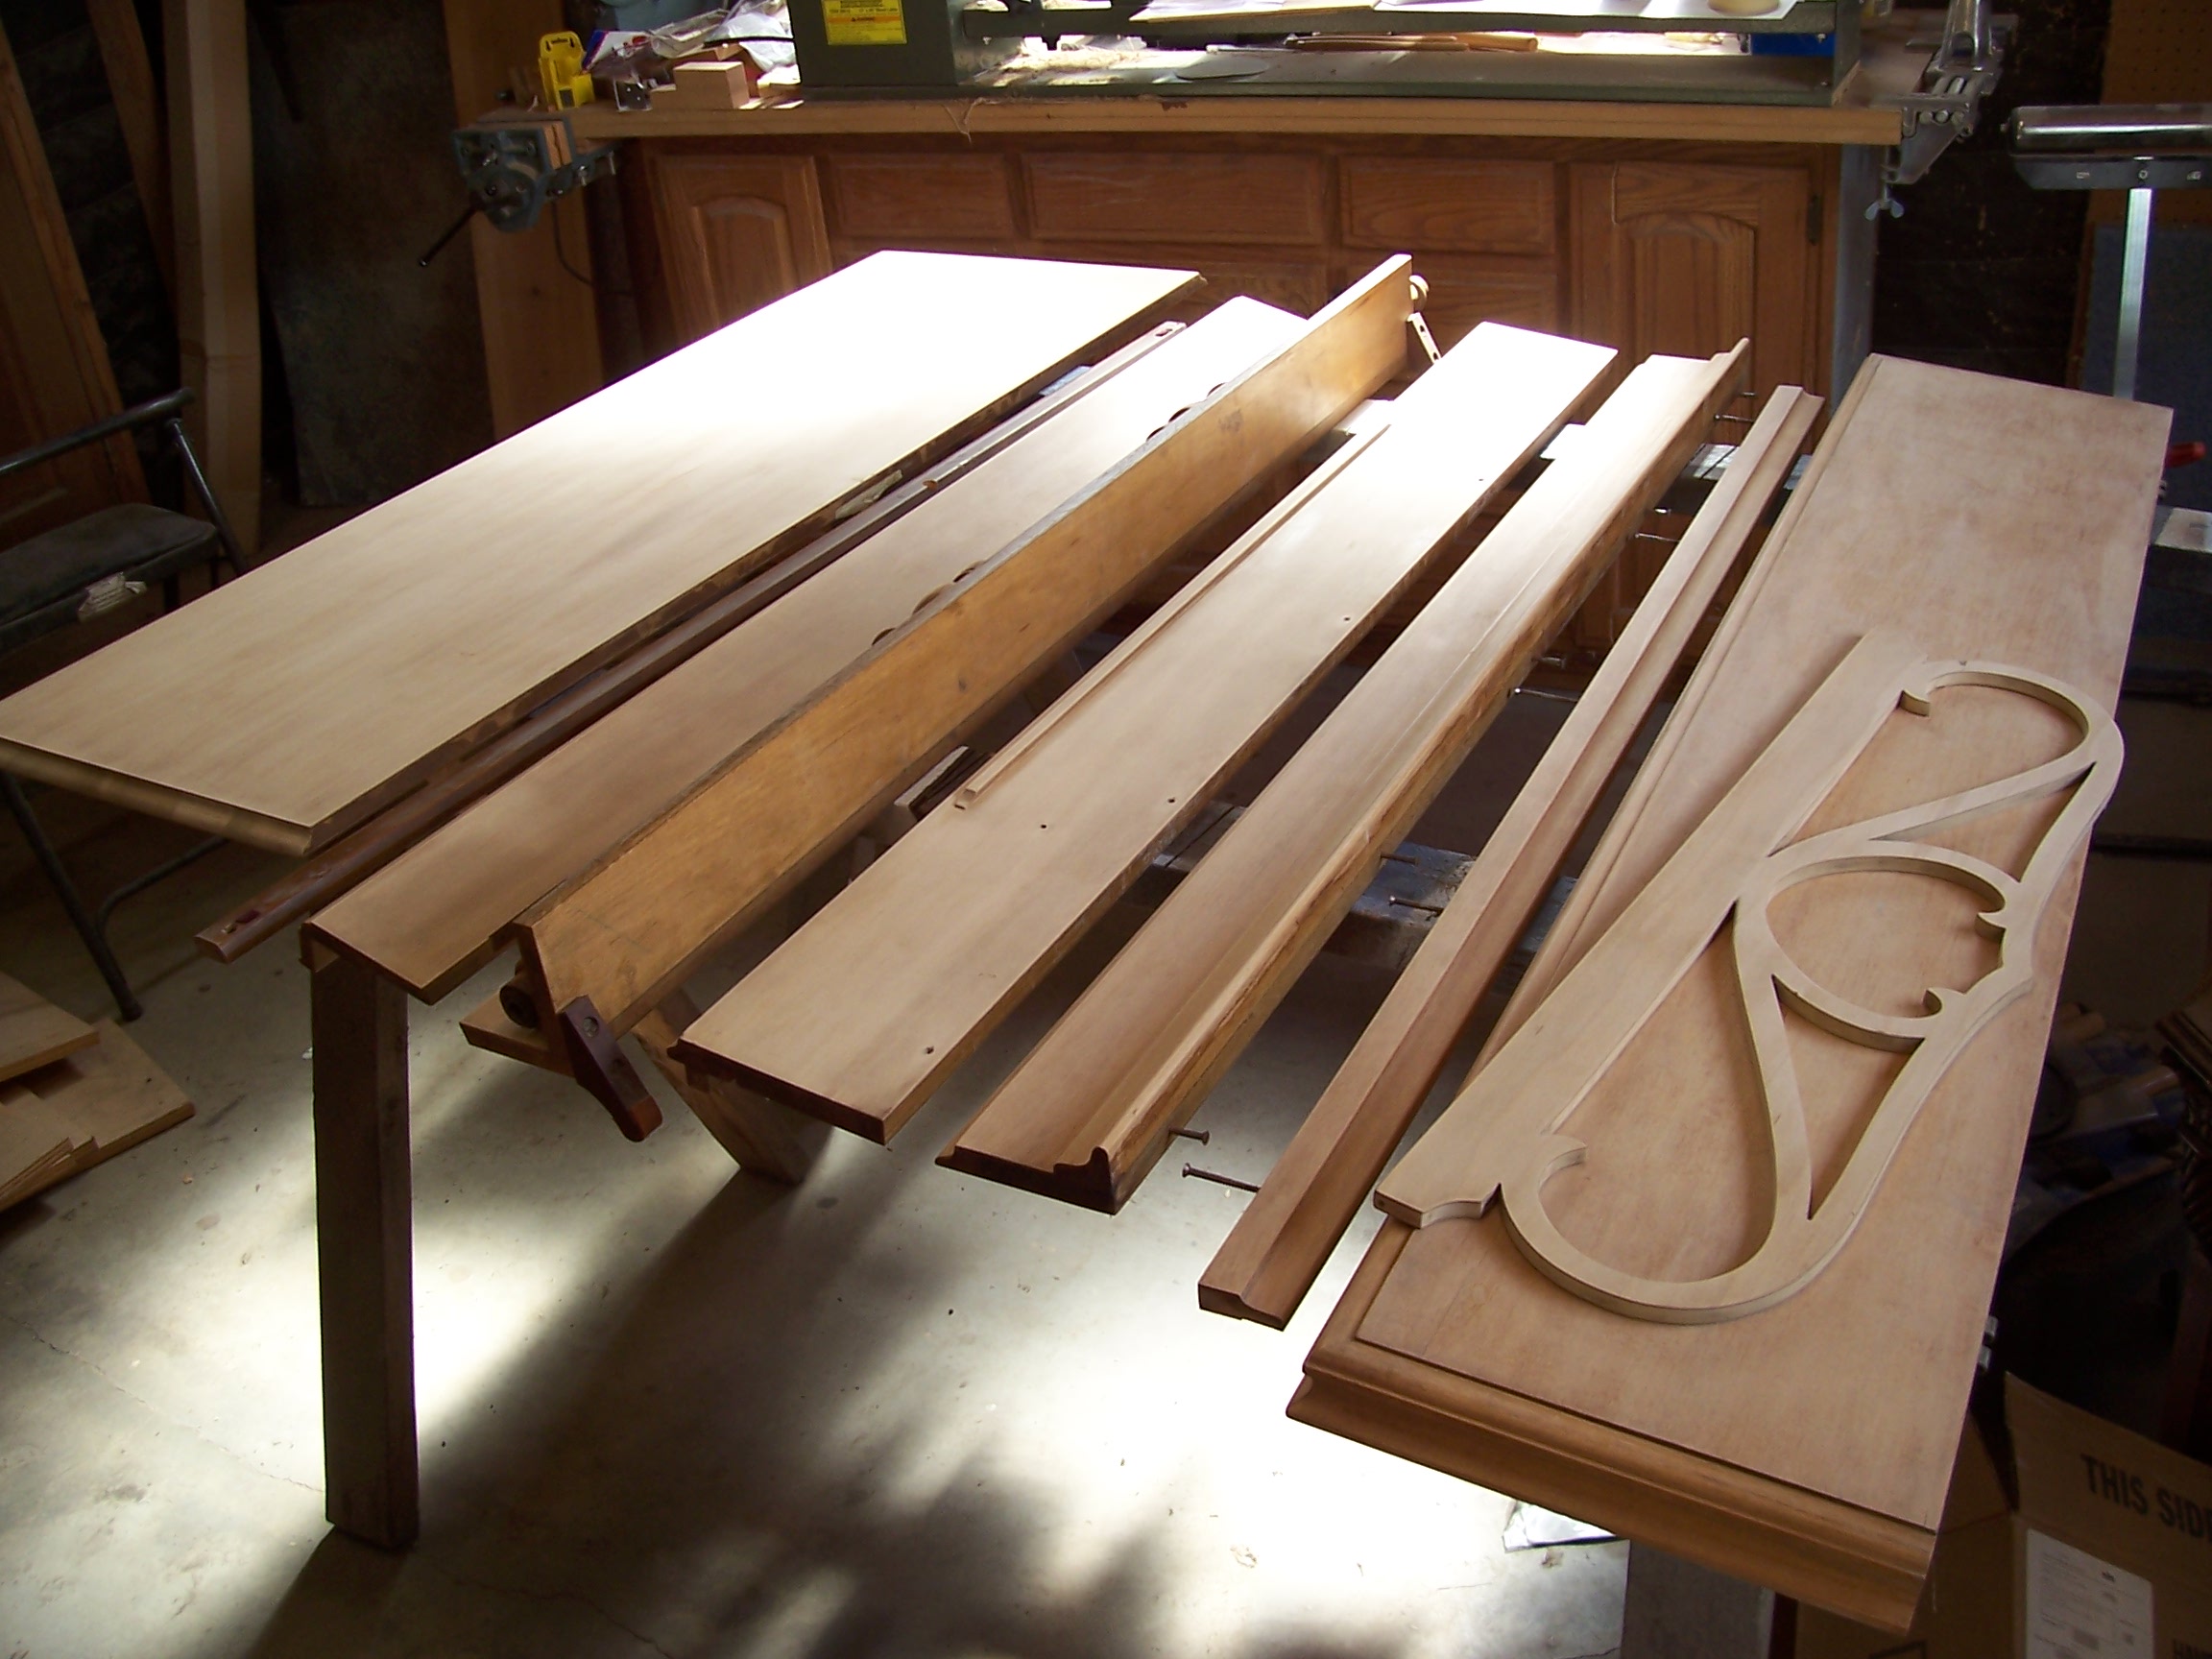
The damage was extensive, and many pieces had to be re-made from scratch due to de-lamination. Additionally, much of what didn't have to be re-made needed to be re-veneered.
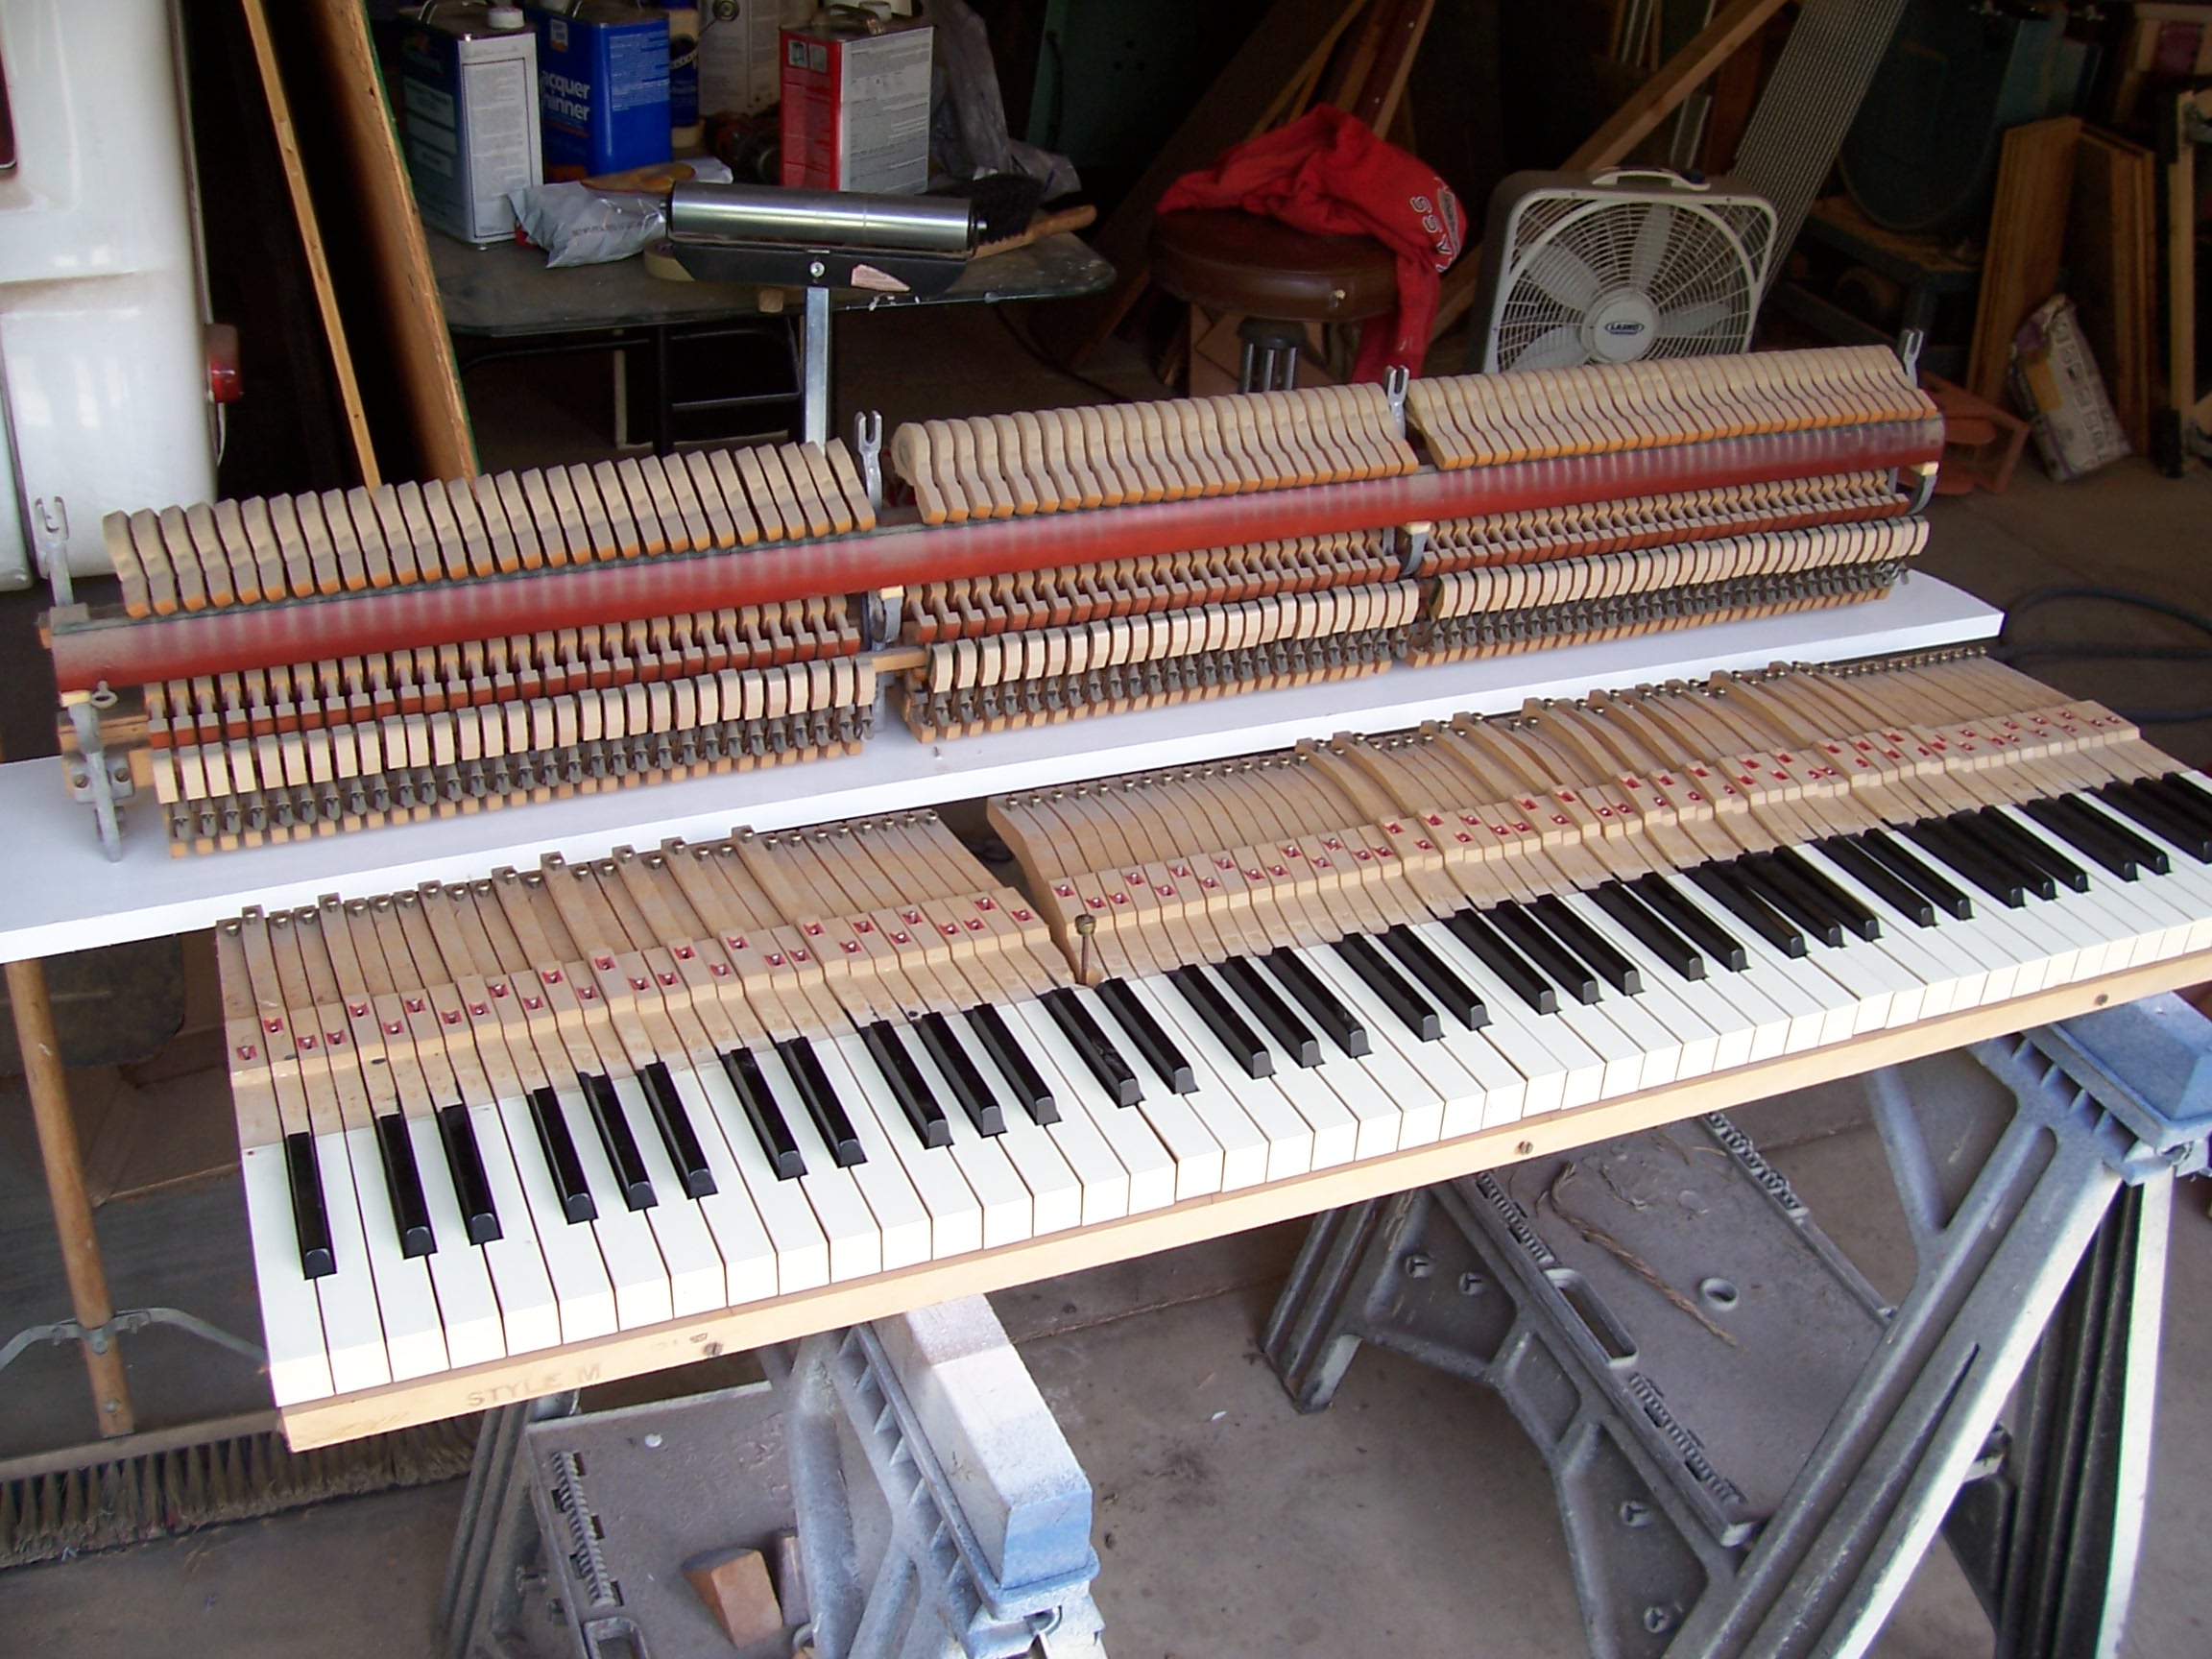
Piano refinishing is more complex than furniture refinishing as the entire piano needs to be disassembled before the refinishing process begins. A good knowledge of the mechanical workings of a piano is critical to avoiding unanticipated problems. I spent 8 years working for the Steinway dealership in Honolulu from 1974 to 1982.
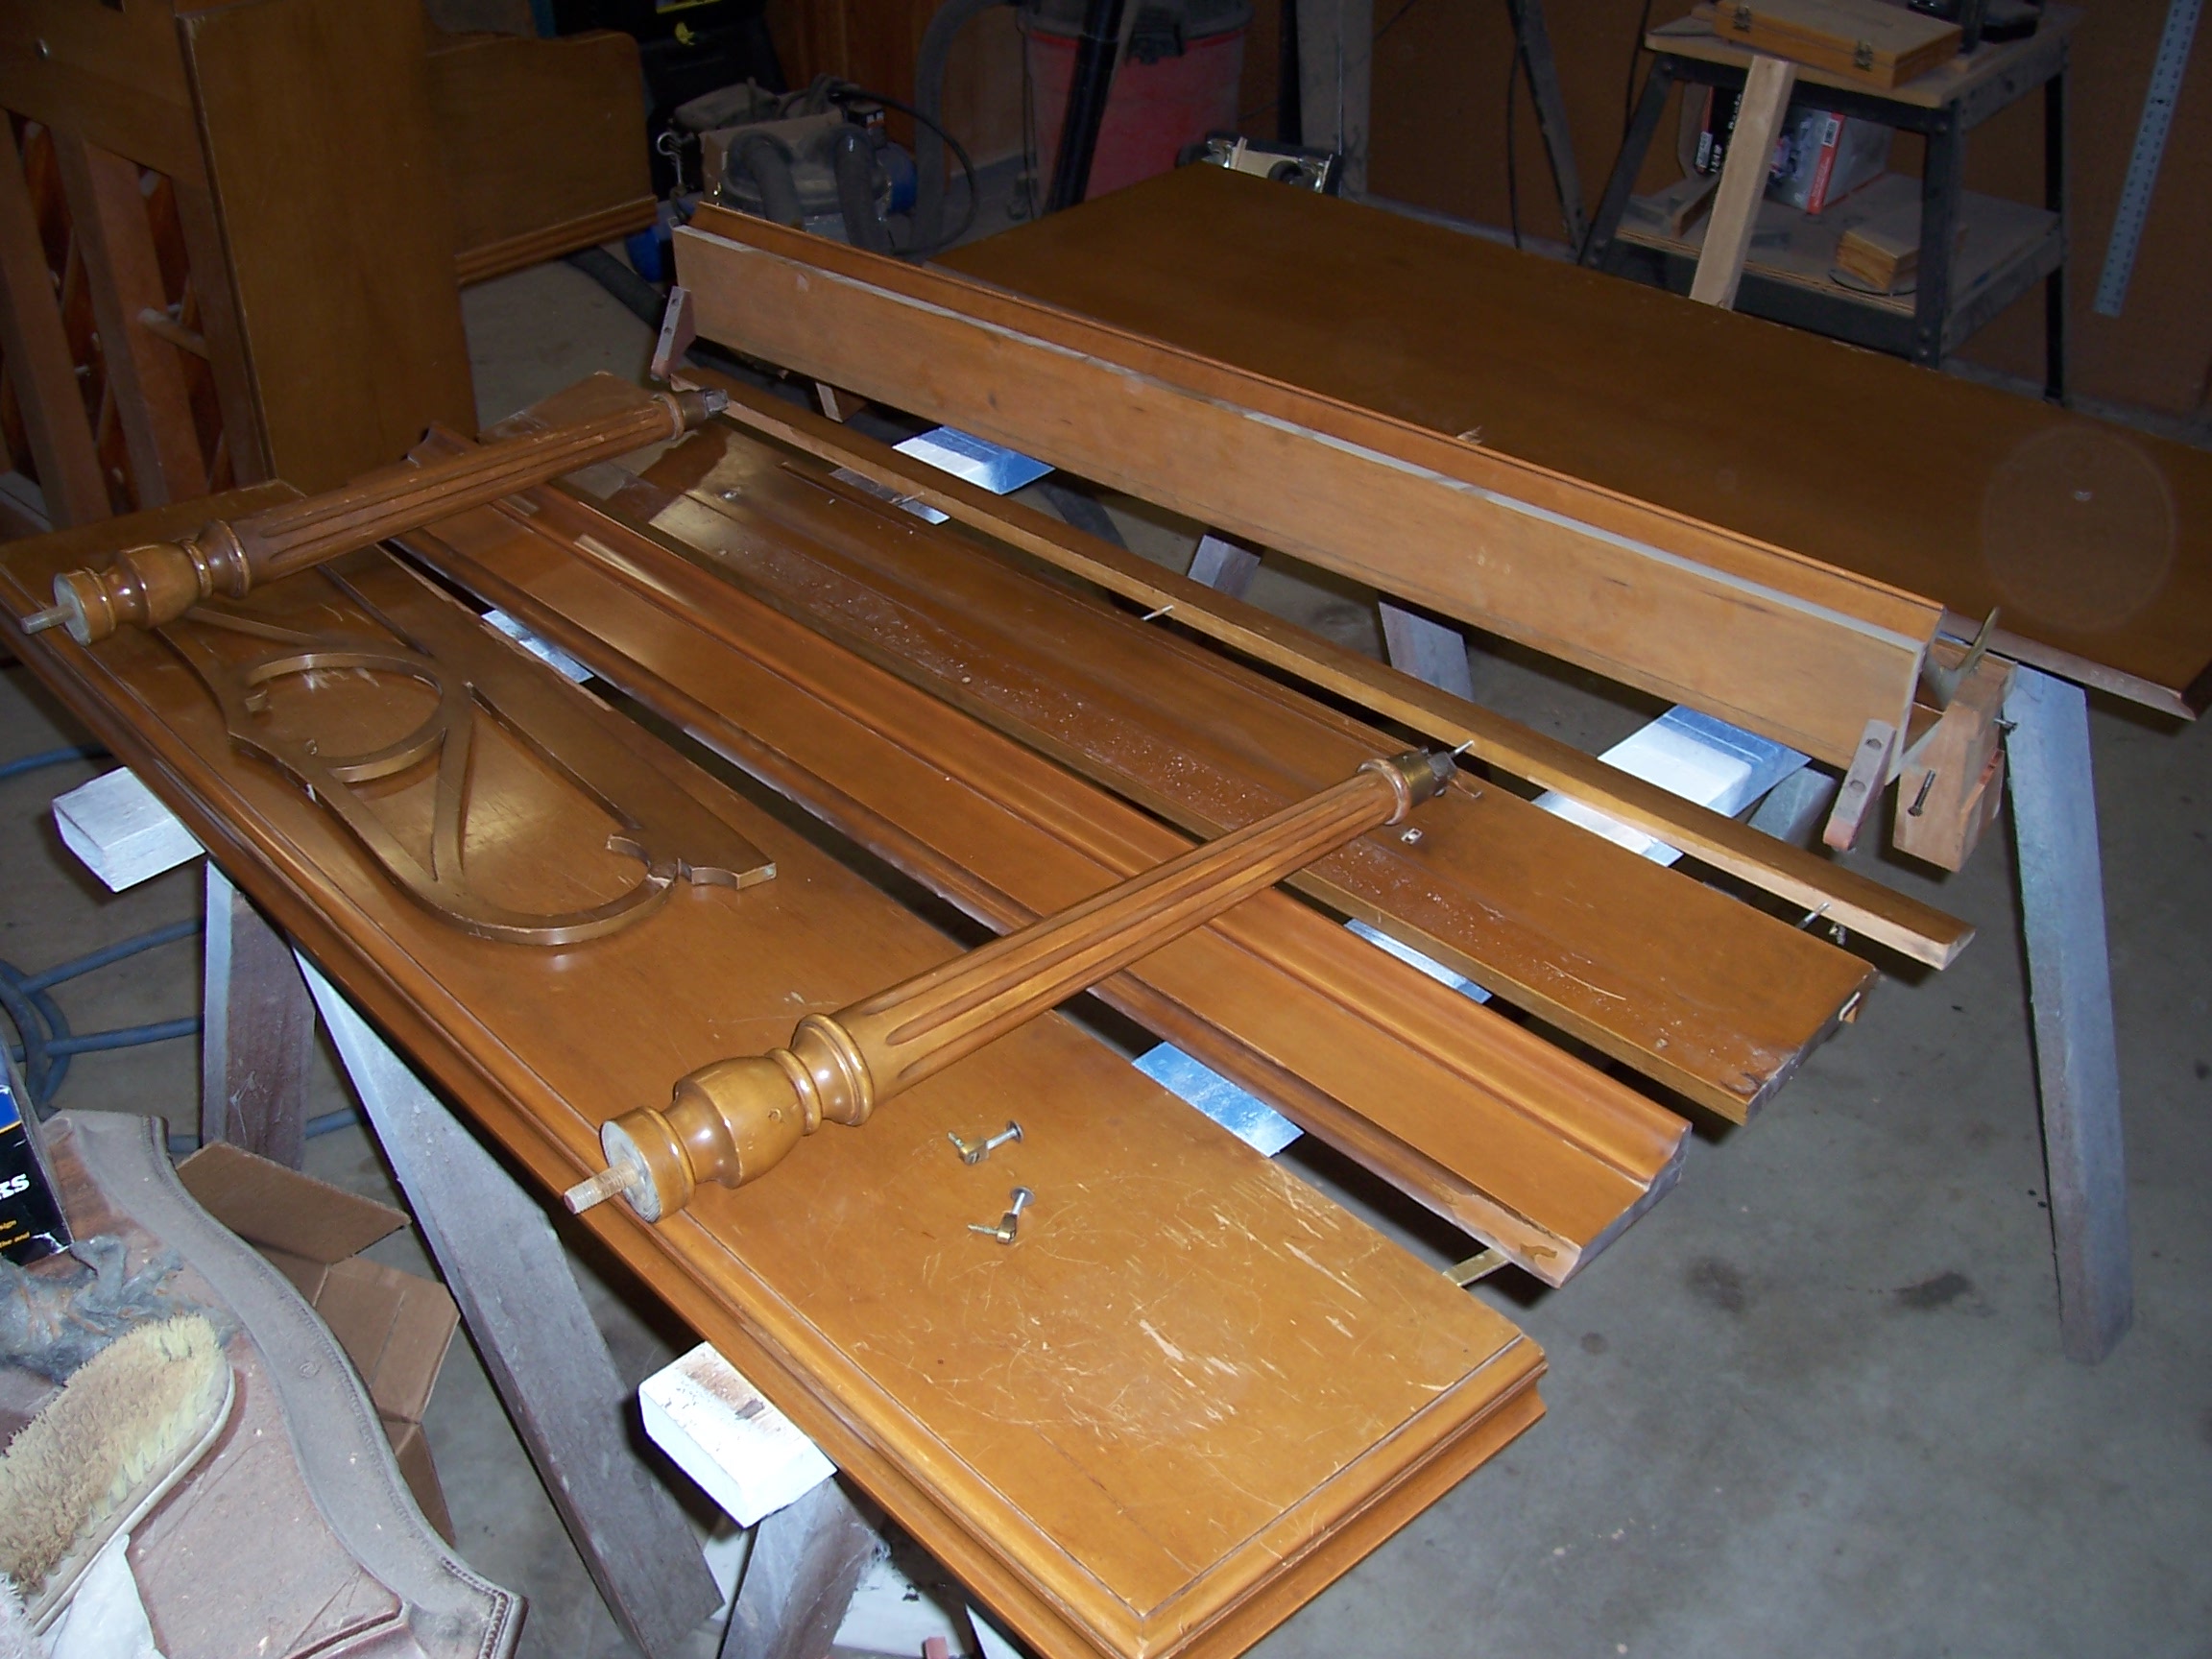
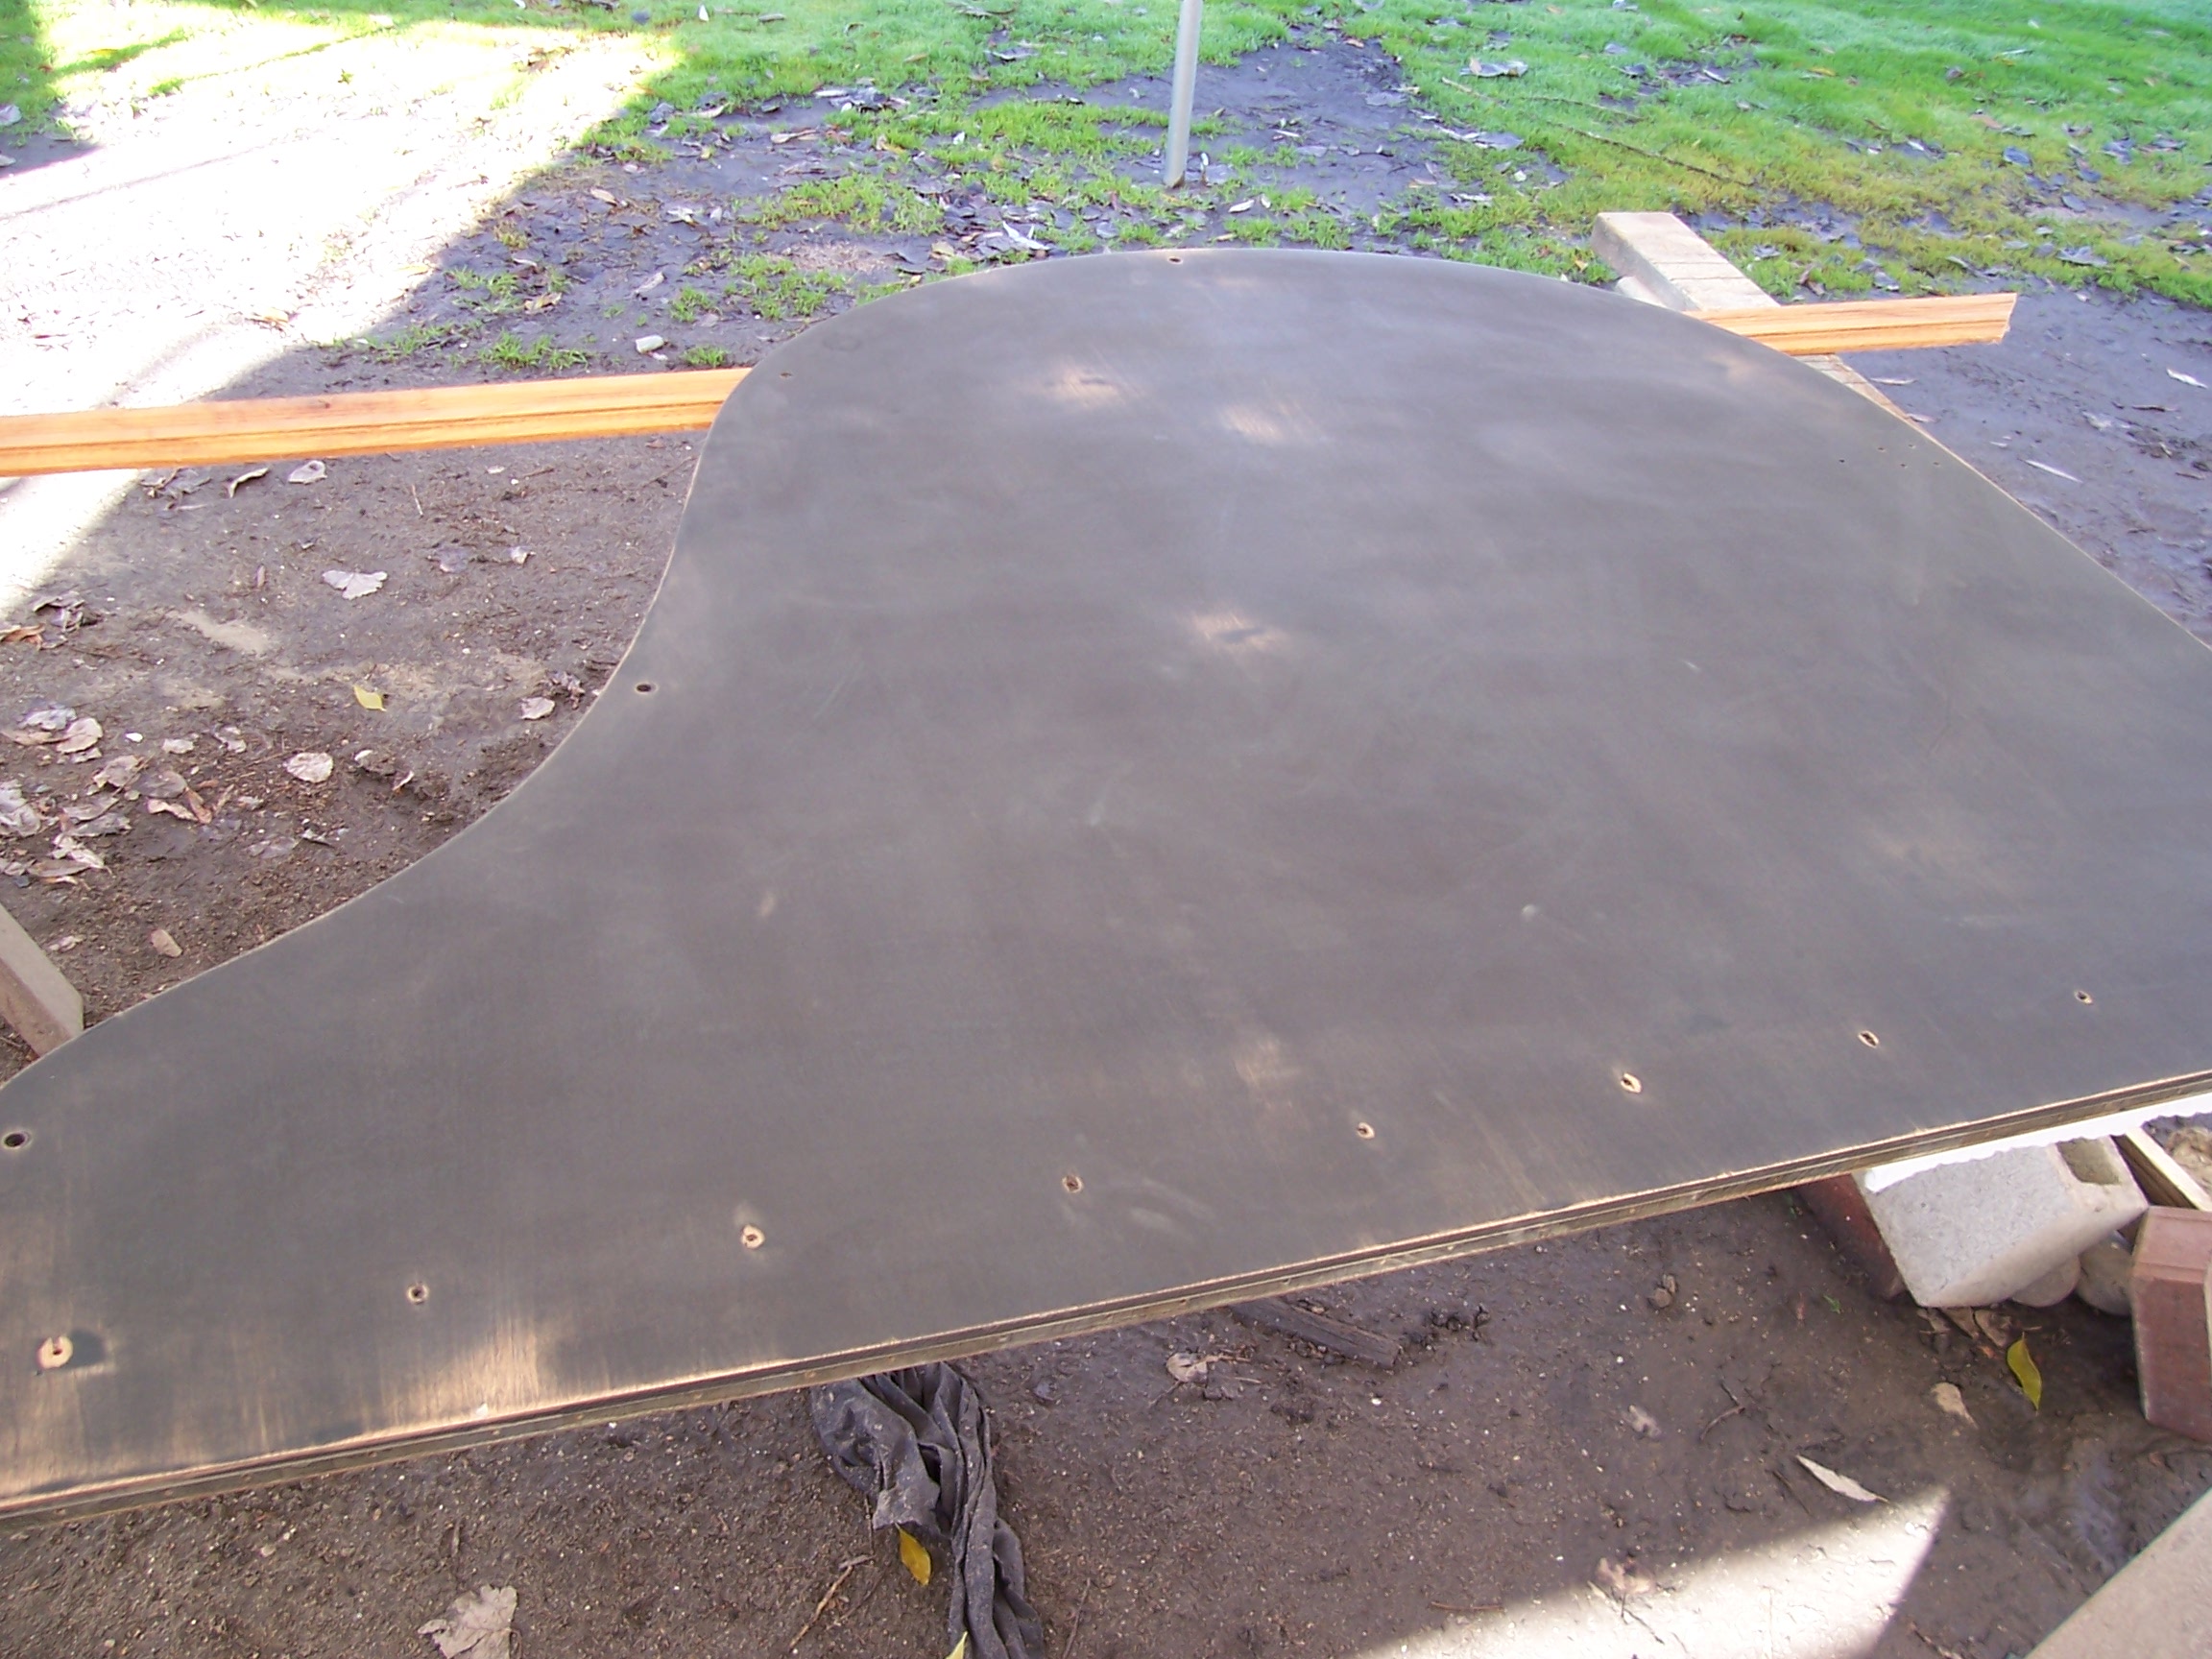
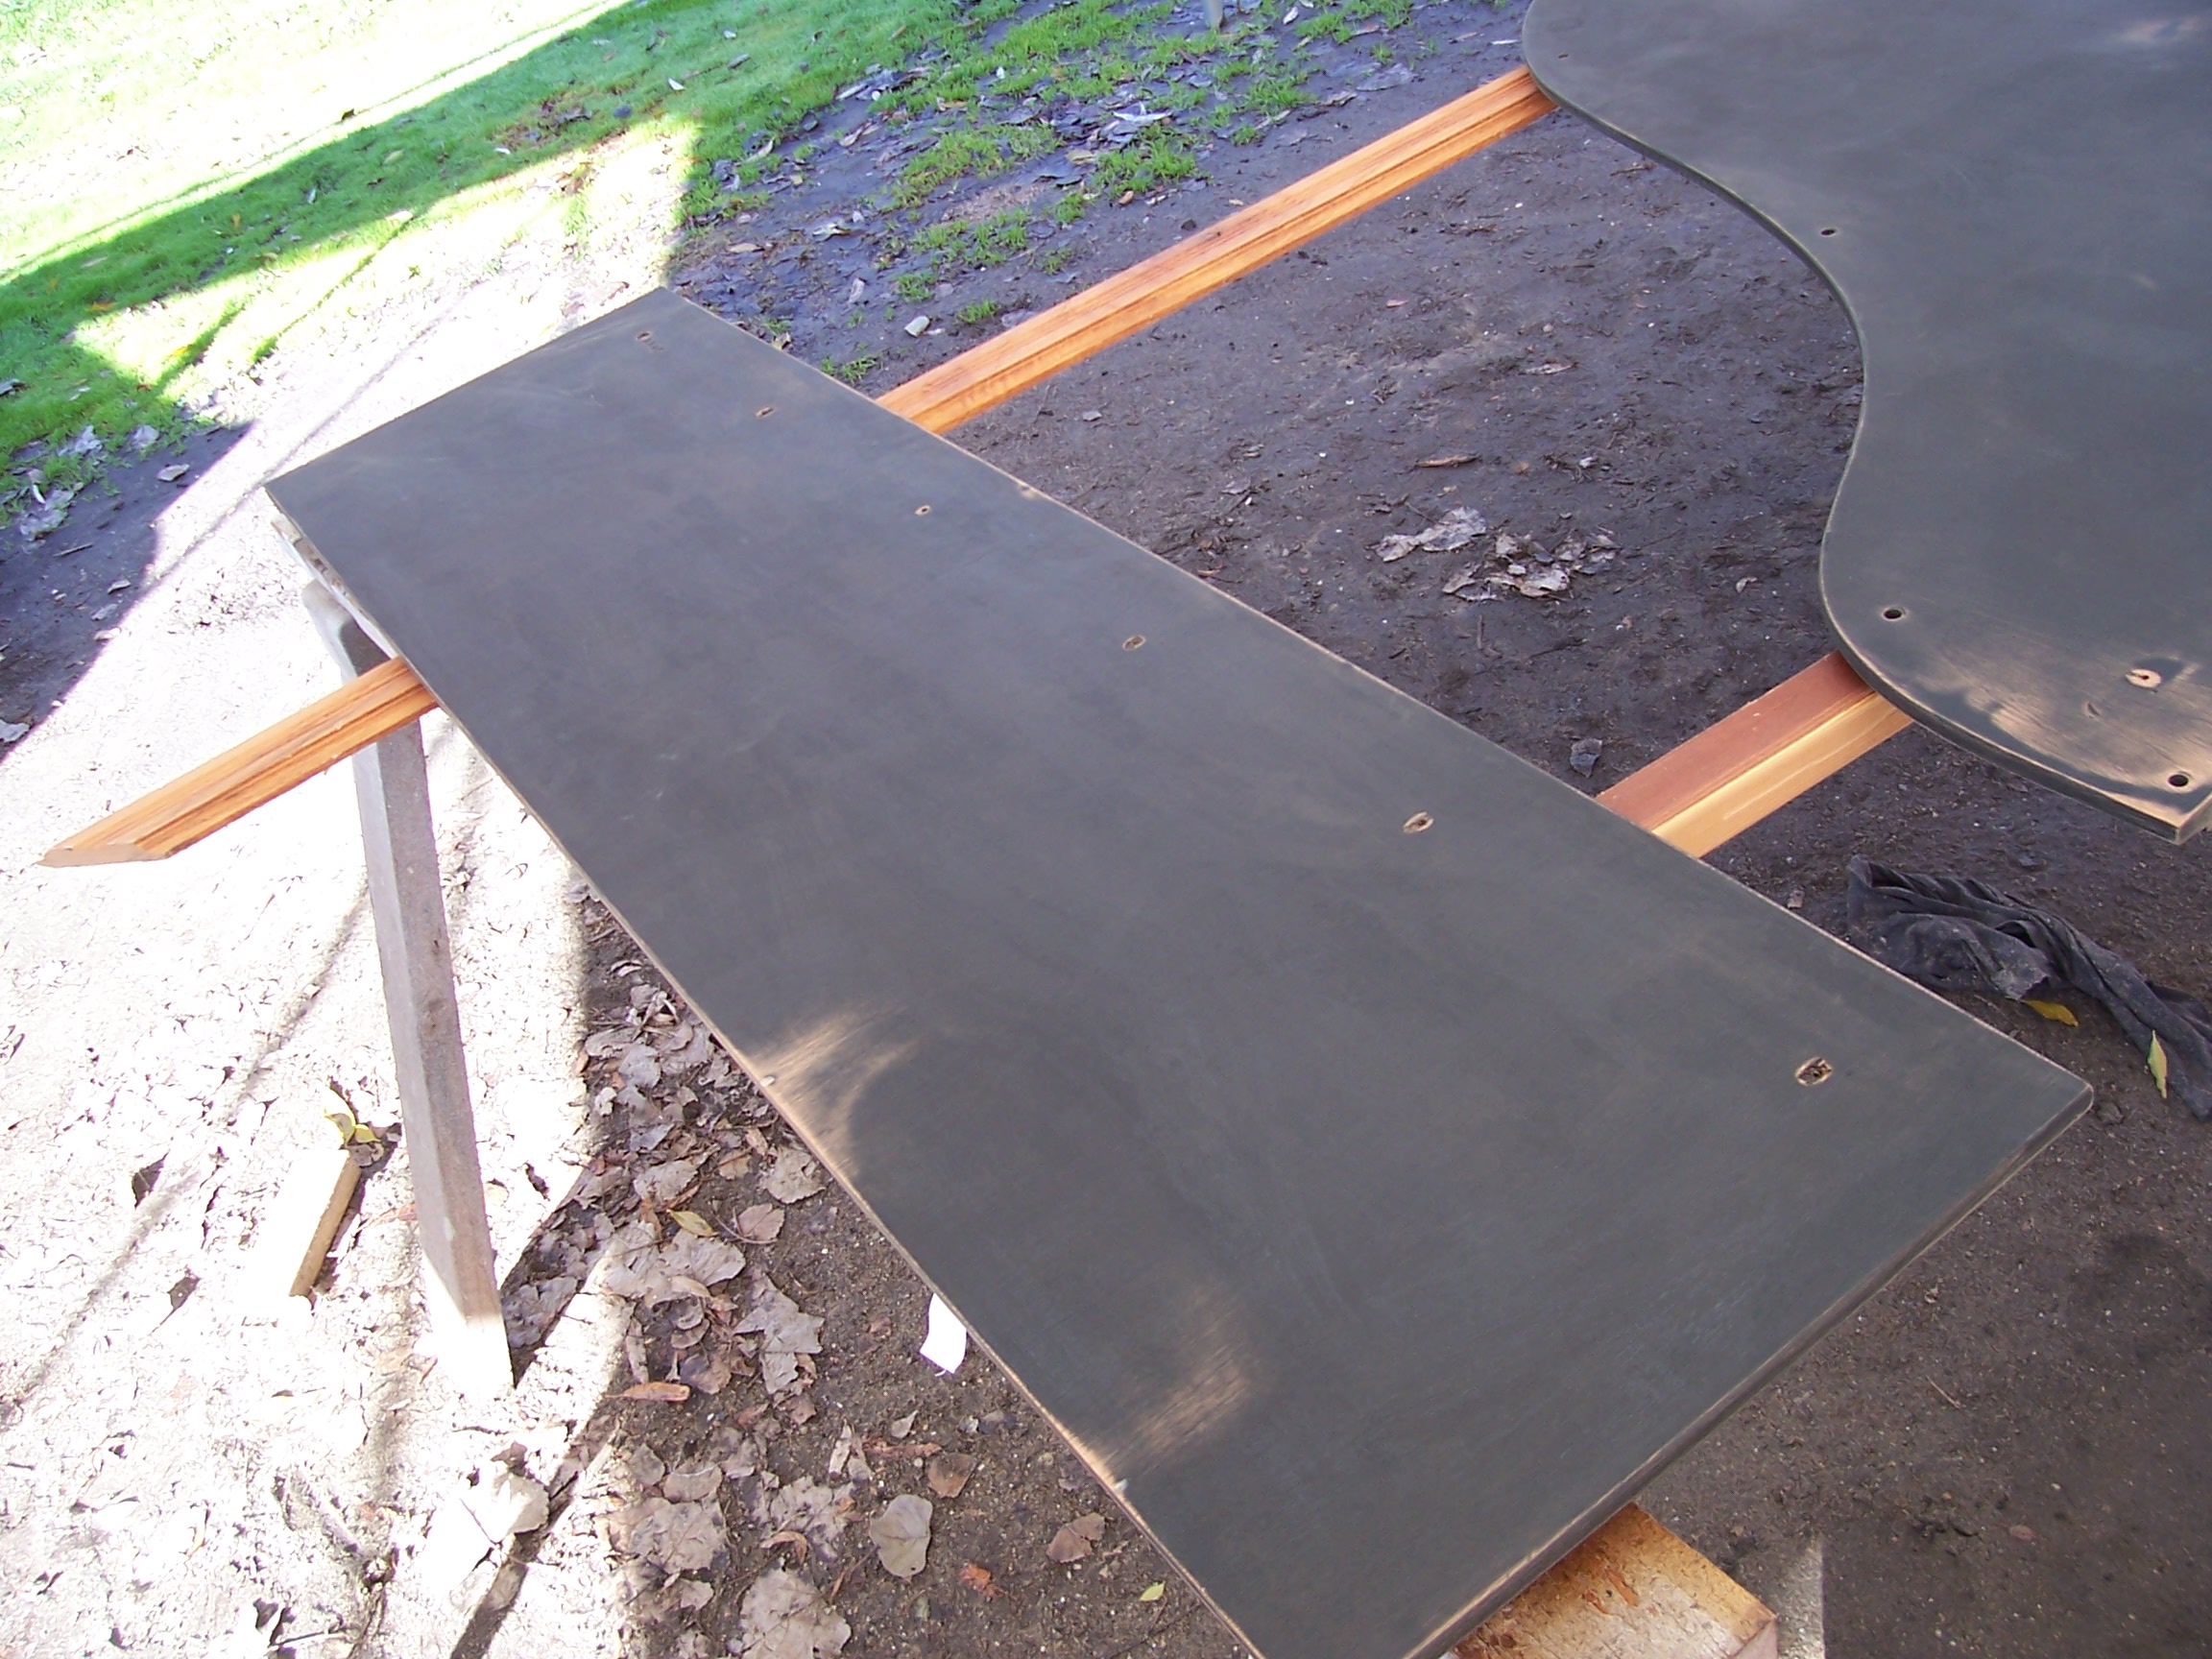
This is one example of the 5 panels that were too far gone to repair and had to re-made from scratch.
Another panel illustrates the need to match the new veneer to the existing usable panels.
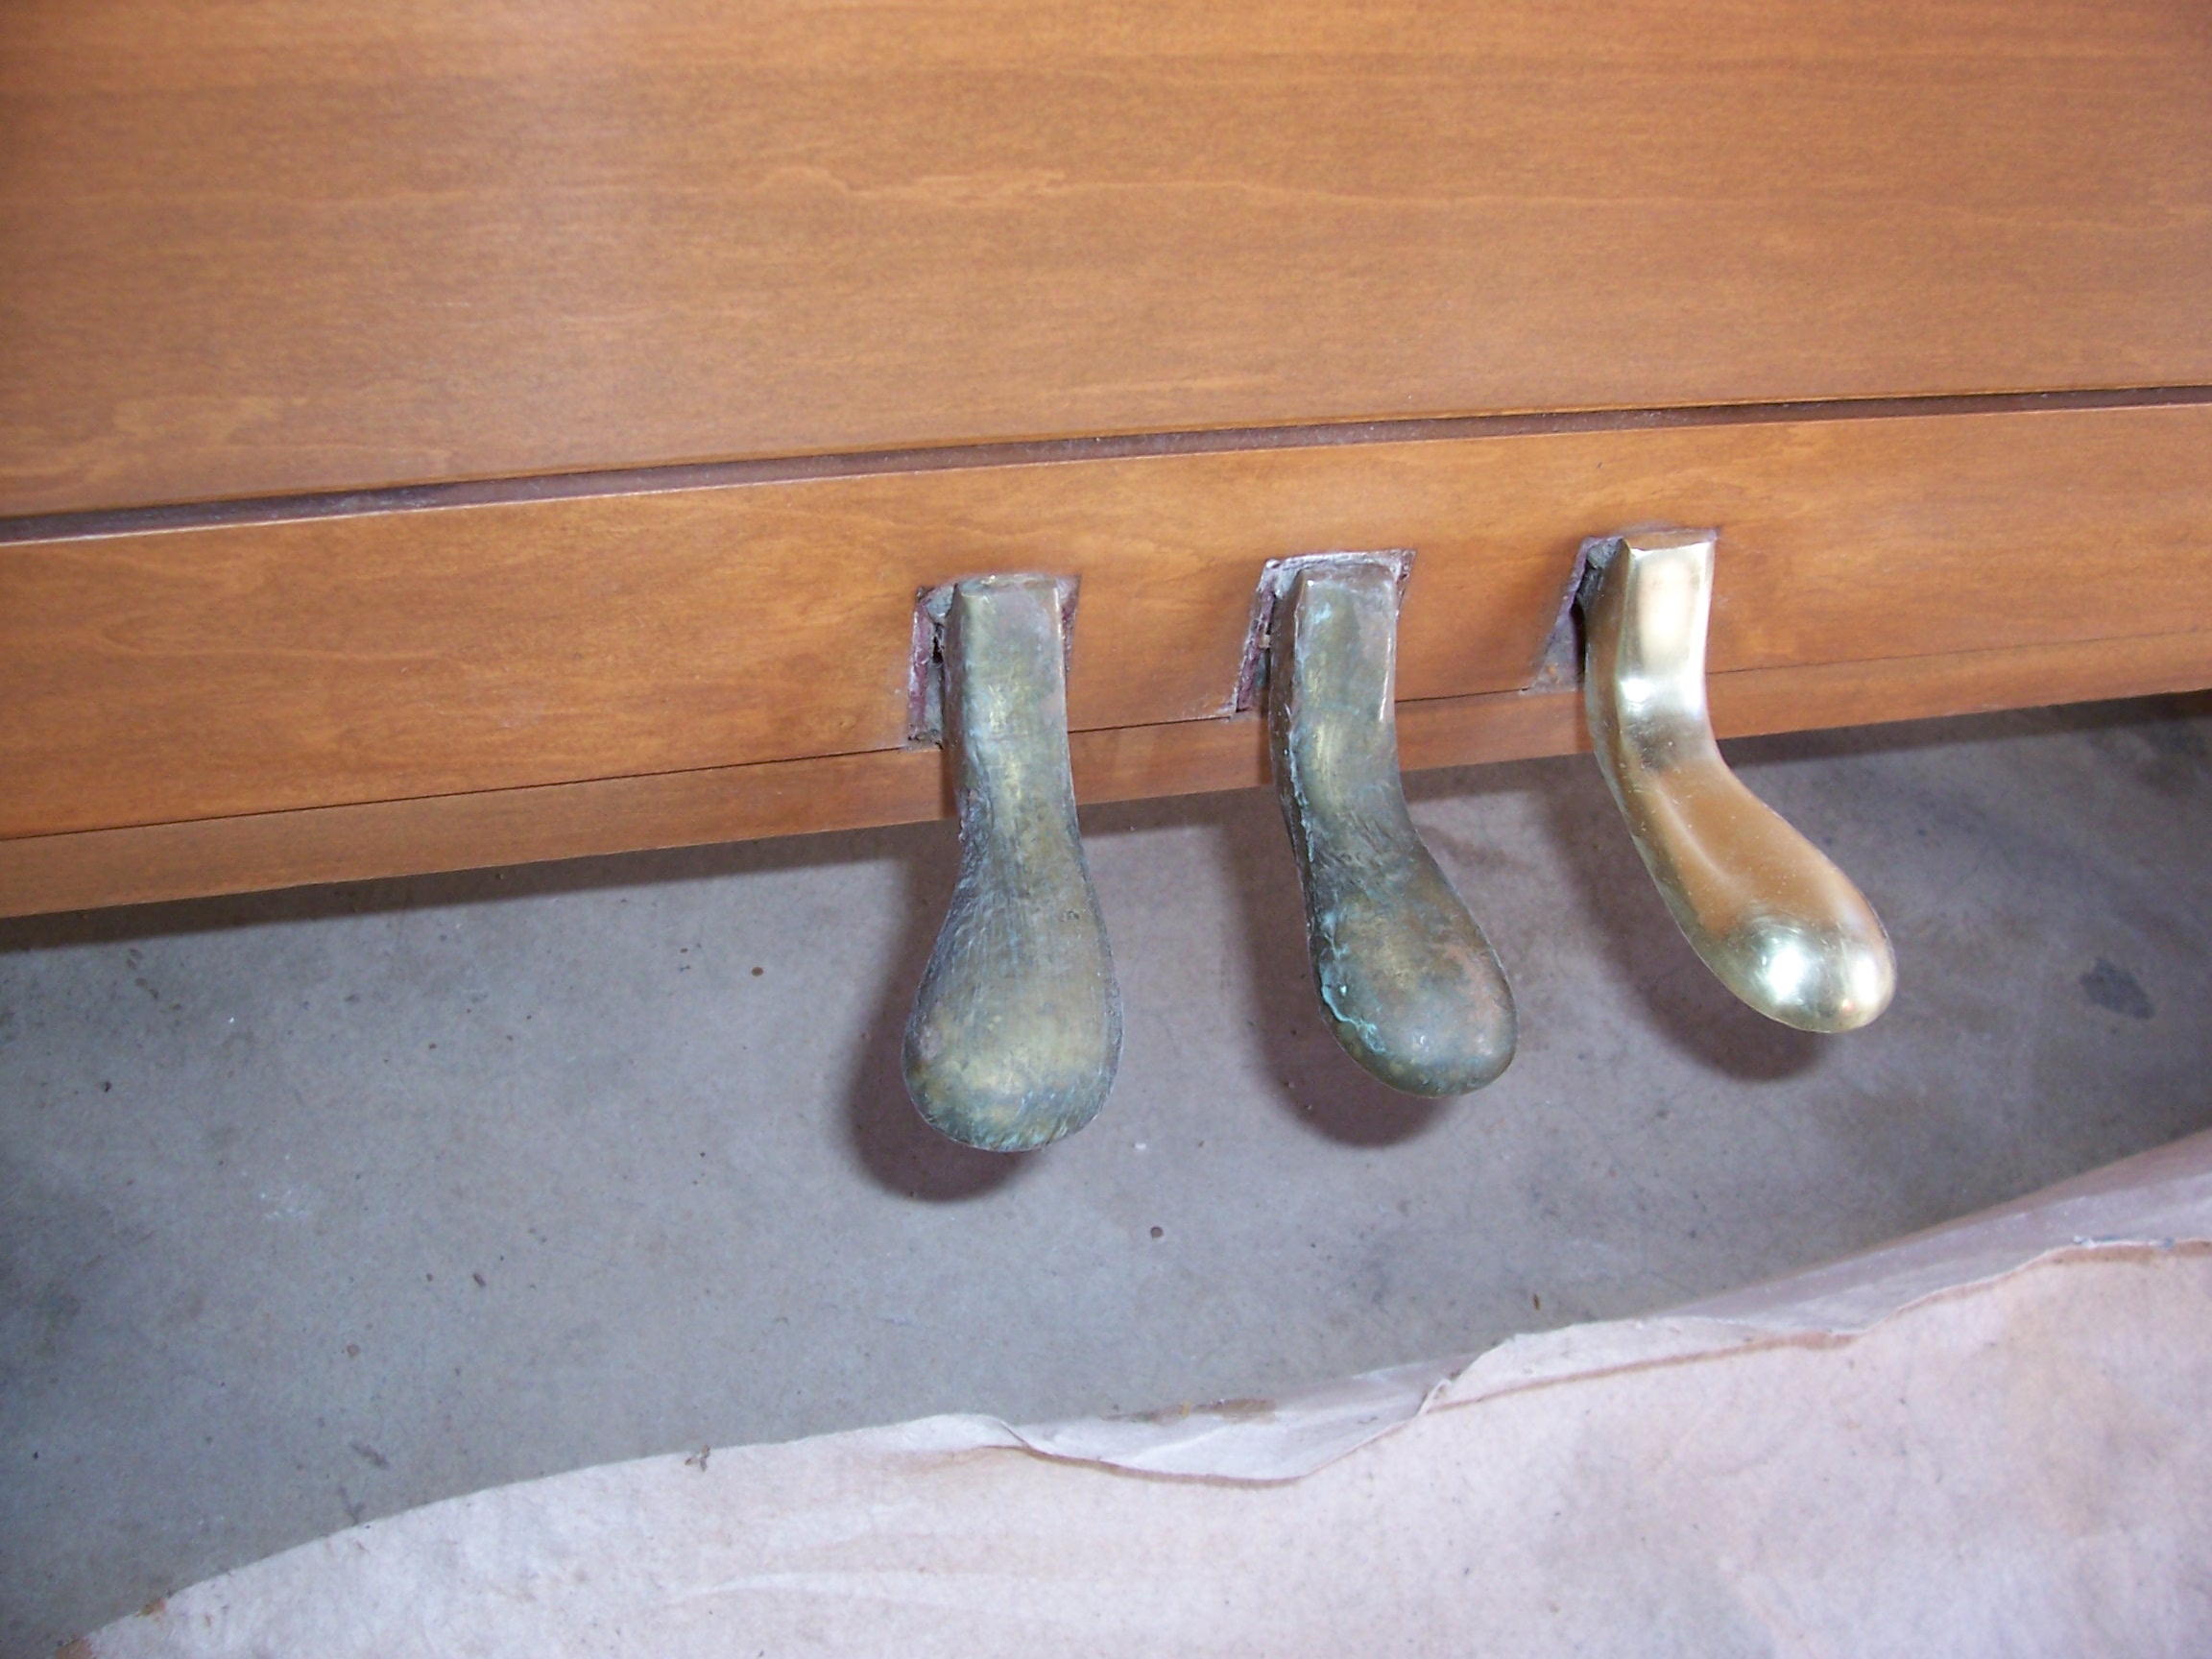
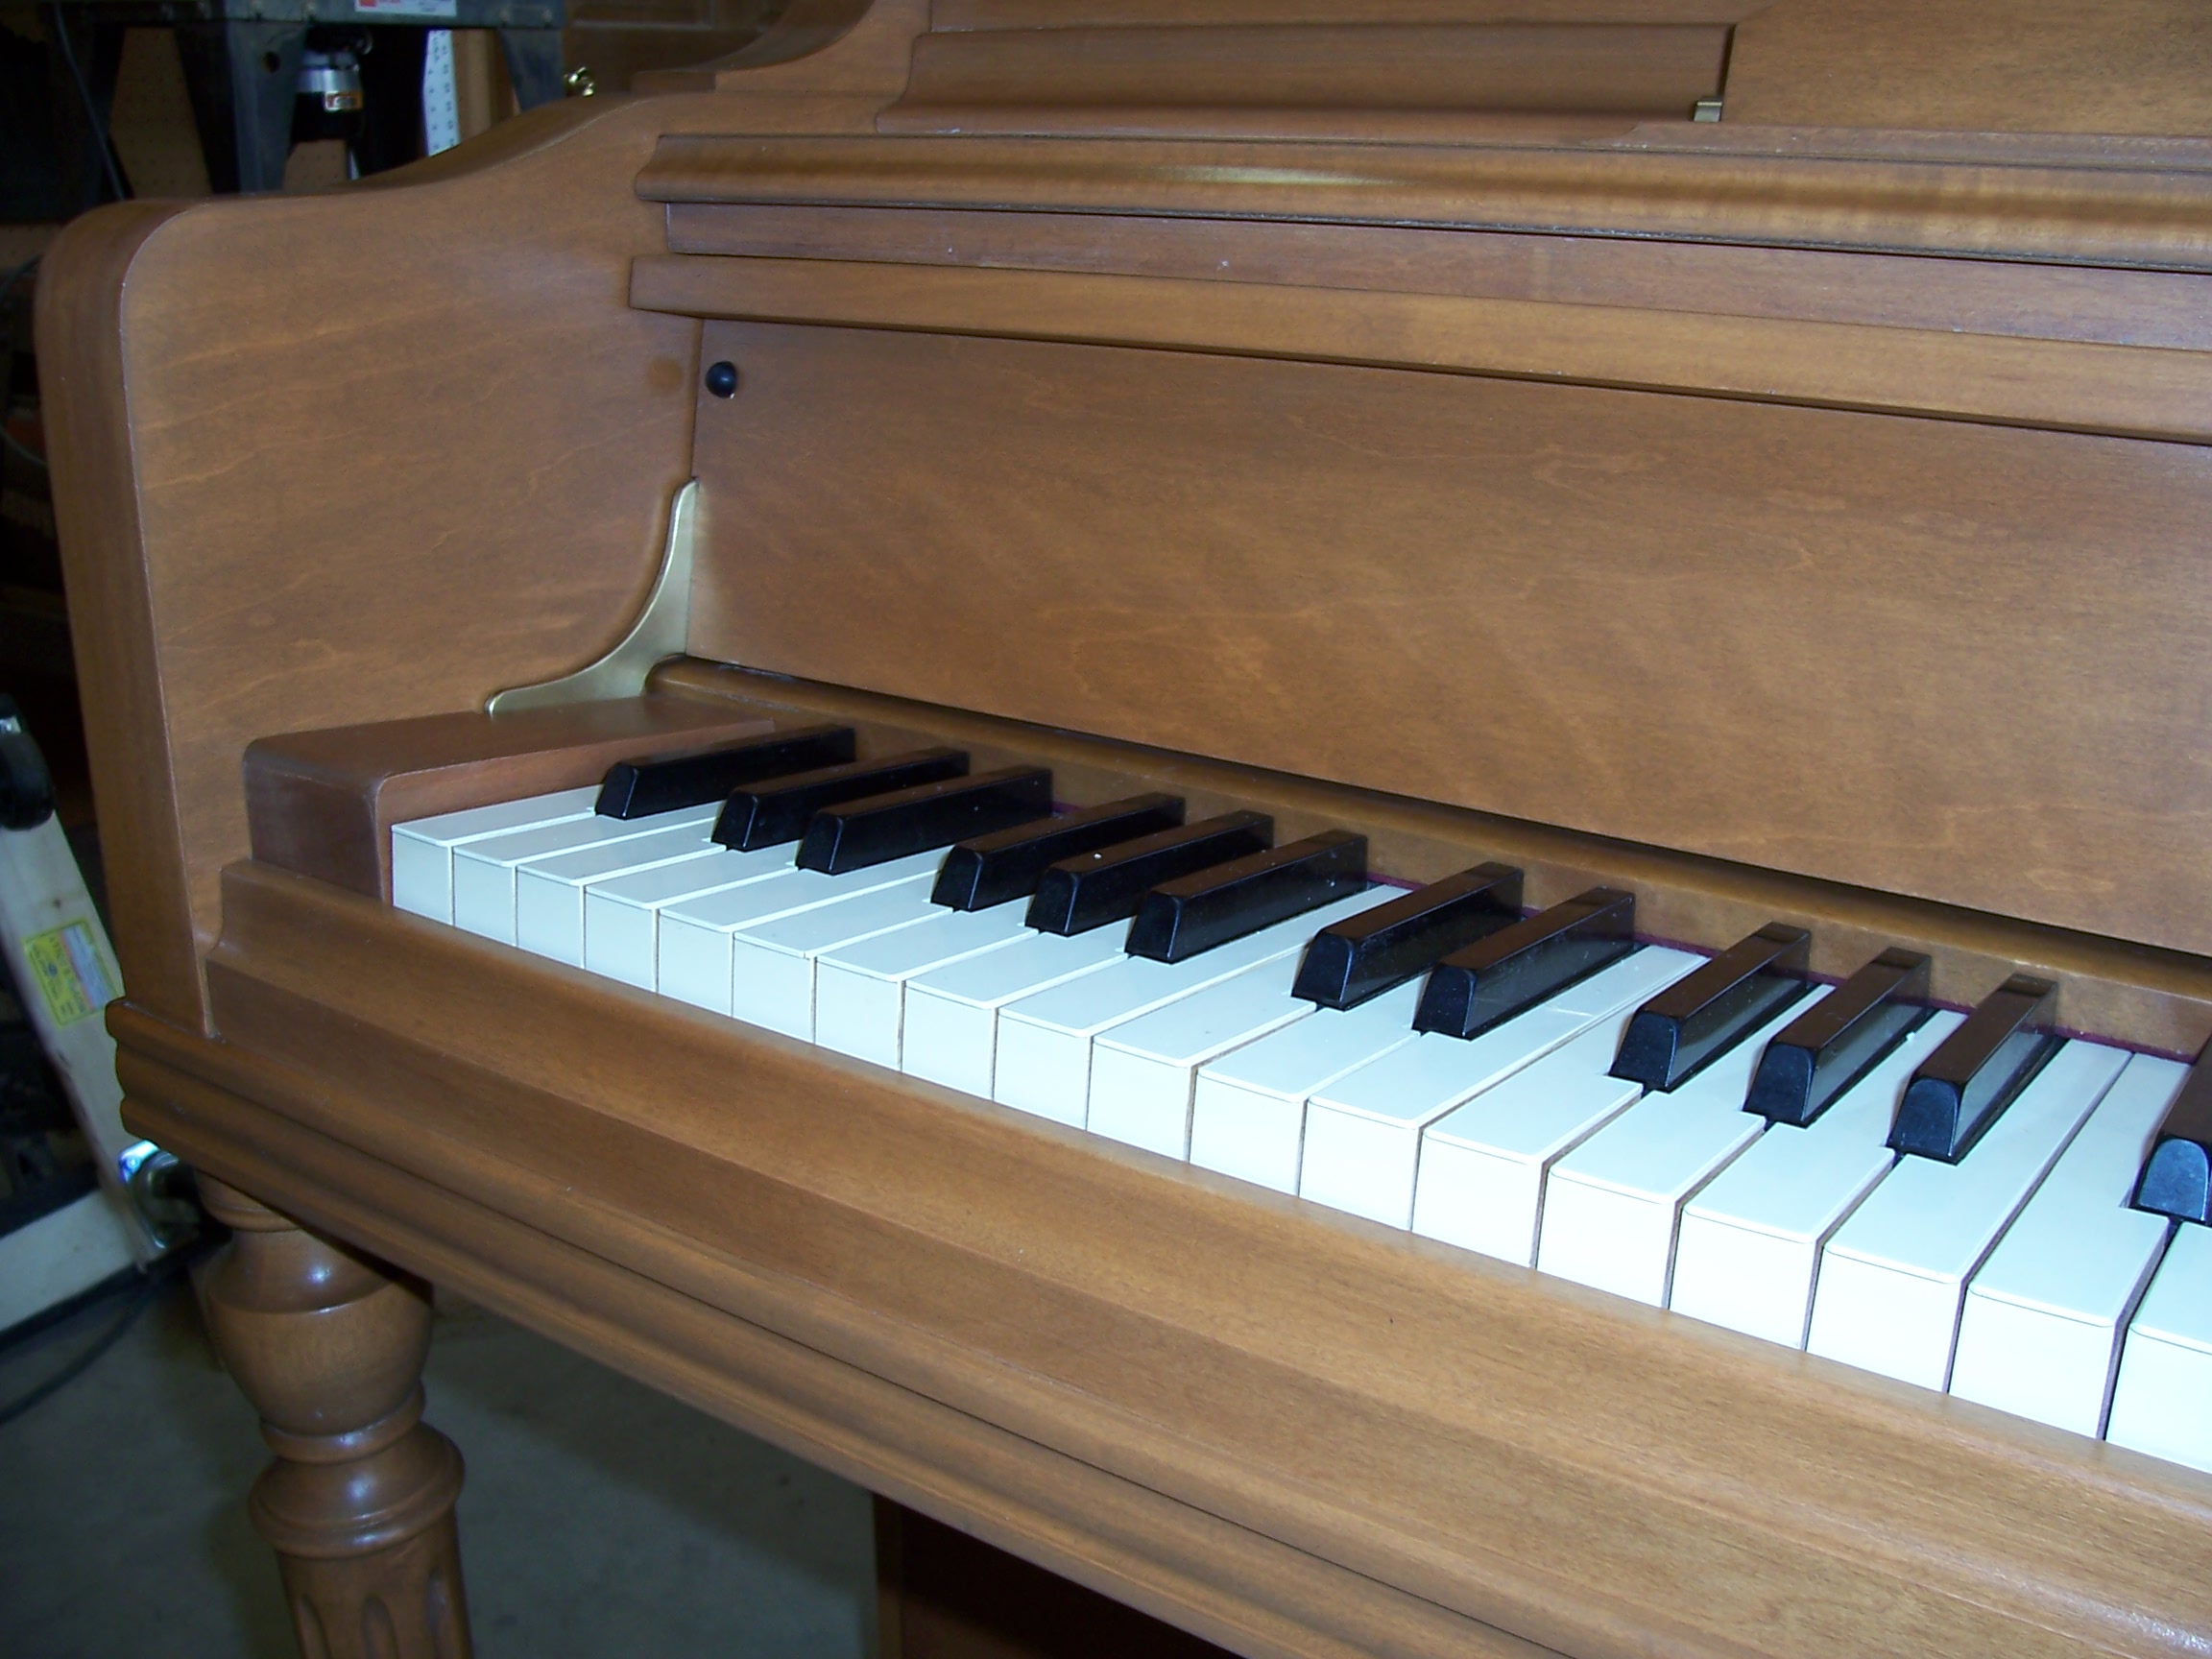
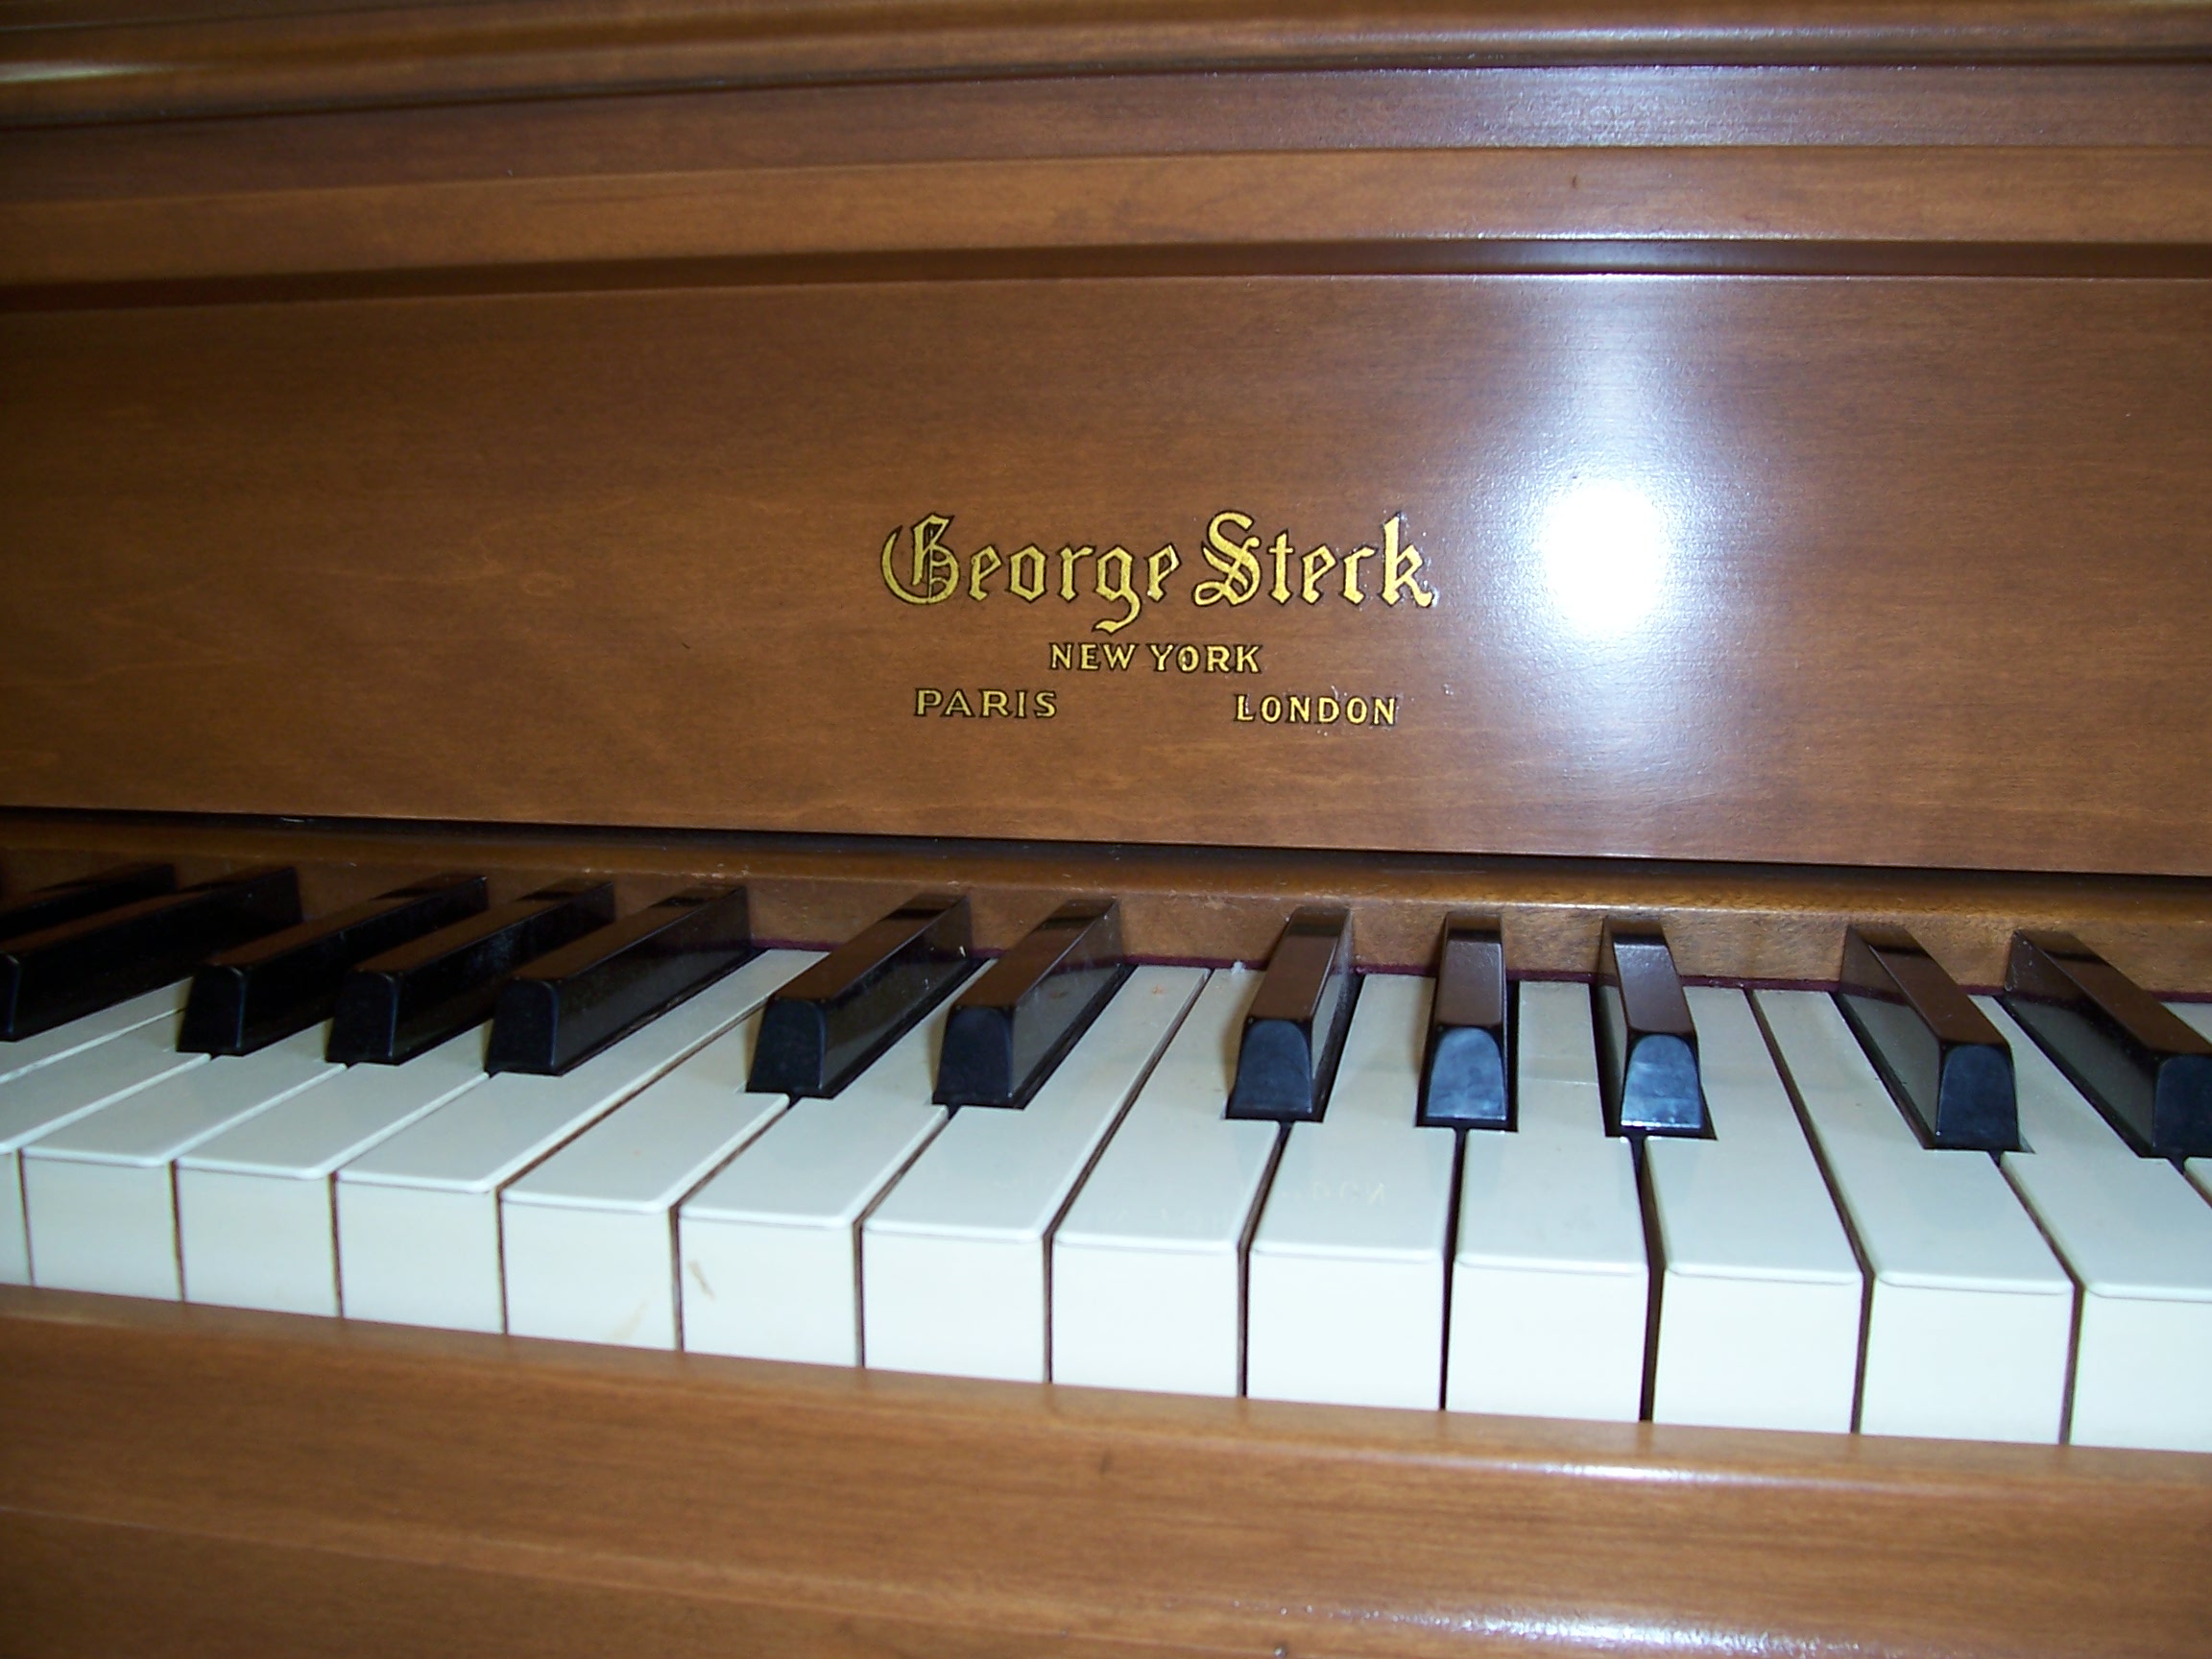
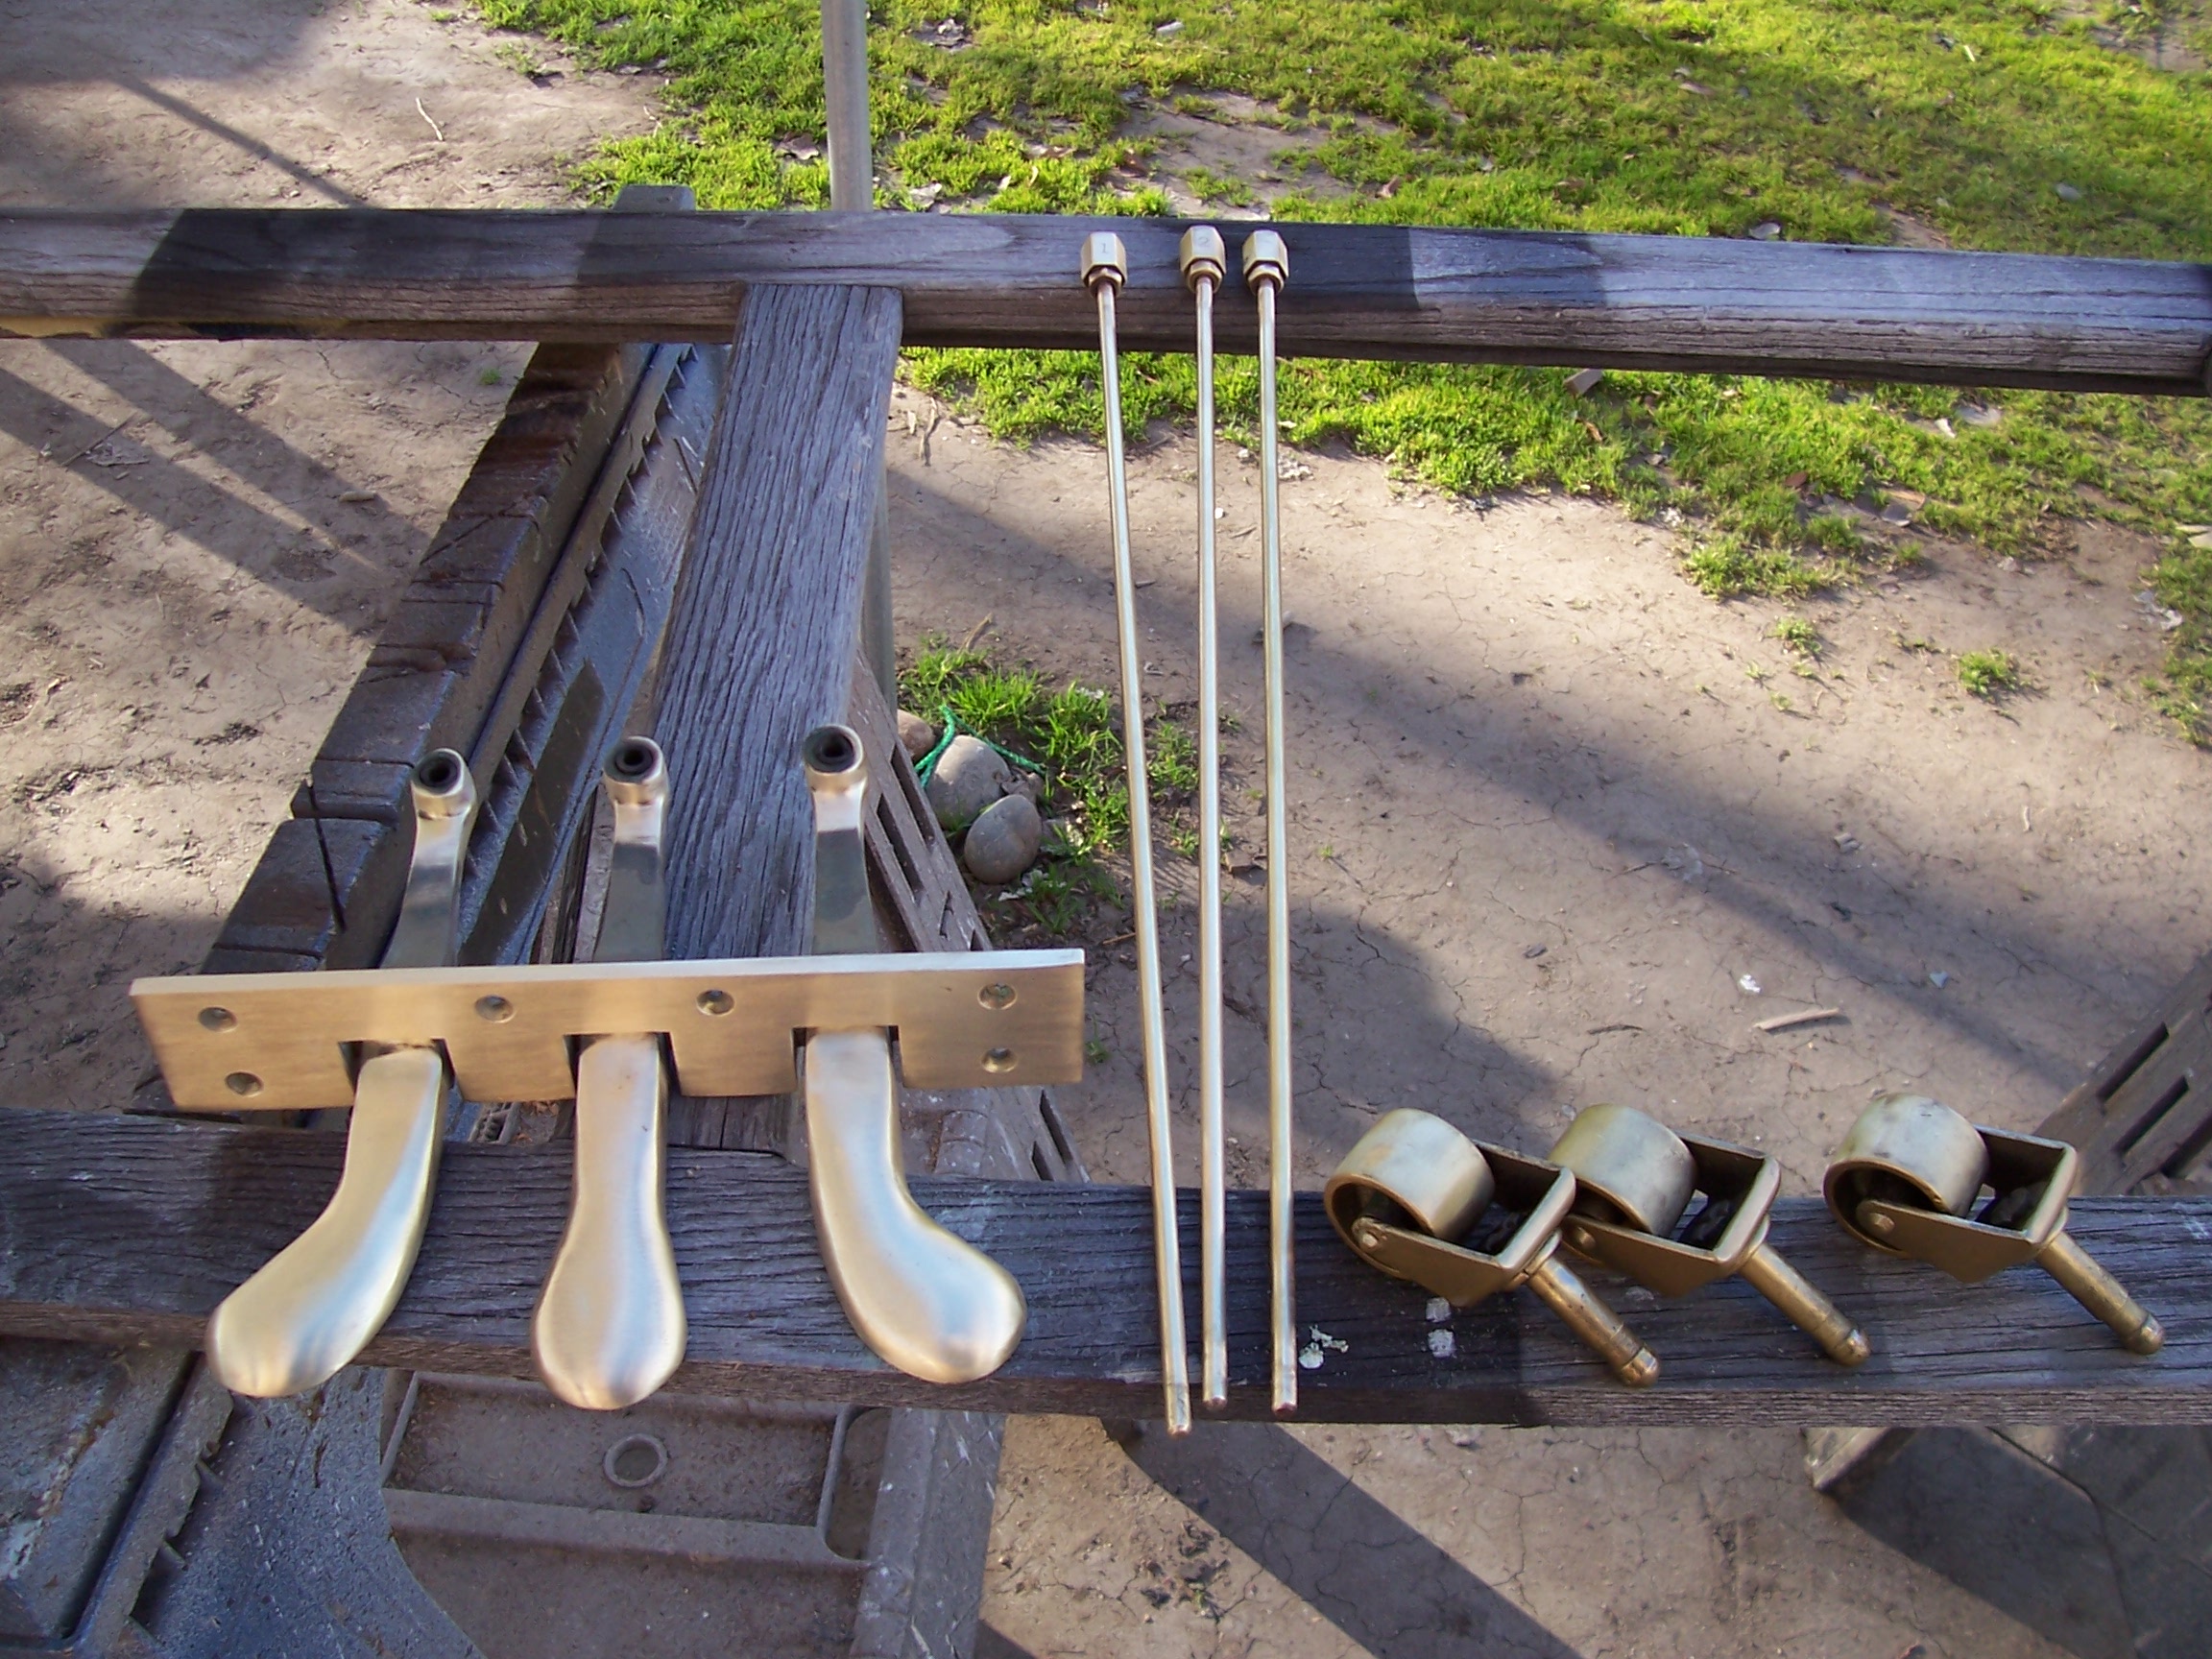
Details in a project of this scope make the difference. A new decal for the fallboard, and polishing or replacing old brass pieces, and well as replacing damaged felt.
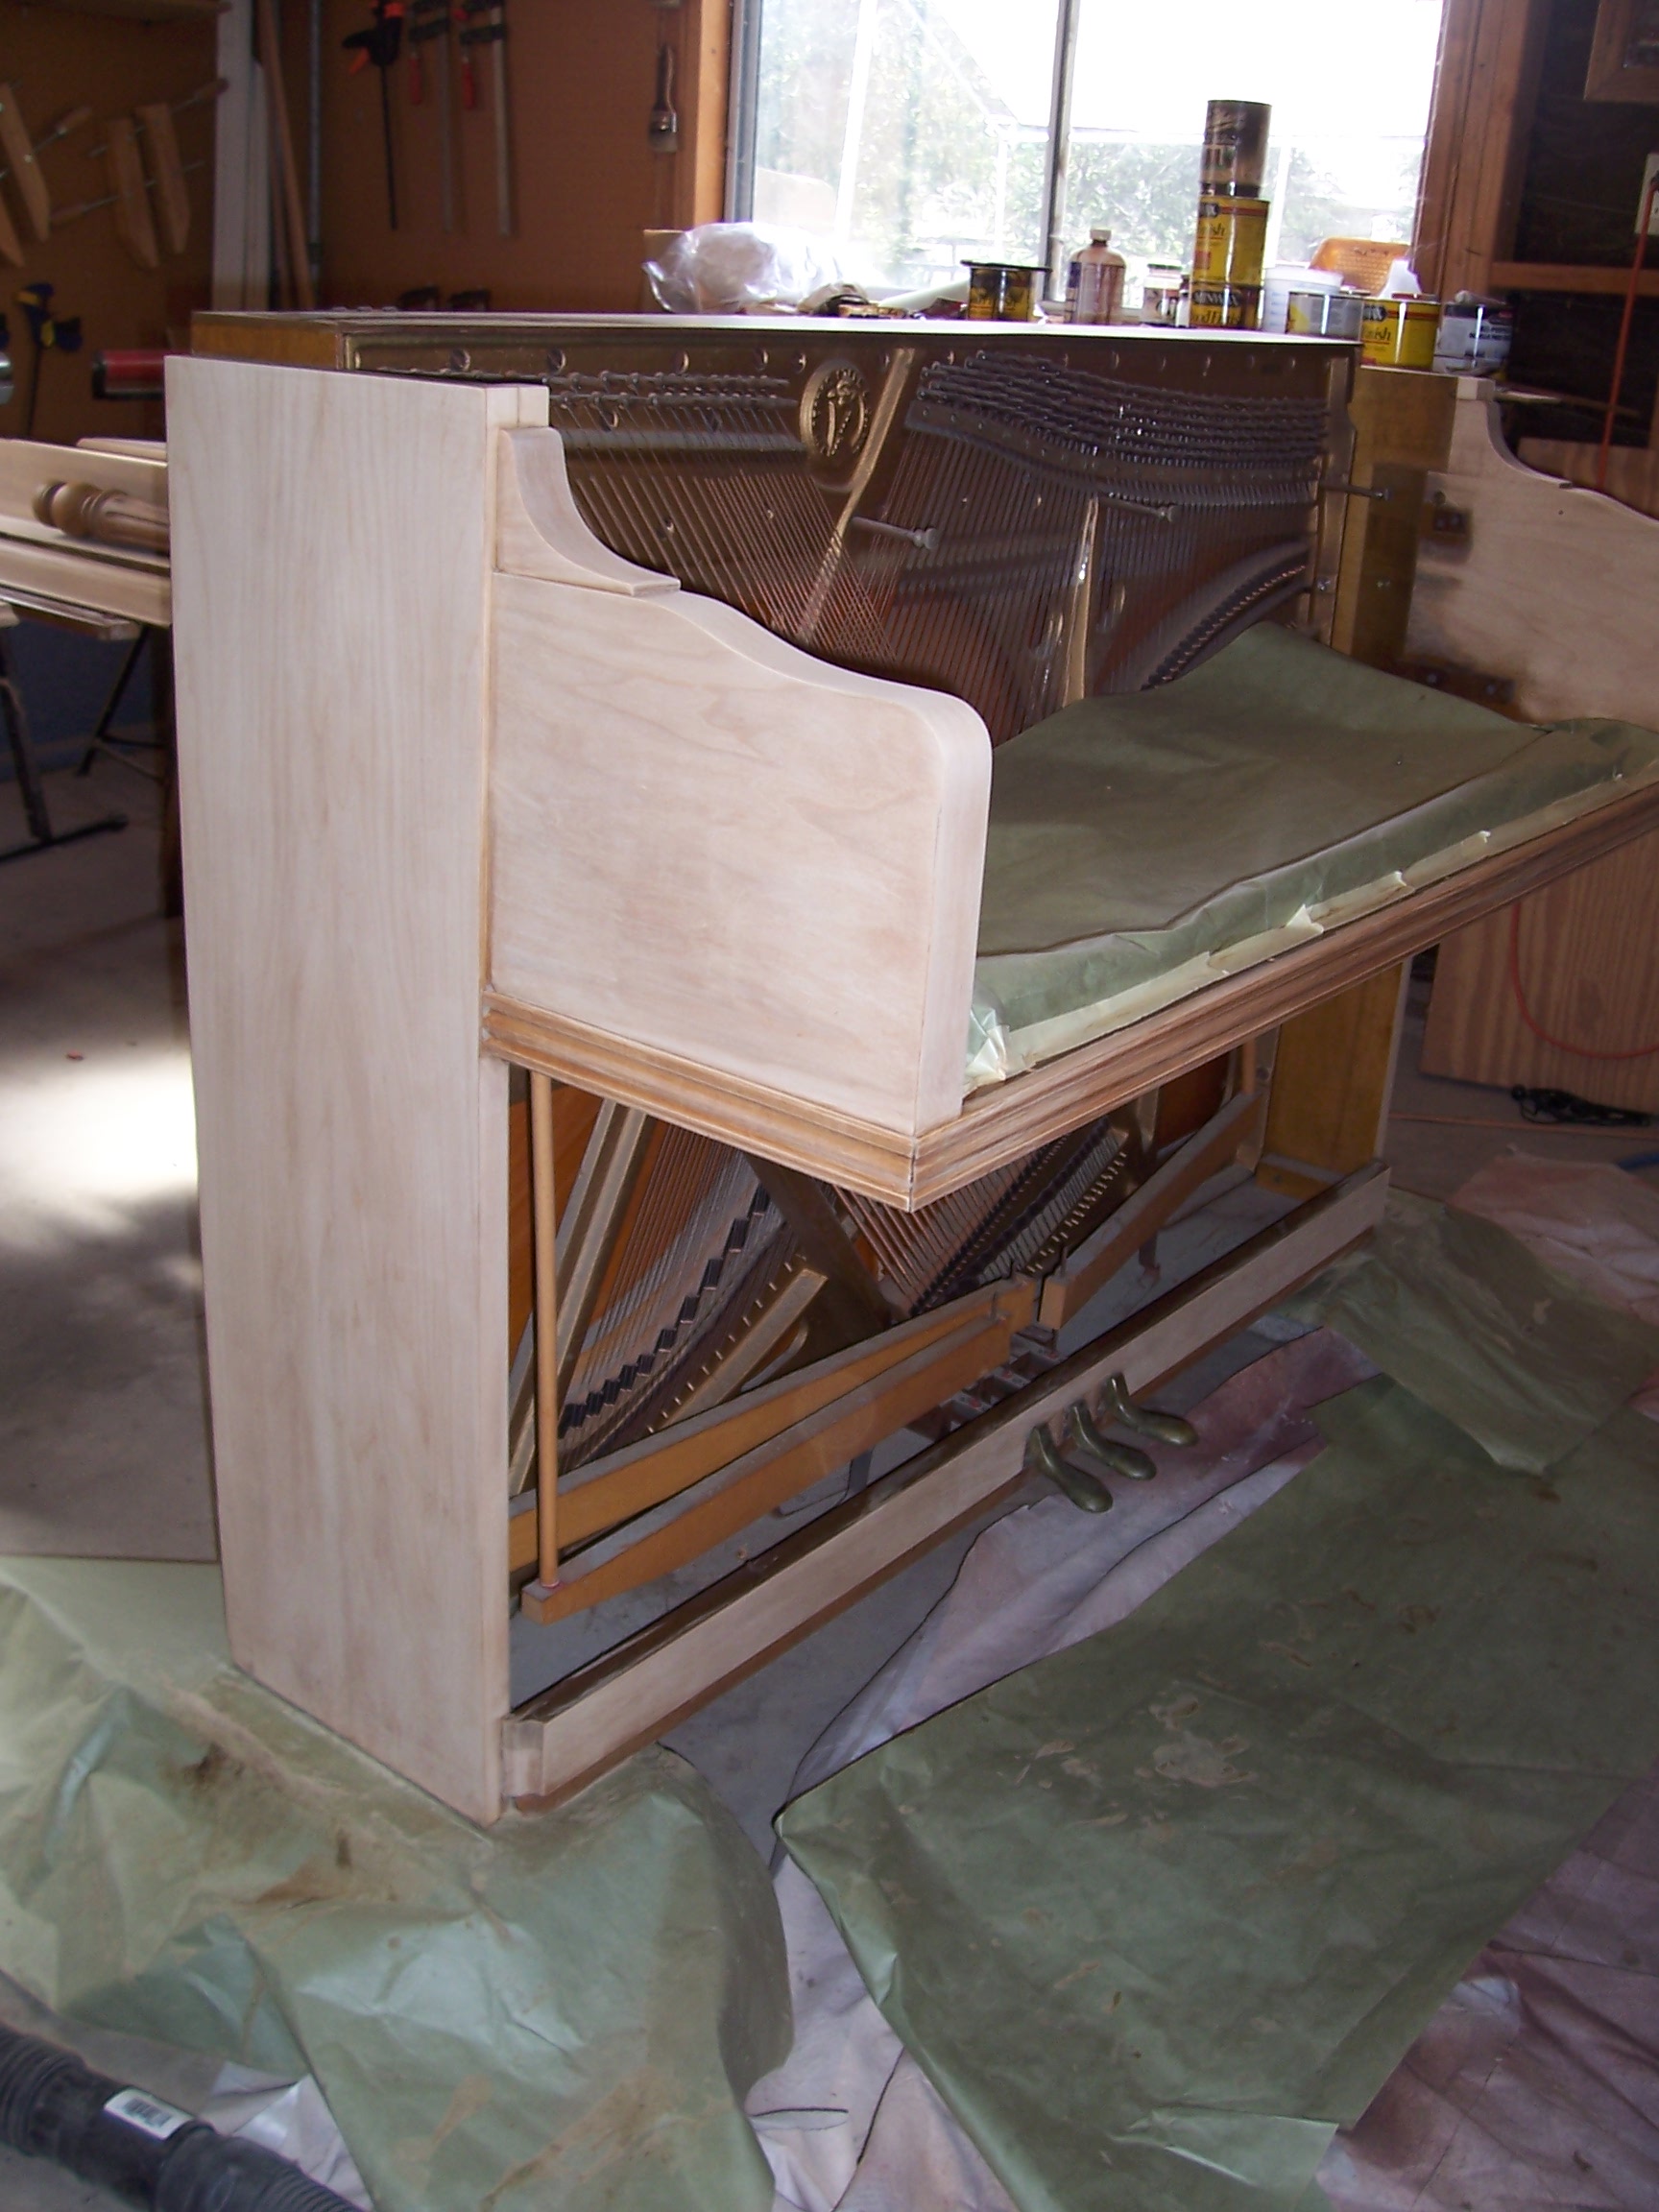
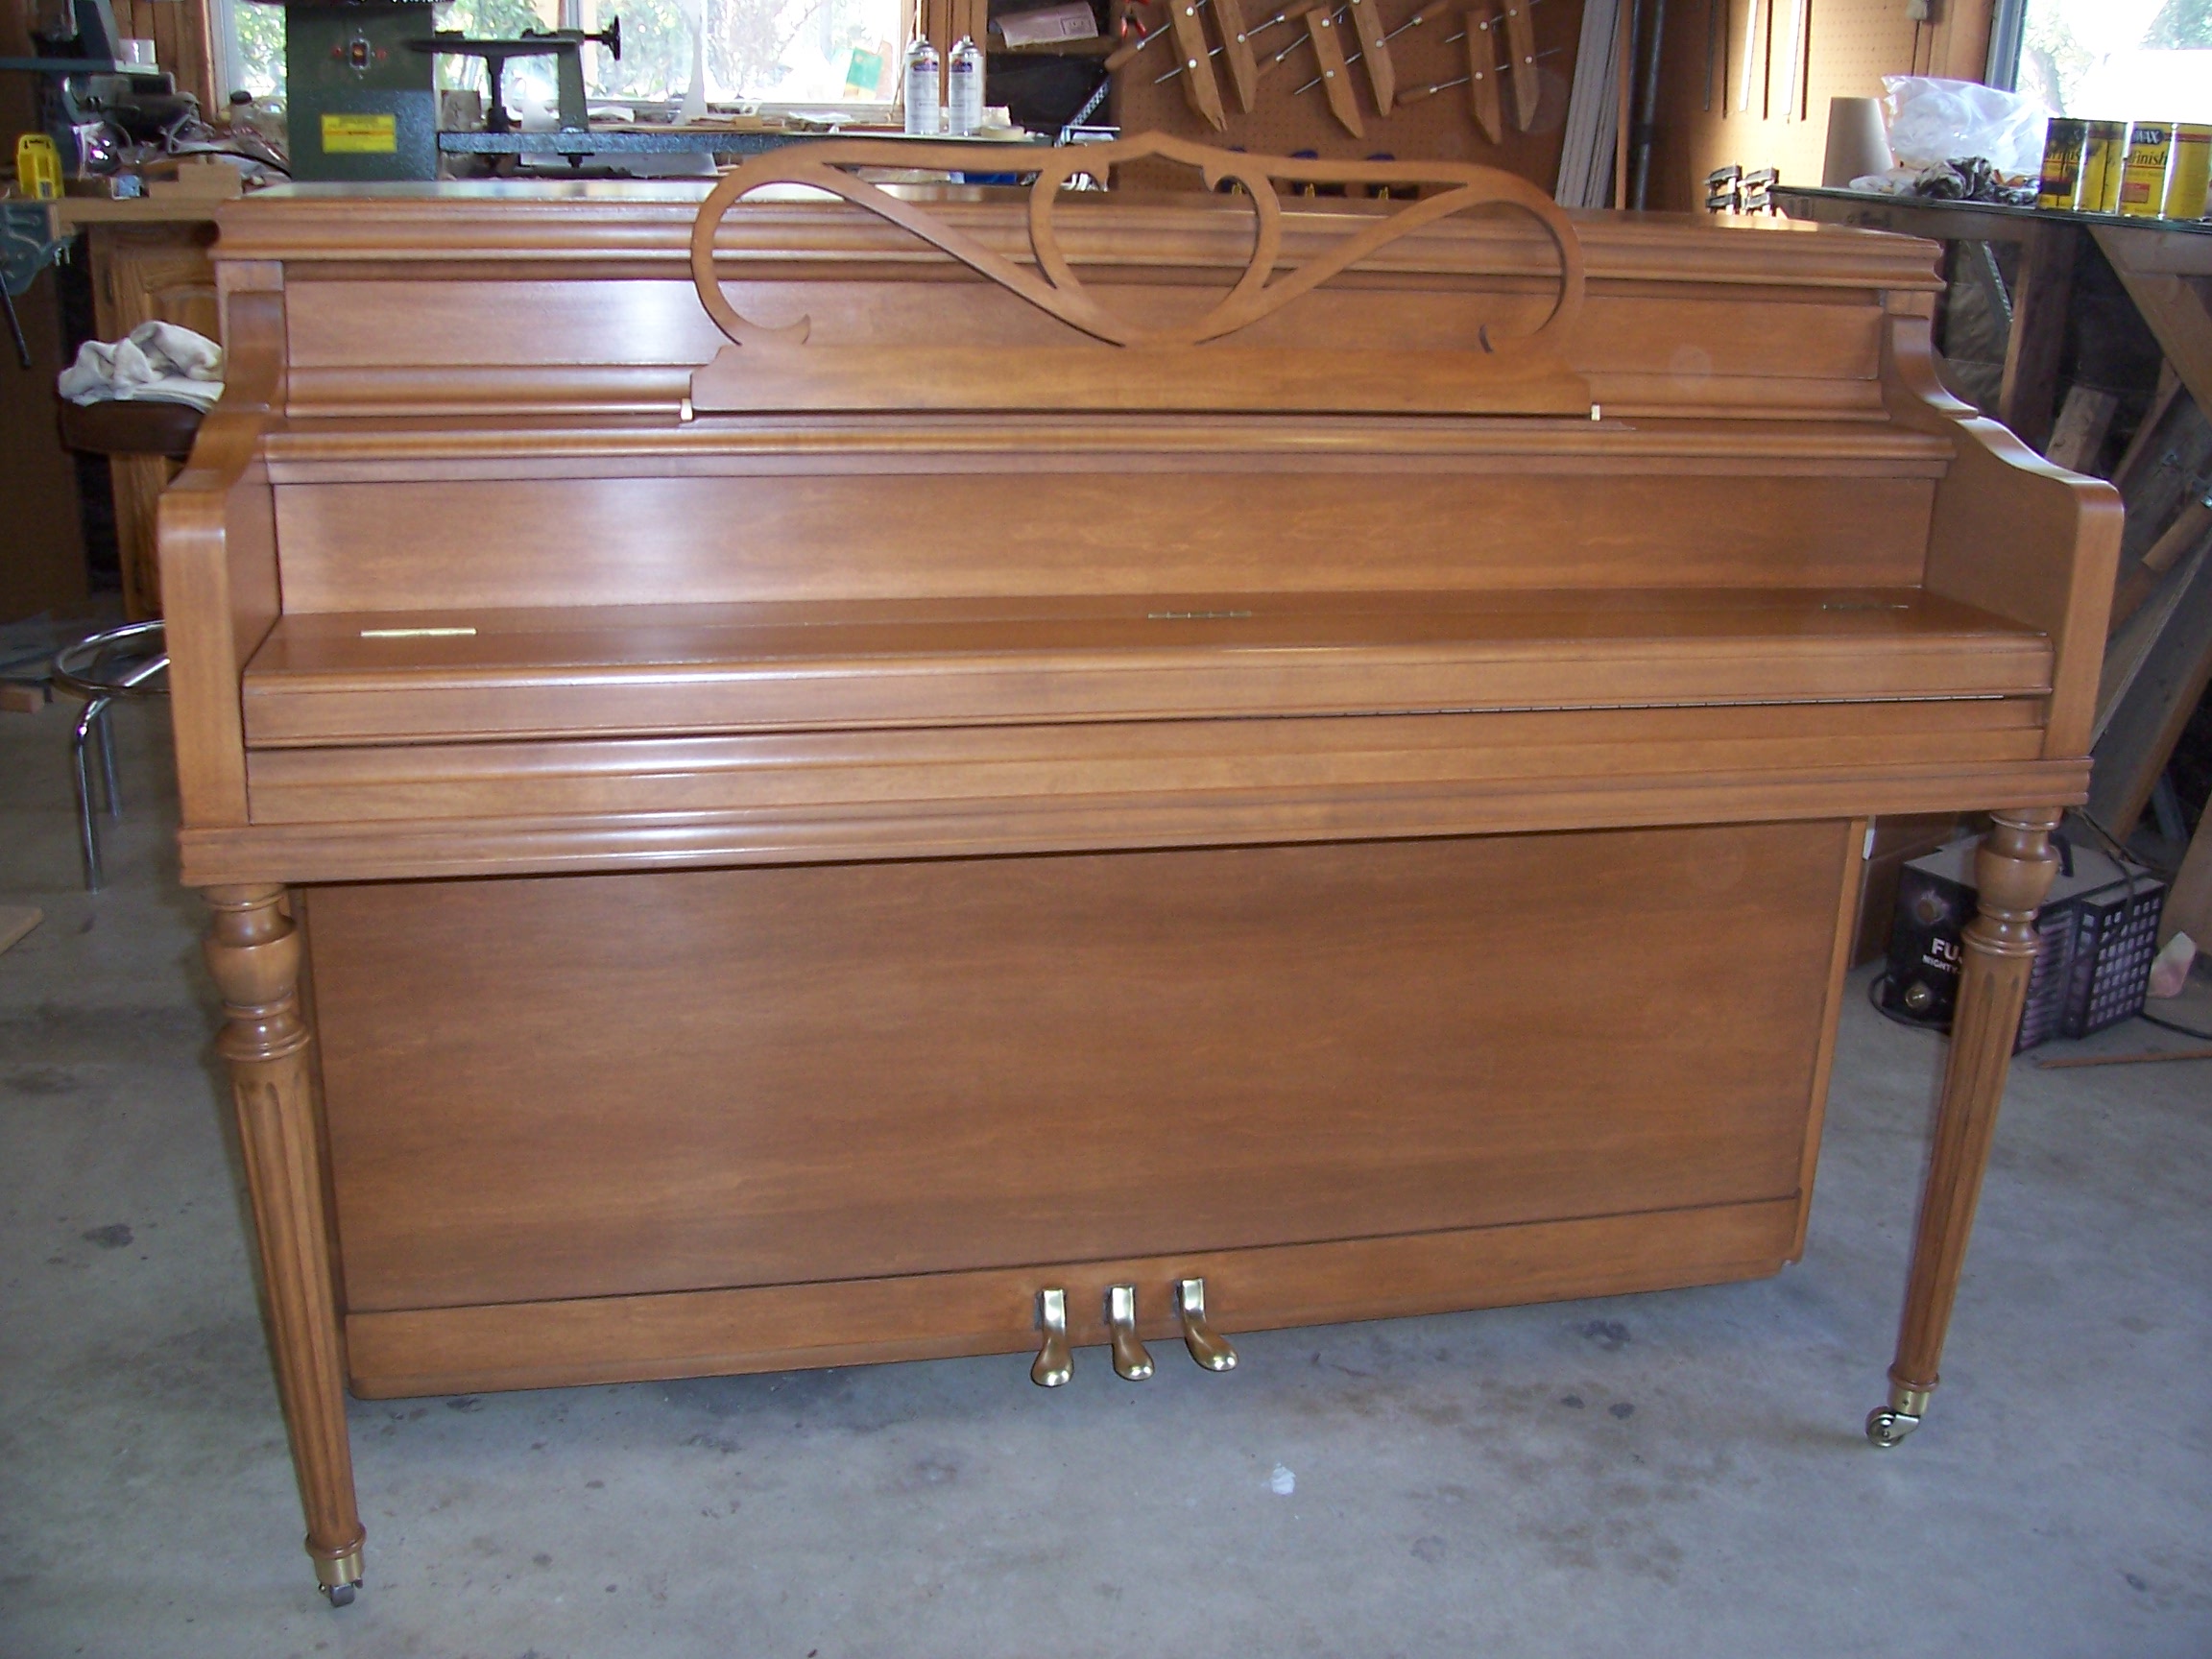
The final hand-rubbed finish returns this 1928 piano to it's original beauty.
Piano Refinishing: More Complex than Furniture Refinishing
"Back from the dead"
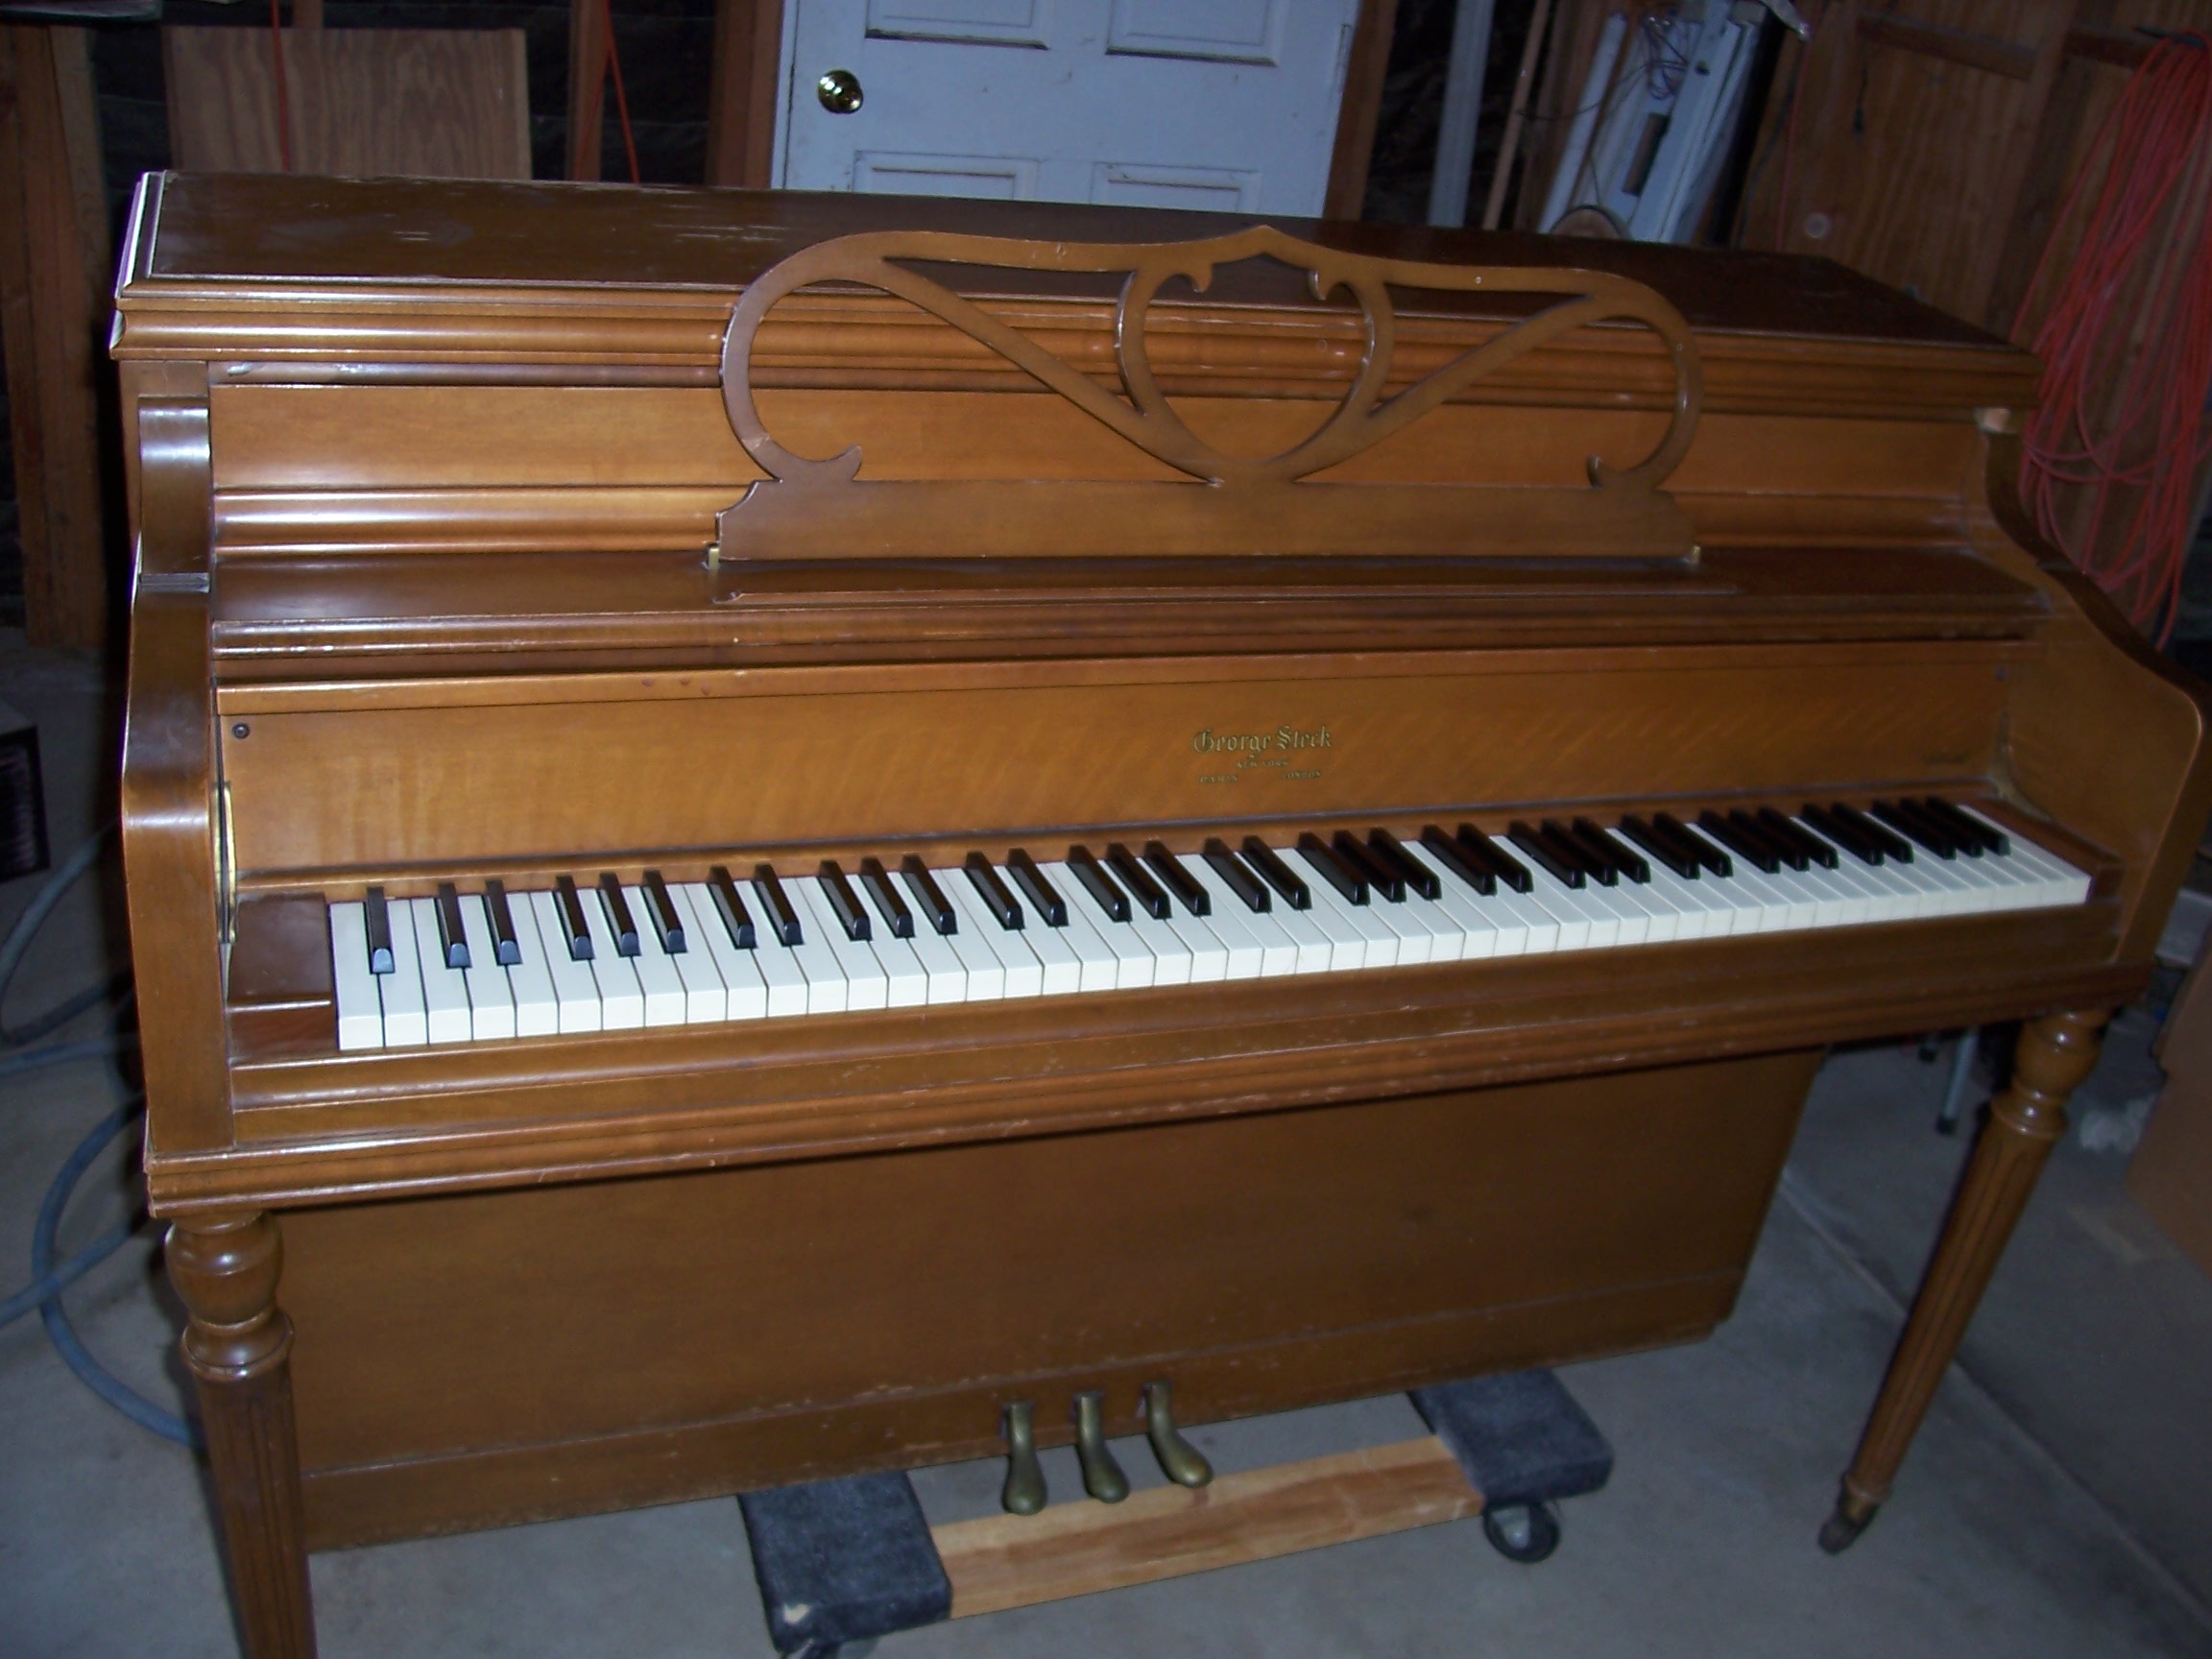
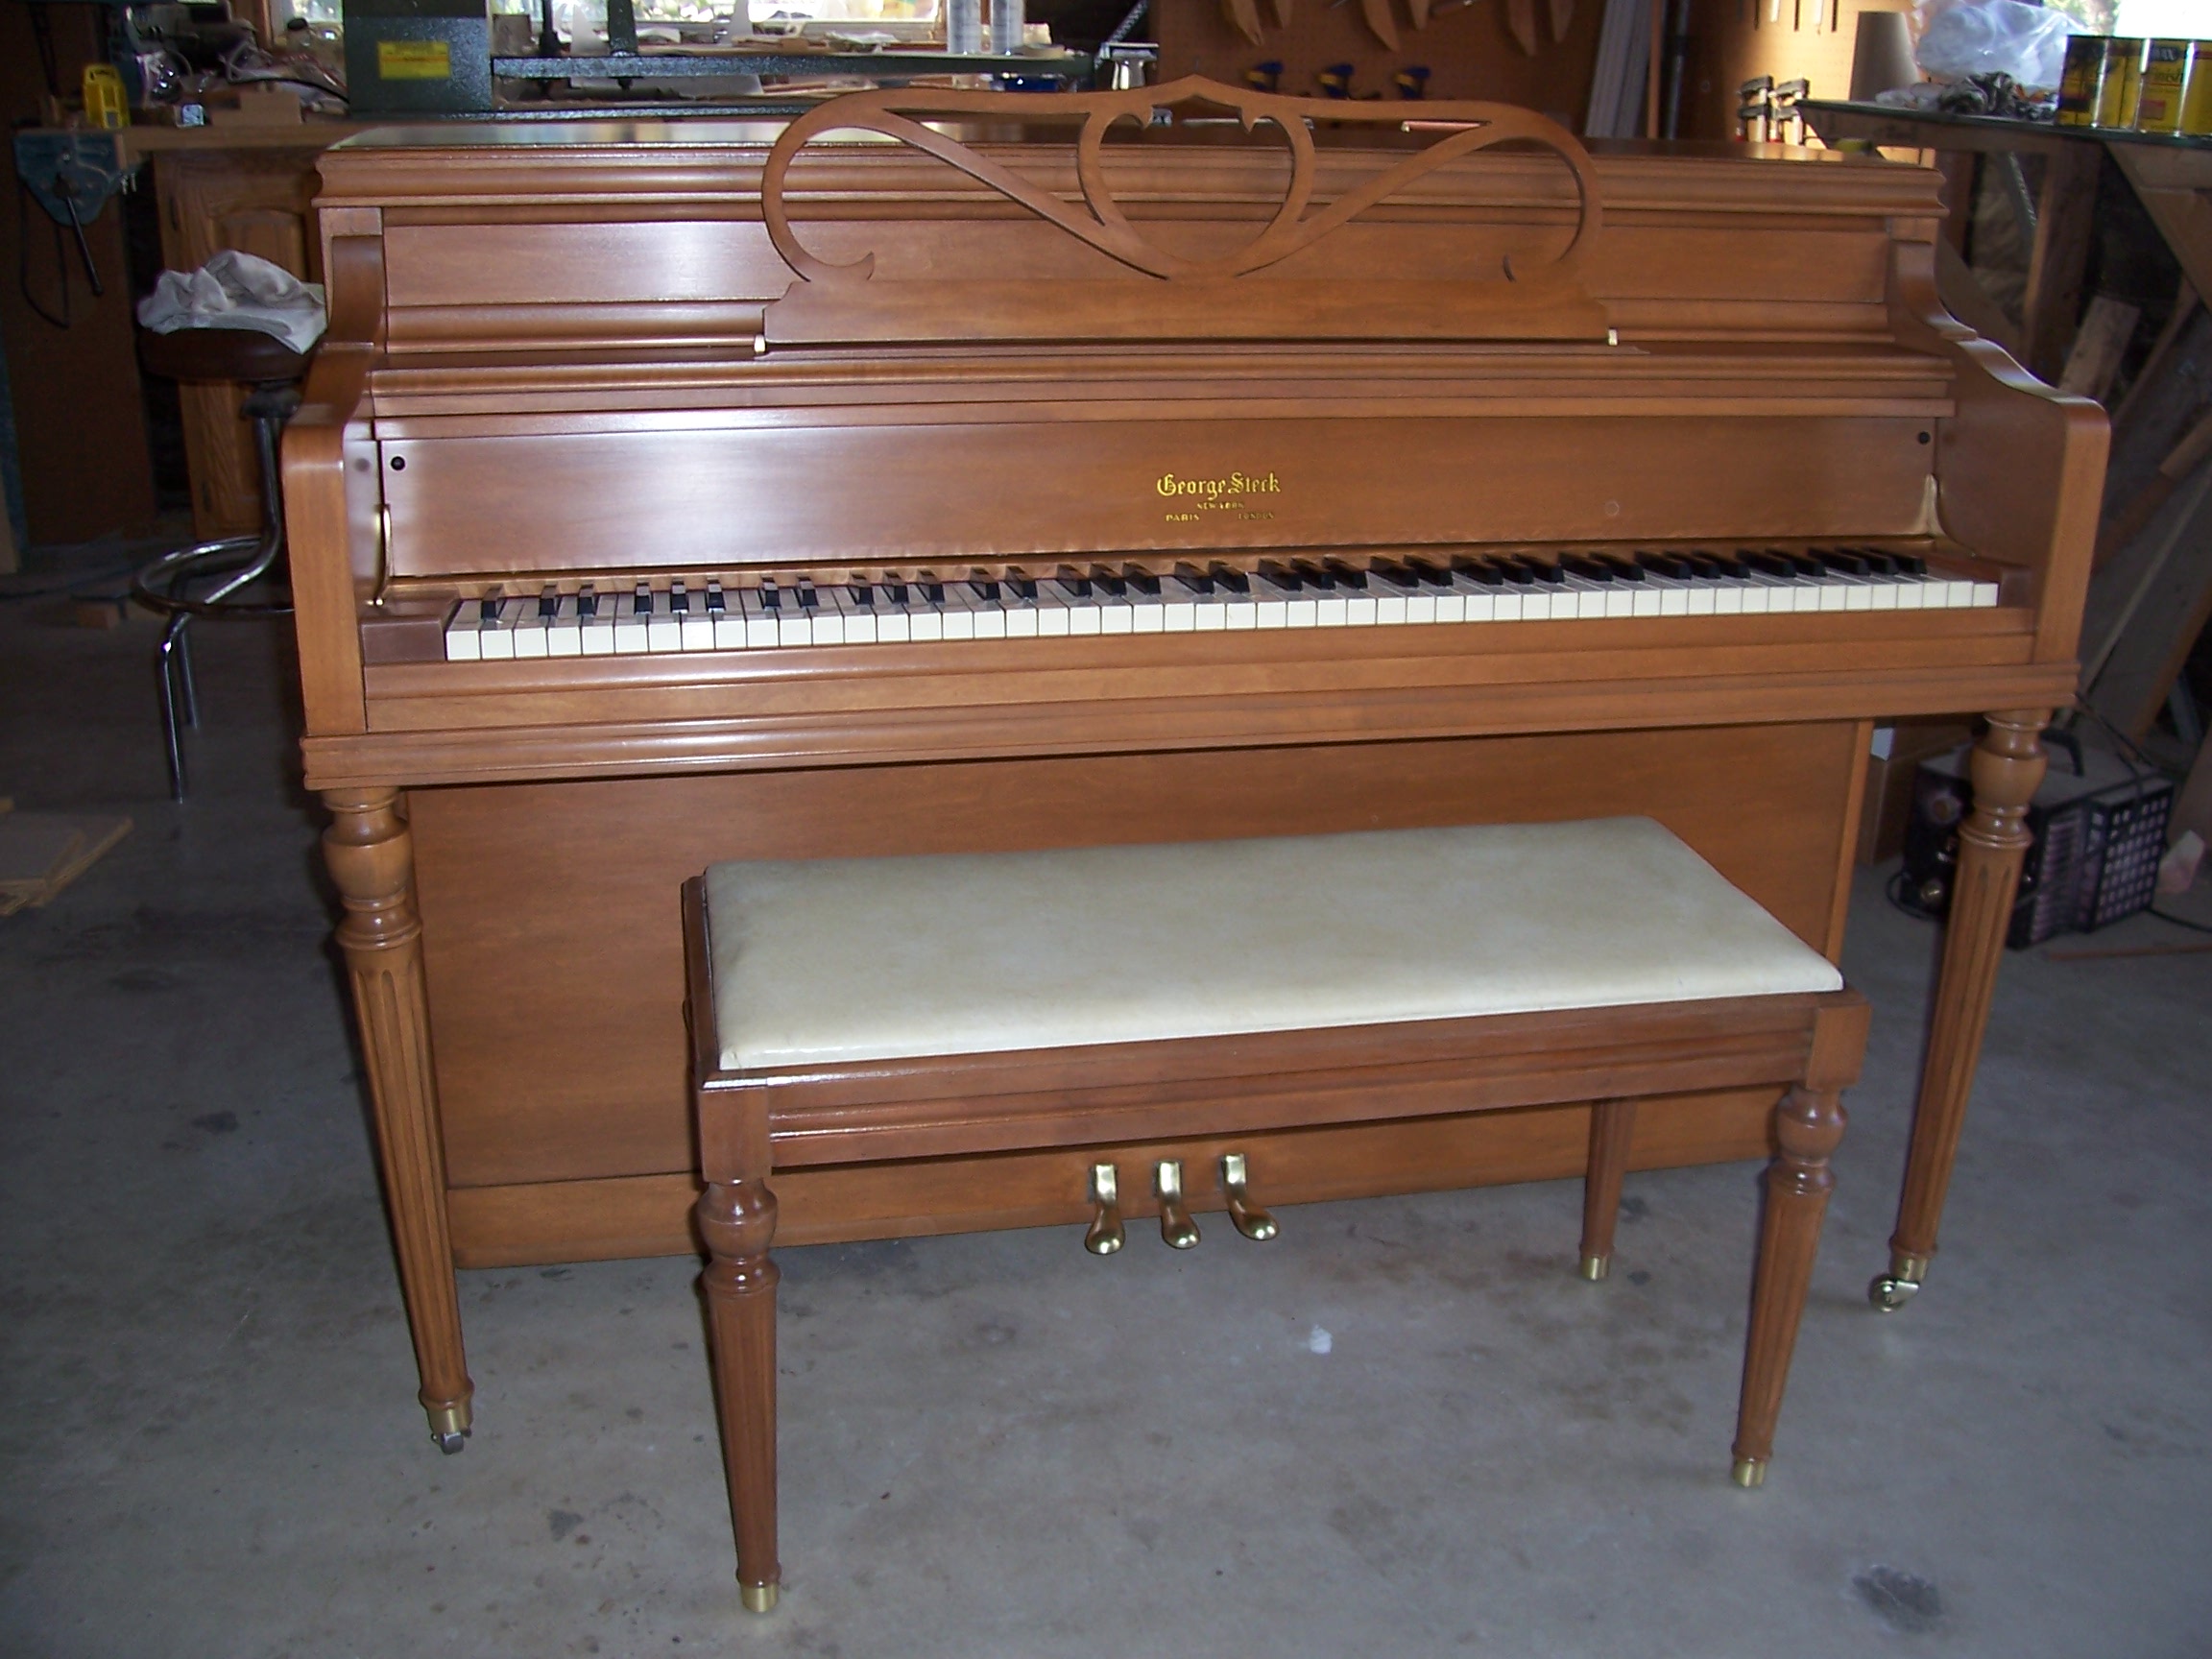
"Classic console piano"
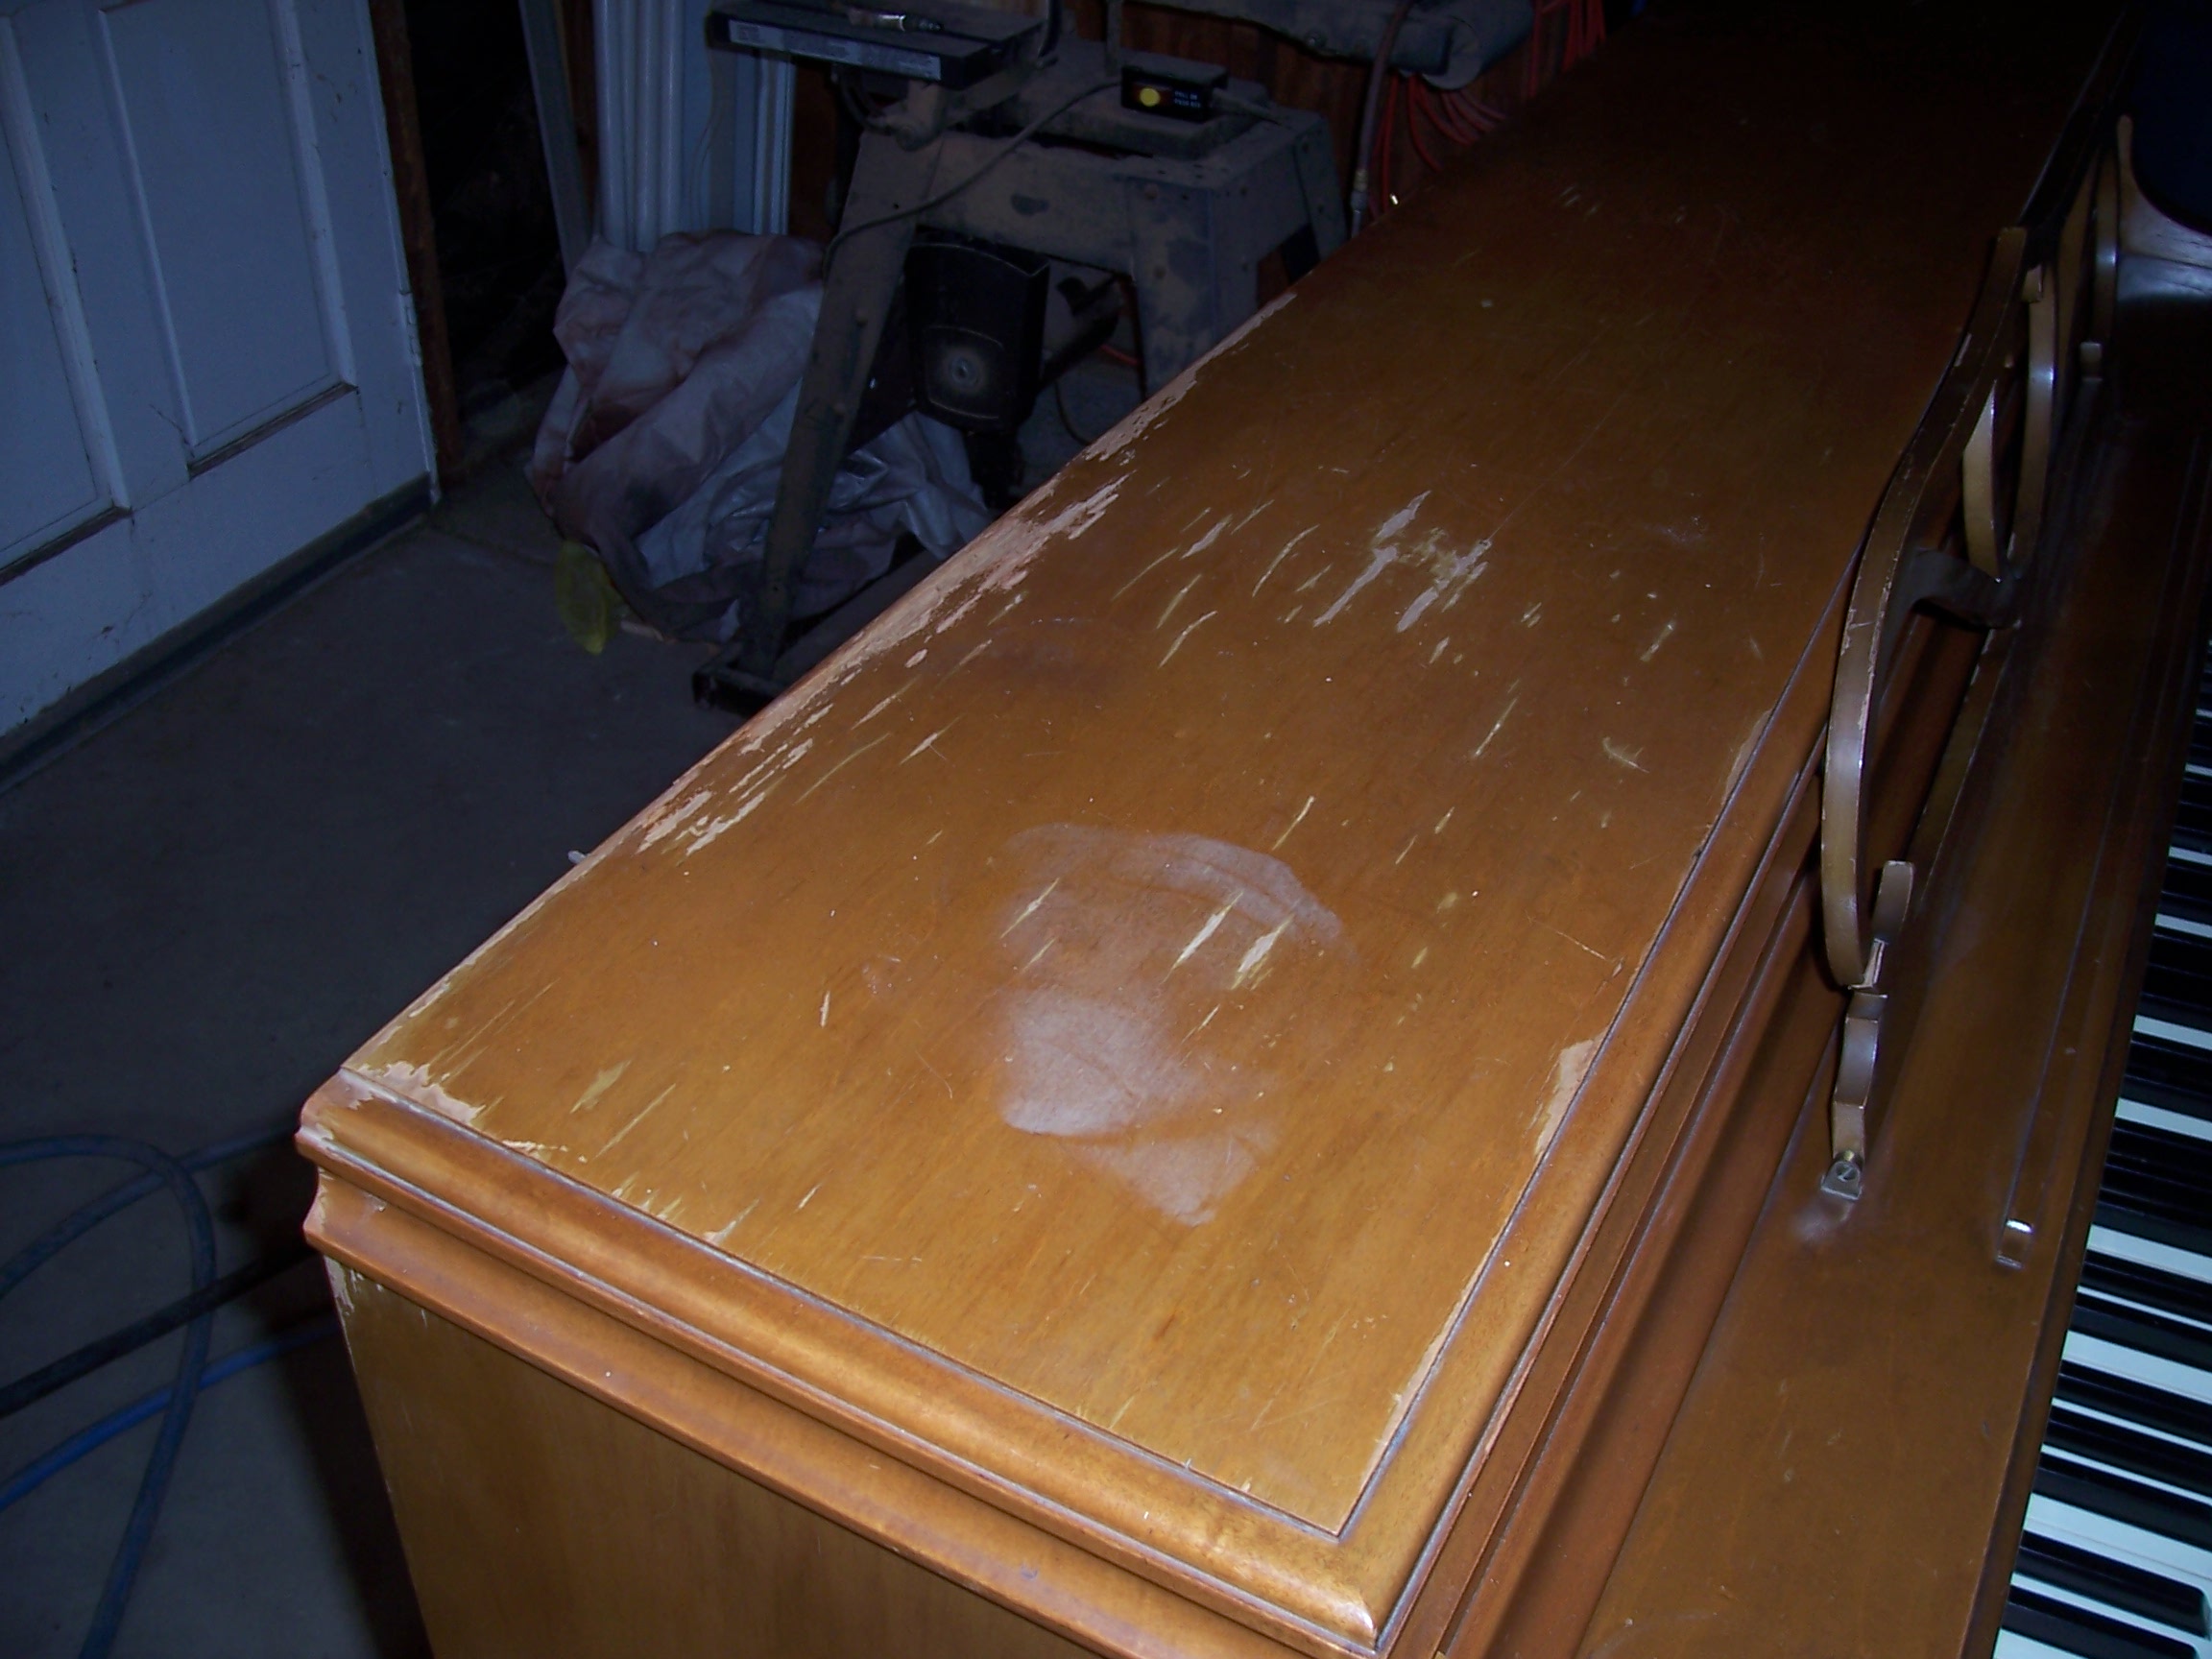
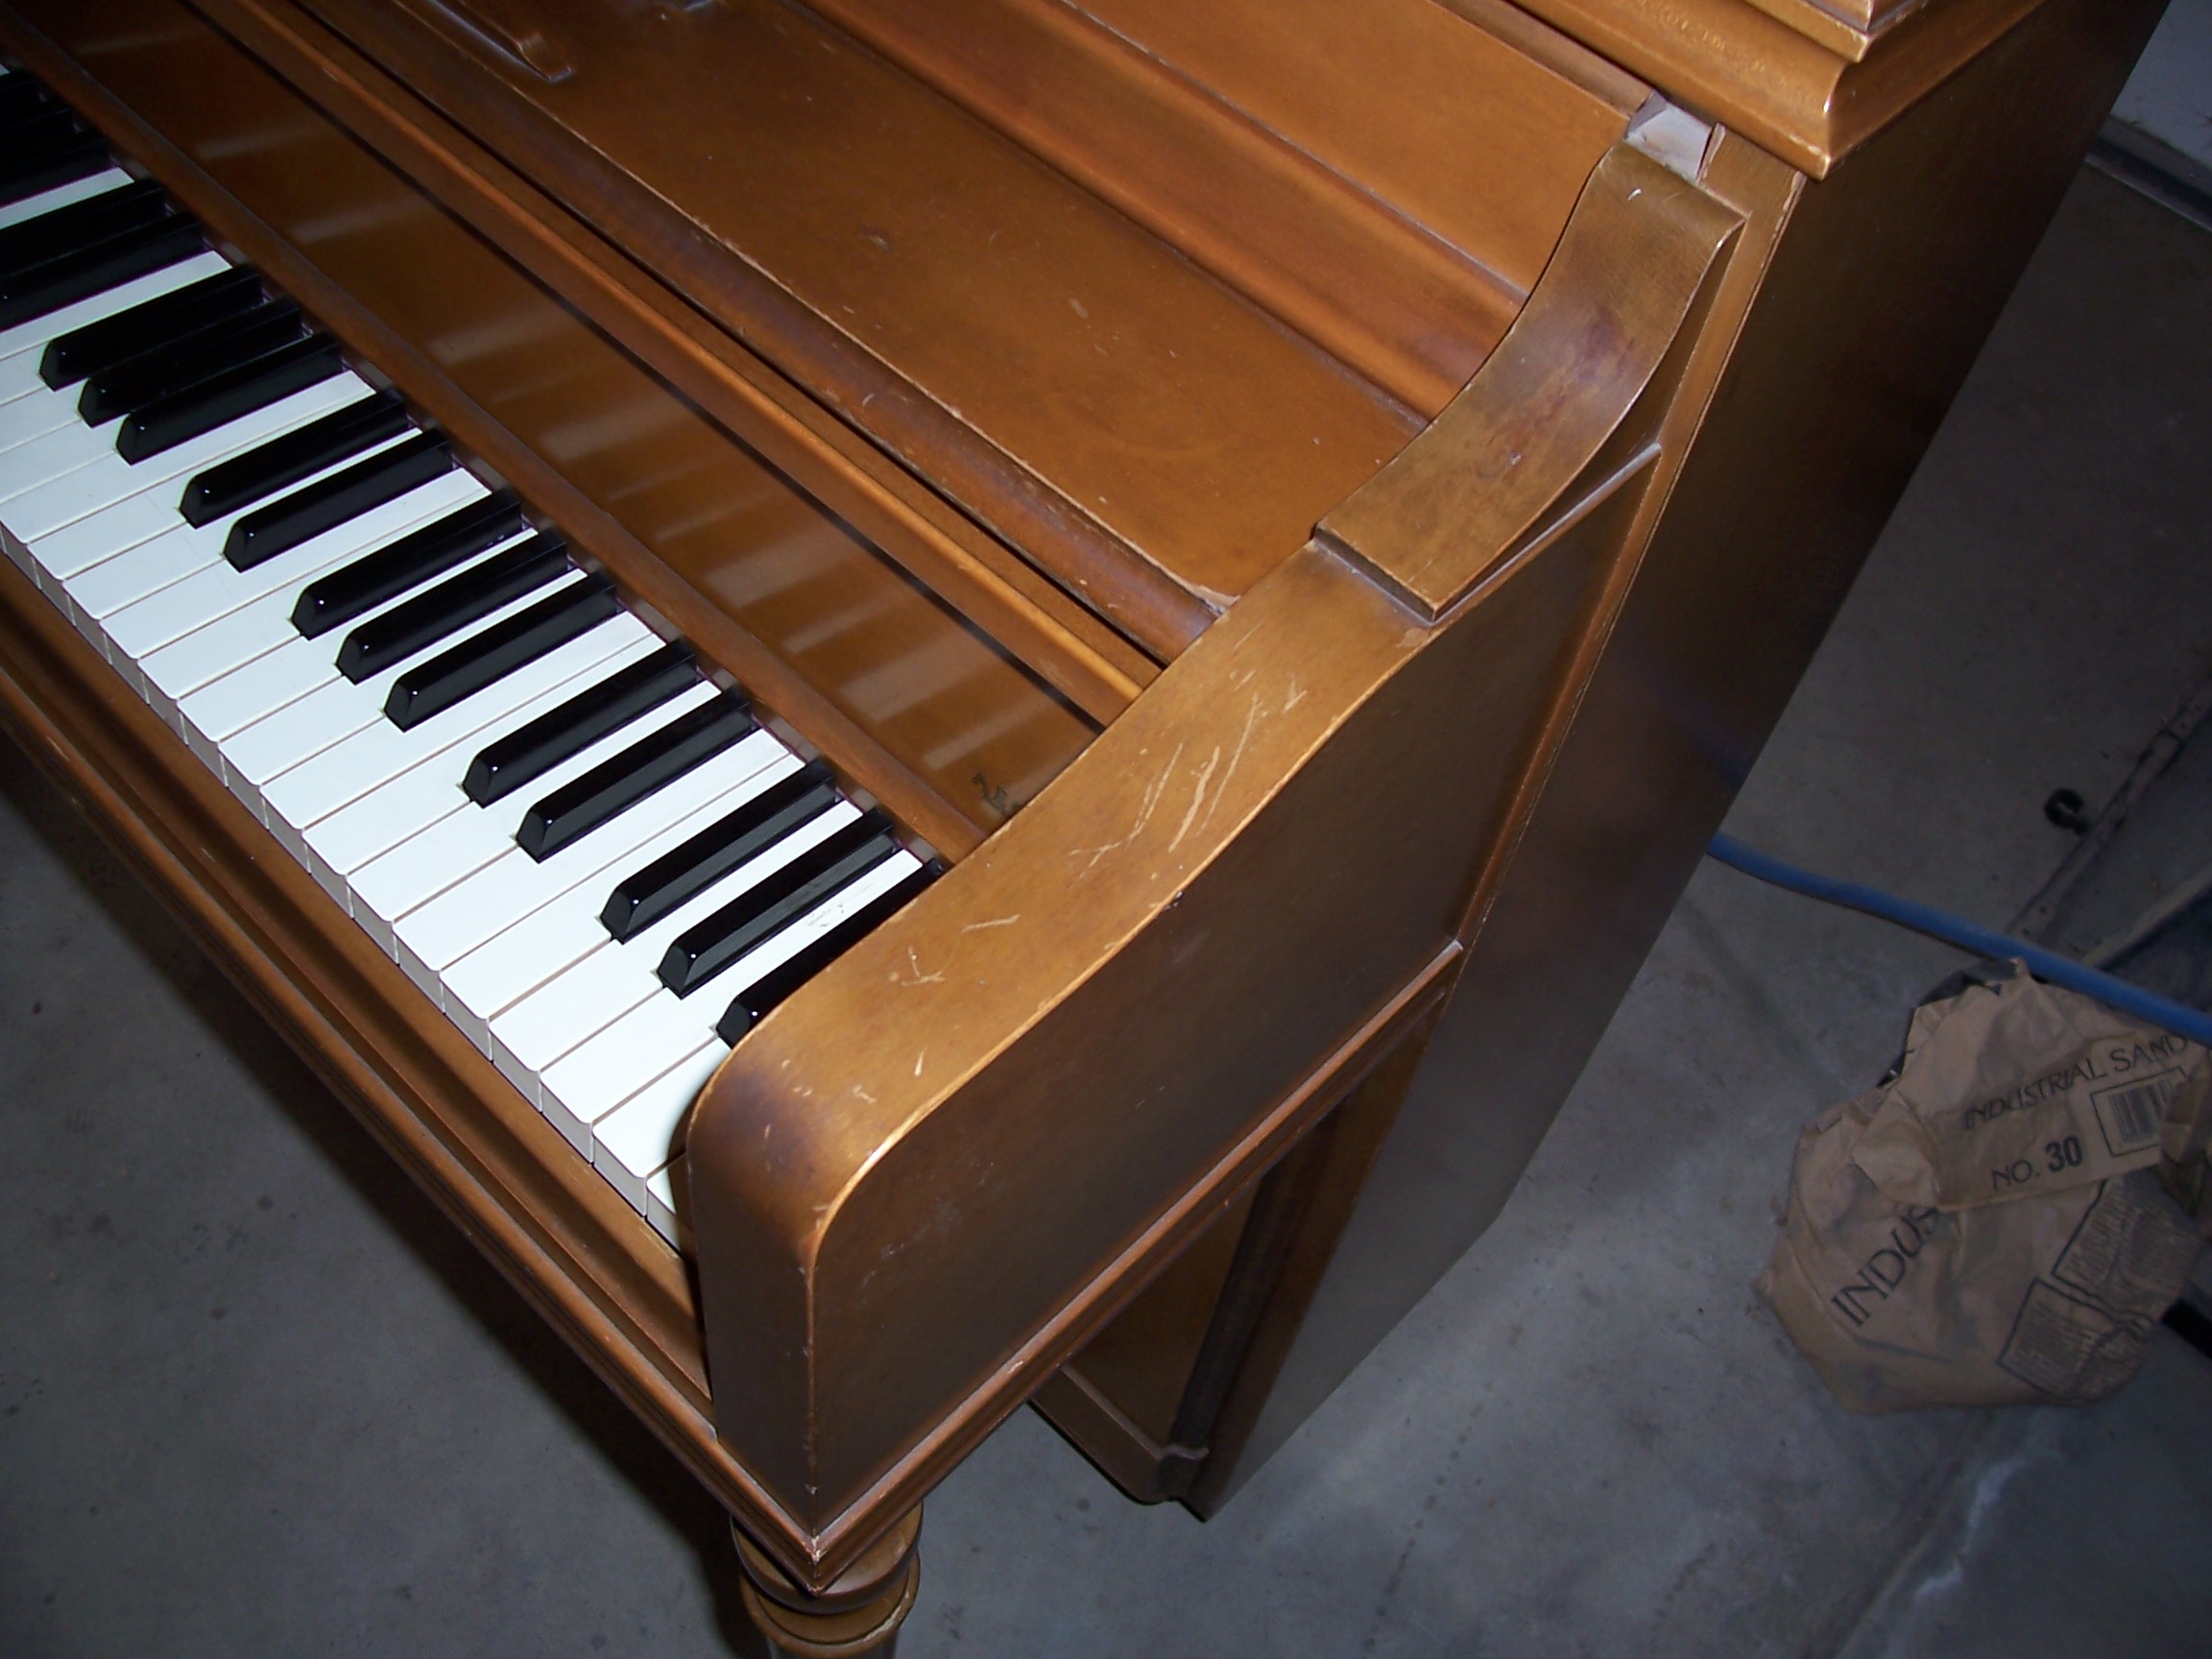
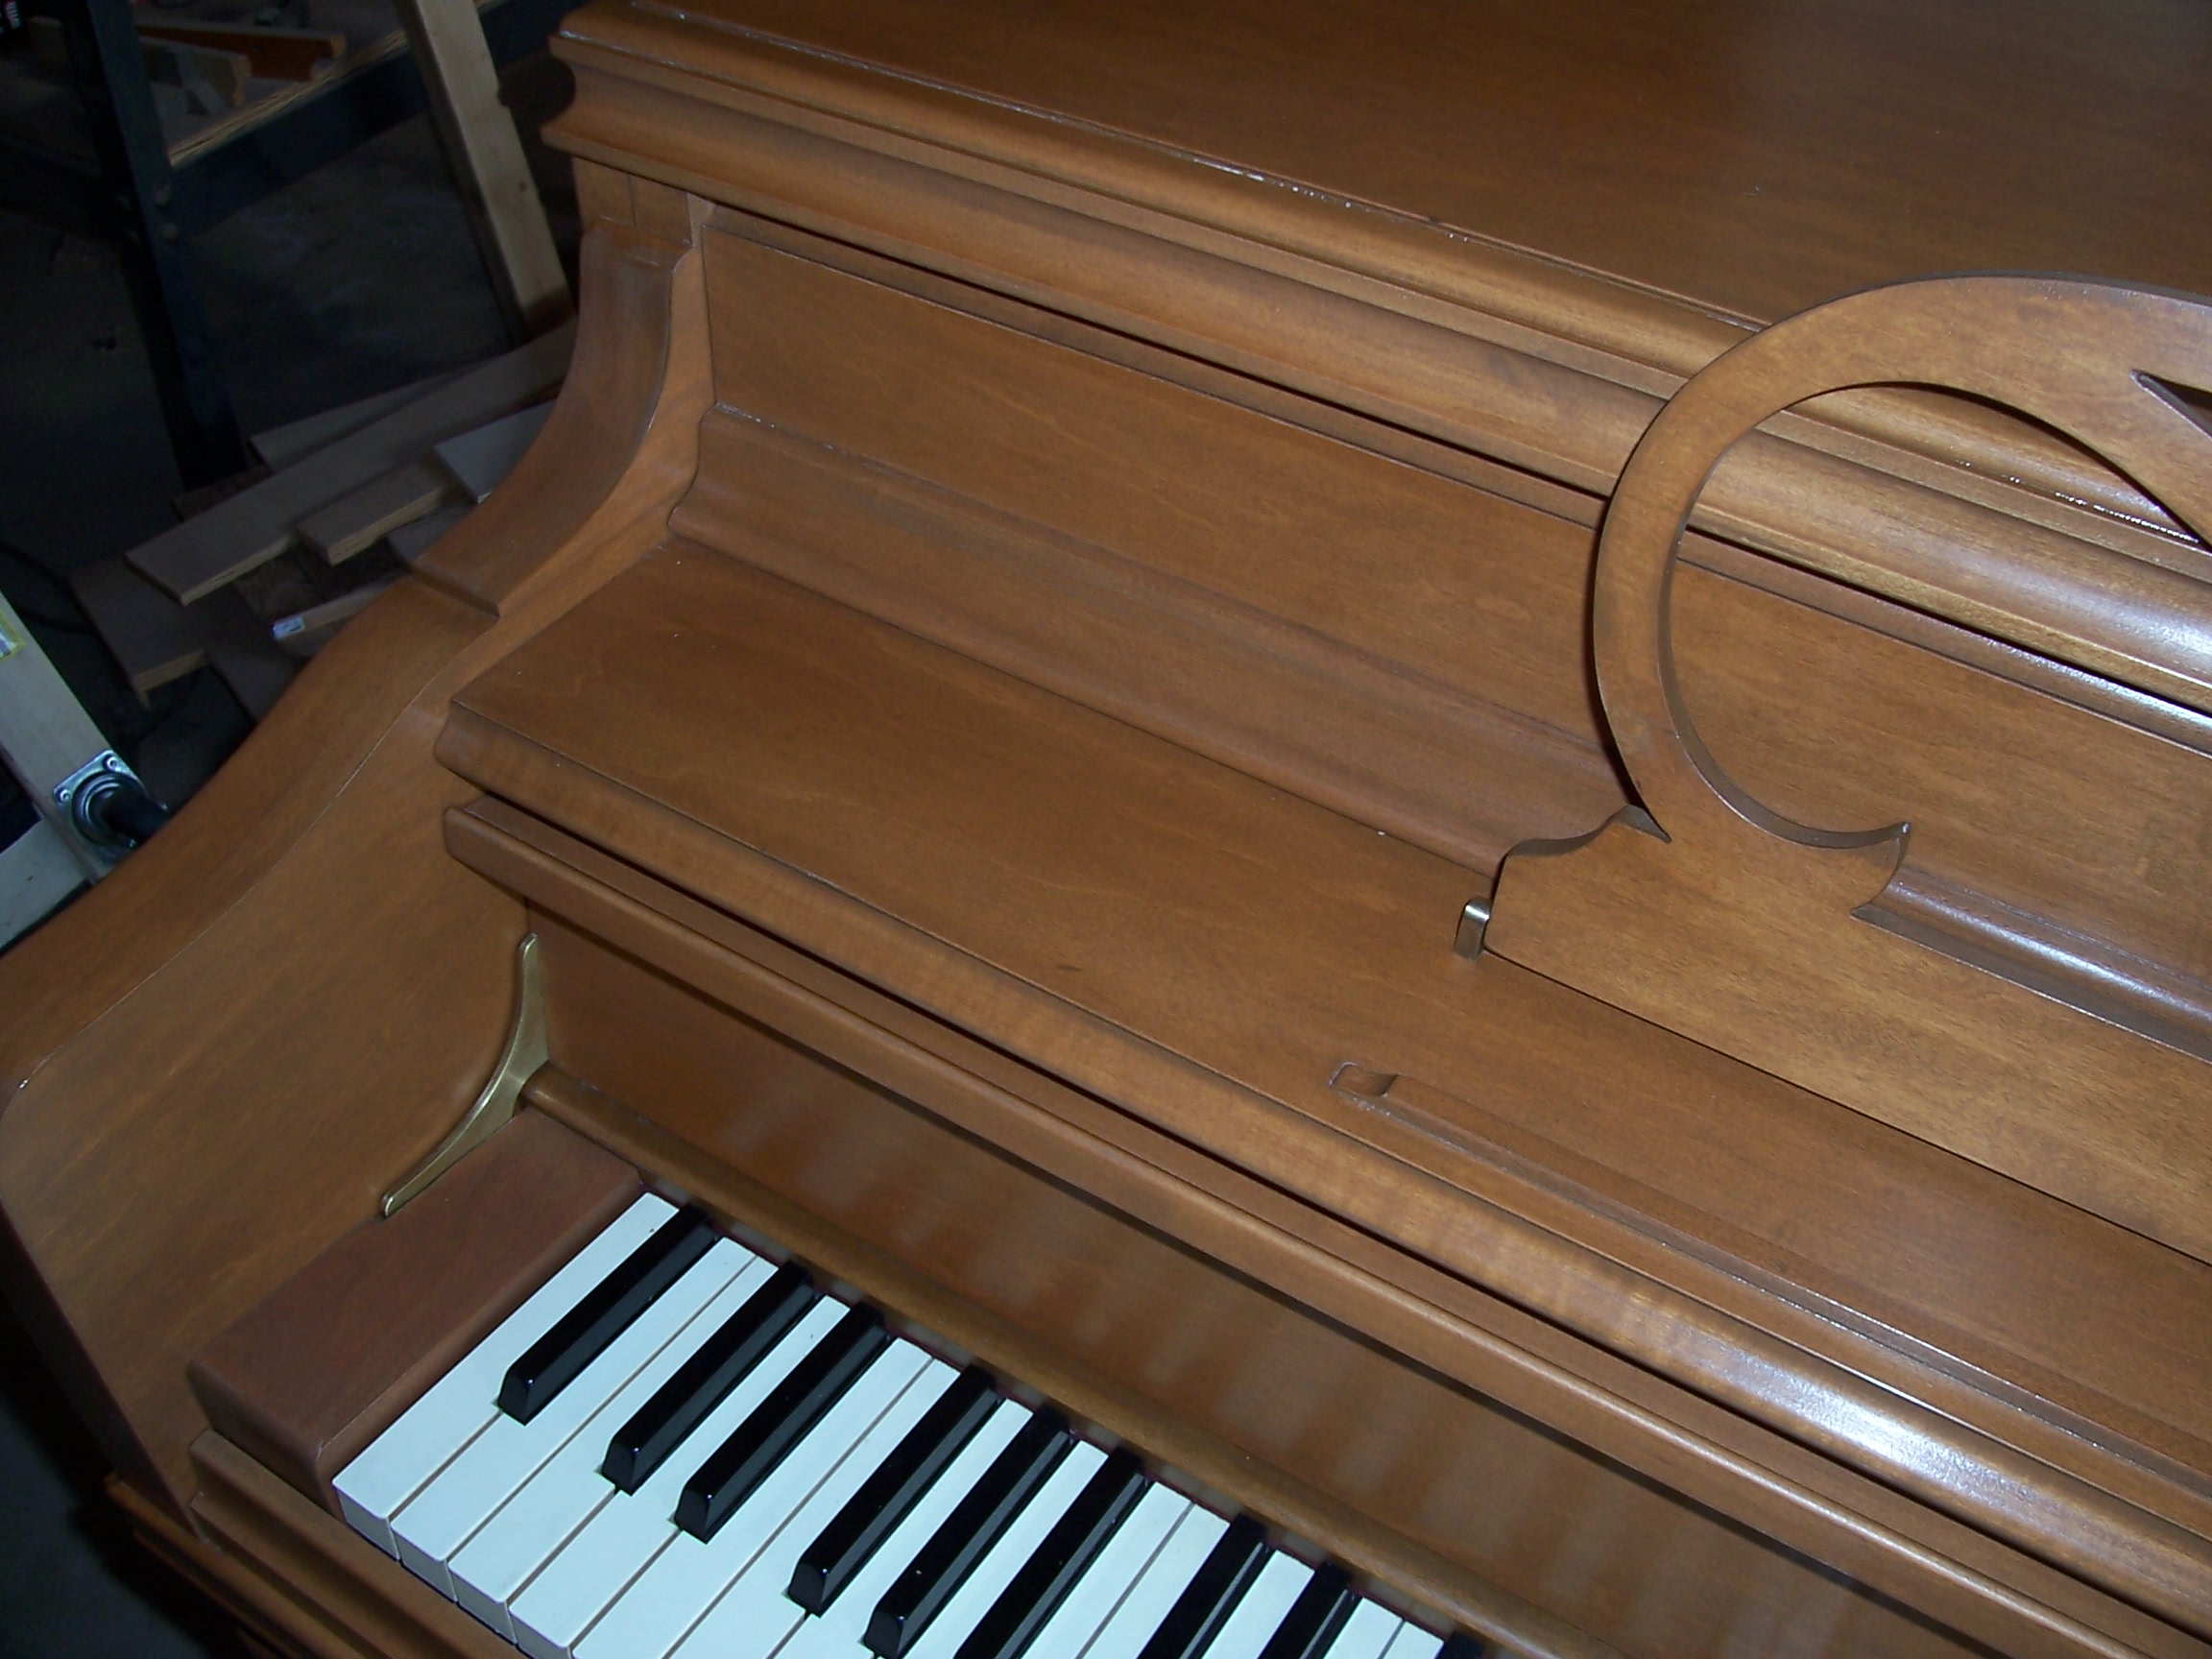
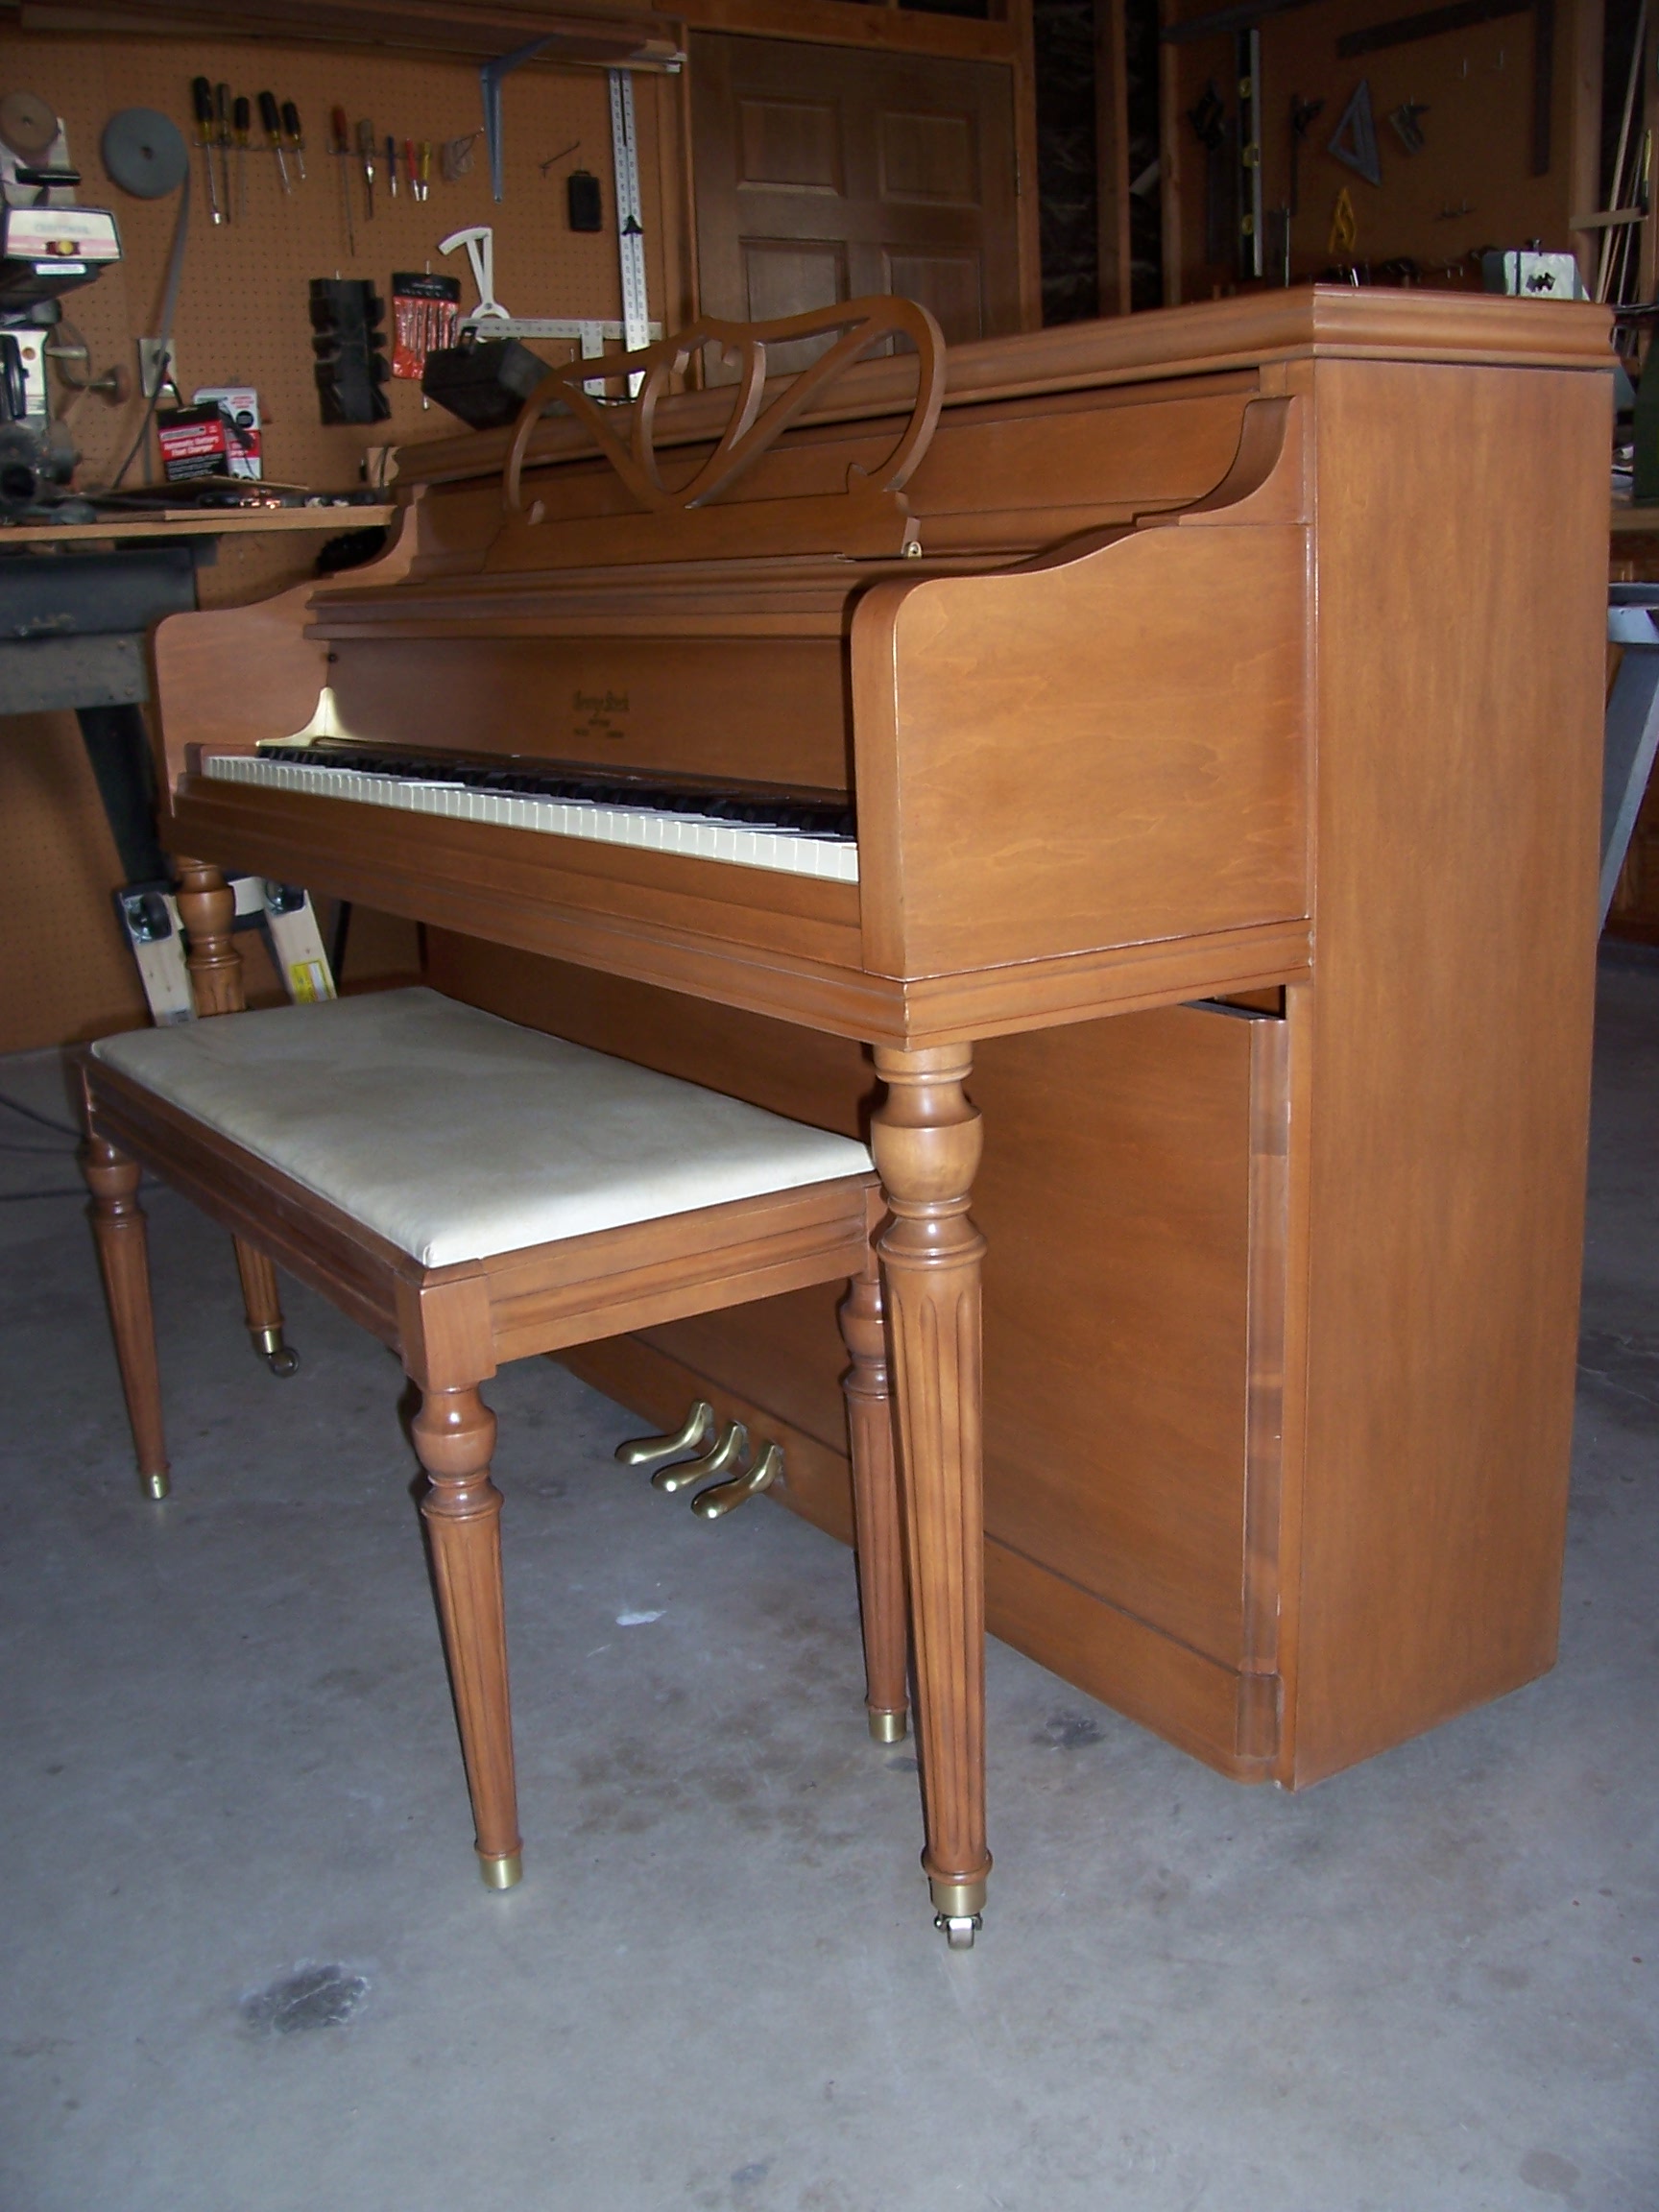
Although this piano could have been made very presentable with some minor repairs and a lot of touchup, the owner bought it new in 1959 and wanted it brought back to "like new" condition, which calls for complete refinishing. As you can see here, the top was in the worst shape and the music rack was broken, and the arms were scratched (below, left).
Complete disassembly is required to completely strip each component down to bare wood, repair any damage or veneer issues, then stain and finish. A complete knowledge of piano mechanics is necessary, as the action is shimmed at the factory for proper operation, and losing those adjustments could cause expensive regulation by a piano technician after refinishing.
As always, details are critical to a good refinishing project, and pianos have lots of details! All the brass fittings, hinges and pedals were badly tarnished and were polished back to the original satin finish. Good pianos from this era represented the highest levels of cabinet making and finishing in the furniture industry, with expensive, carefully matched hardwoods and veneers finished to a high level with lots of hand craftsmanship. Reproducing that level of craftsmanship requires using the same techniques. Unlike the teqhnique of "spray and walk away" used in modern, mass-produced furniture, these pianos were hand rubbed to a satin sheen after the final coats of lacquer were applied. The hand rubbing and polishing of brass components on this piano required over 6 hours!
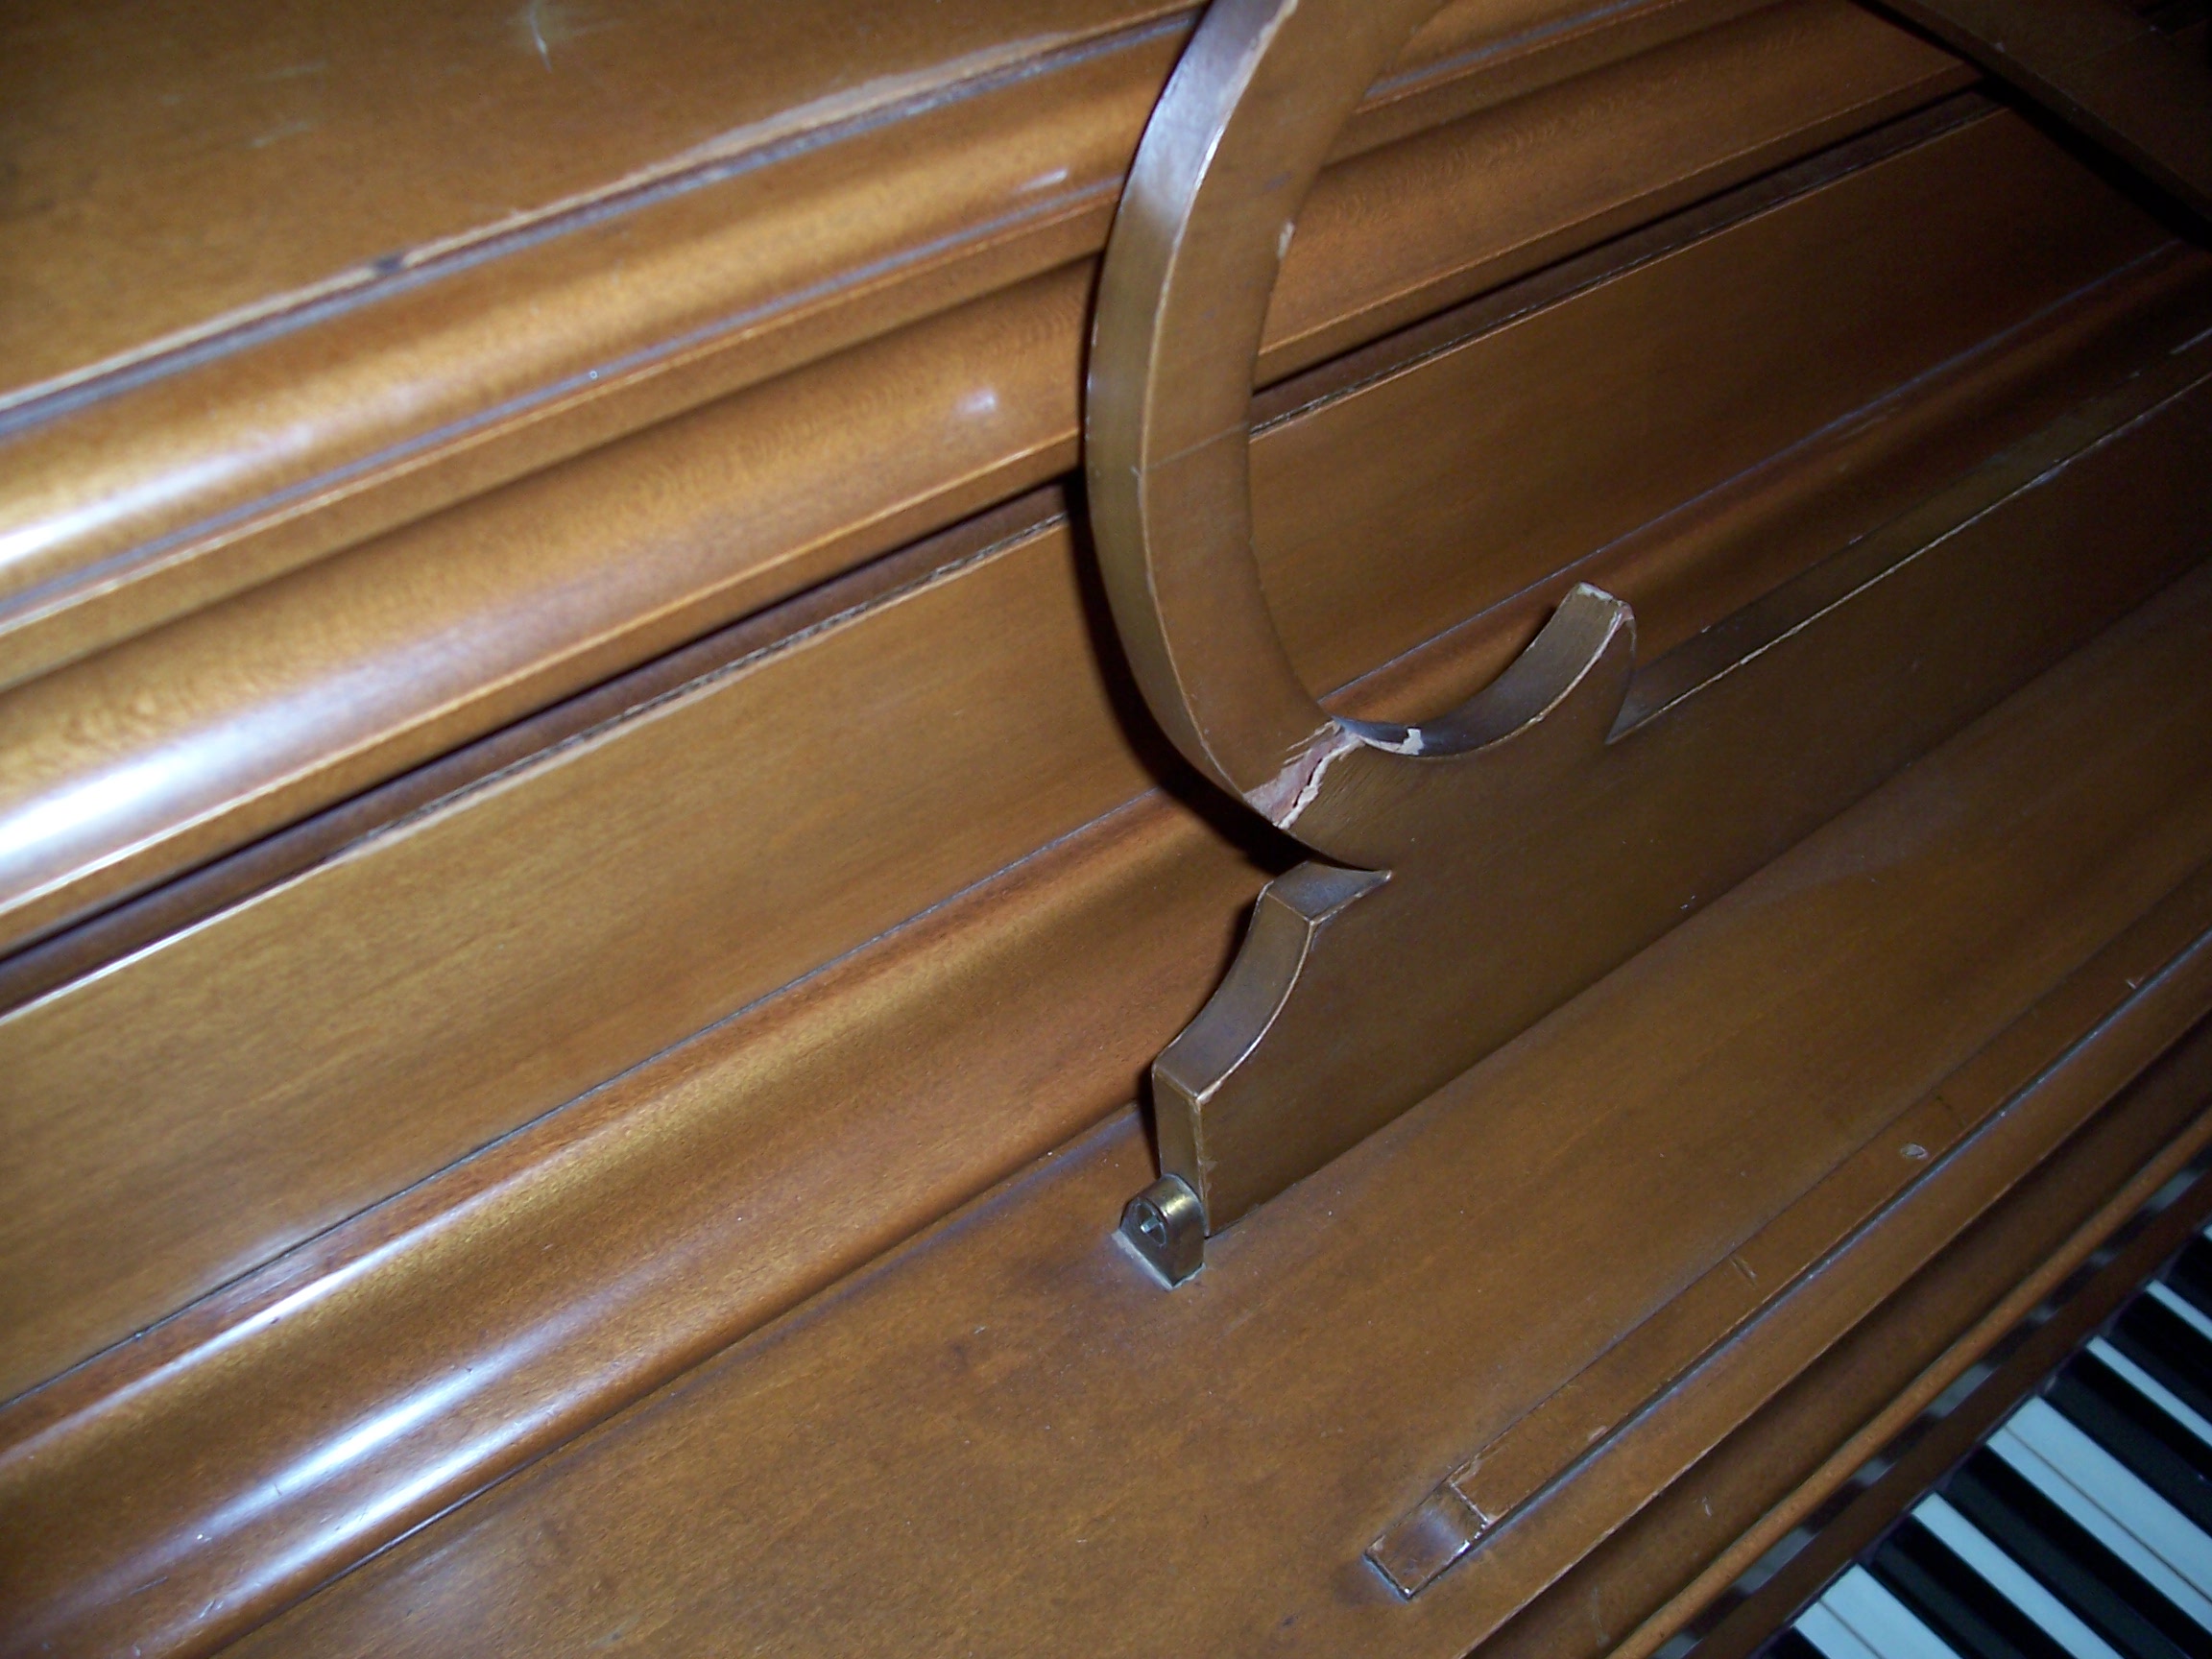
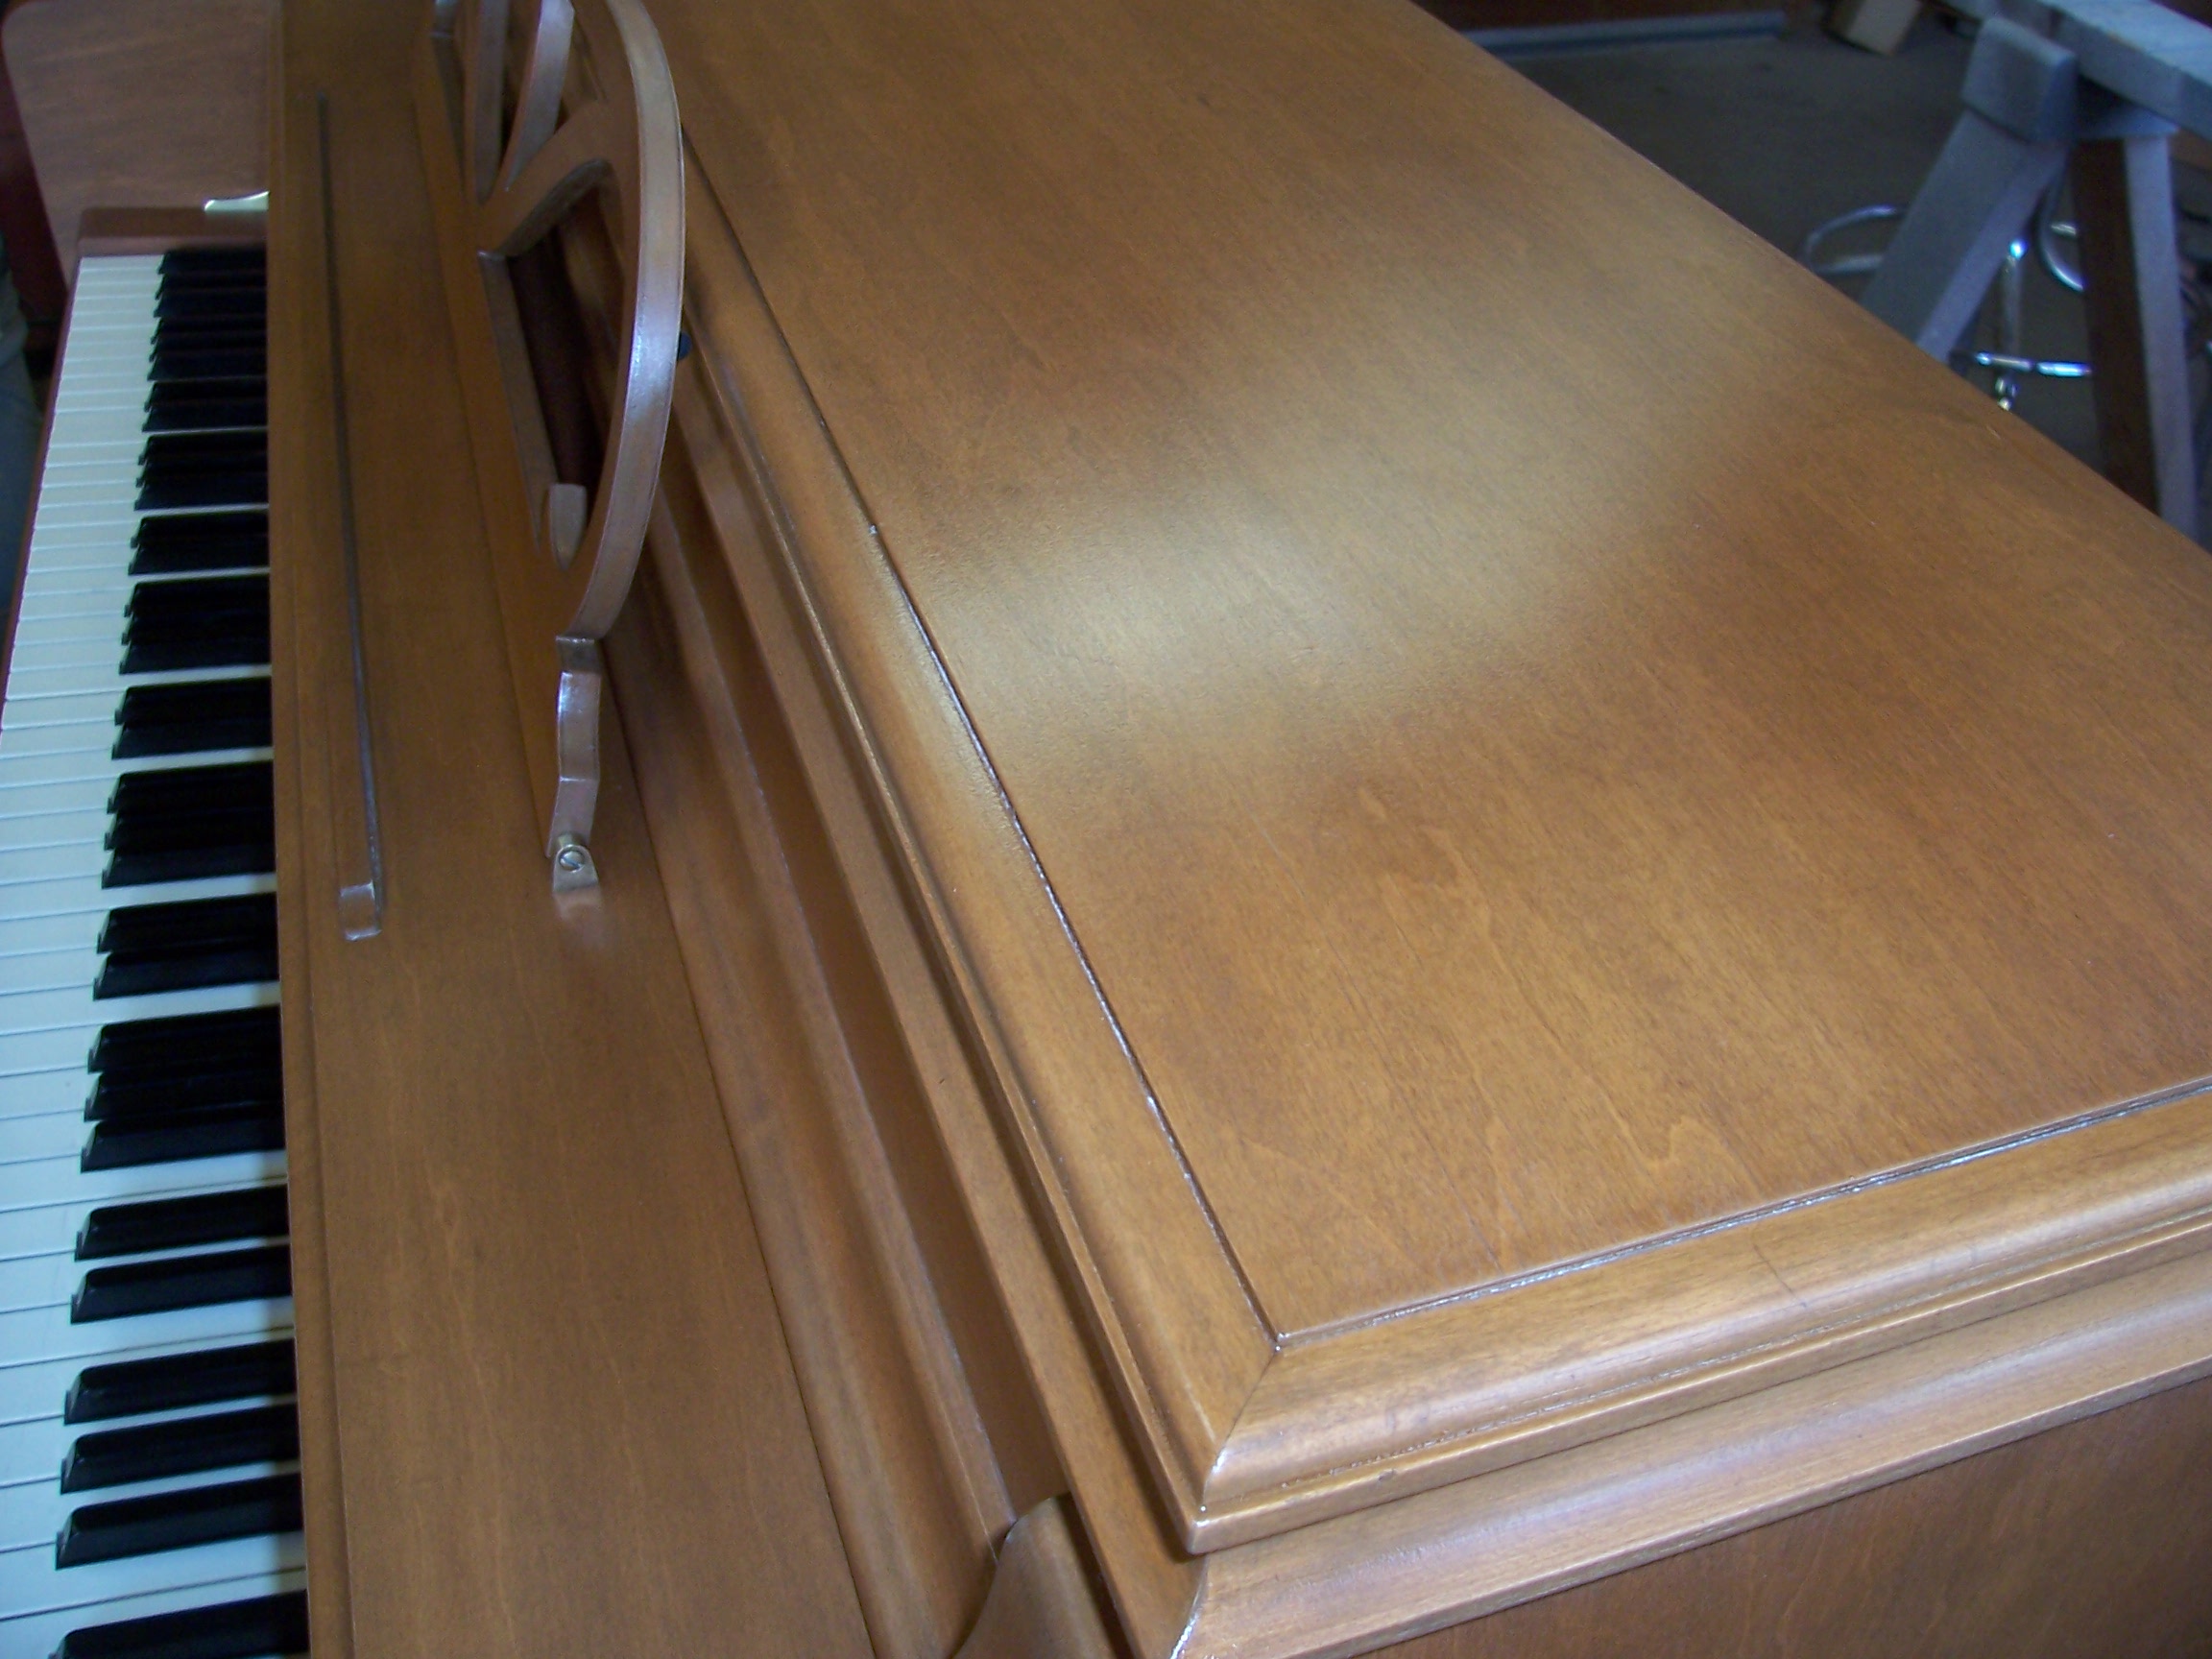
Broken music rack
repaired. --->
Another detail is the replacment of the factory decal, which is sealed between 8 coats of lacquer.
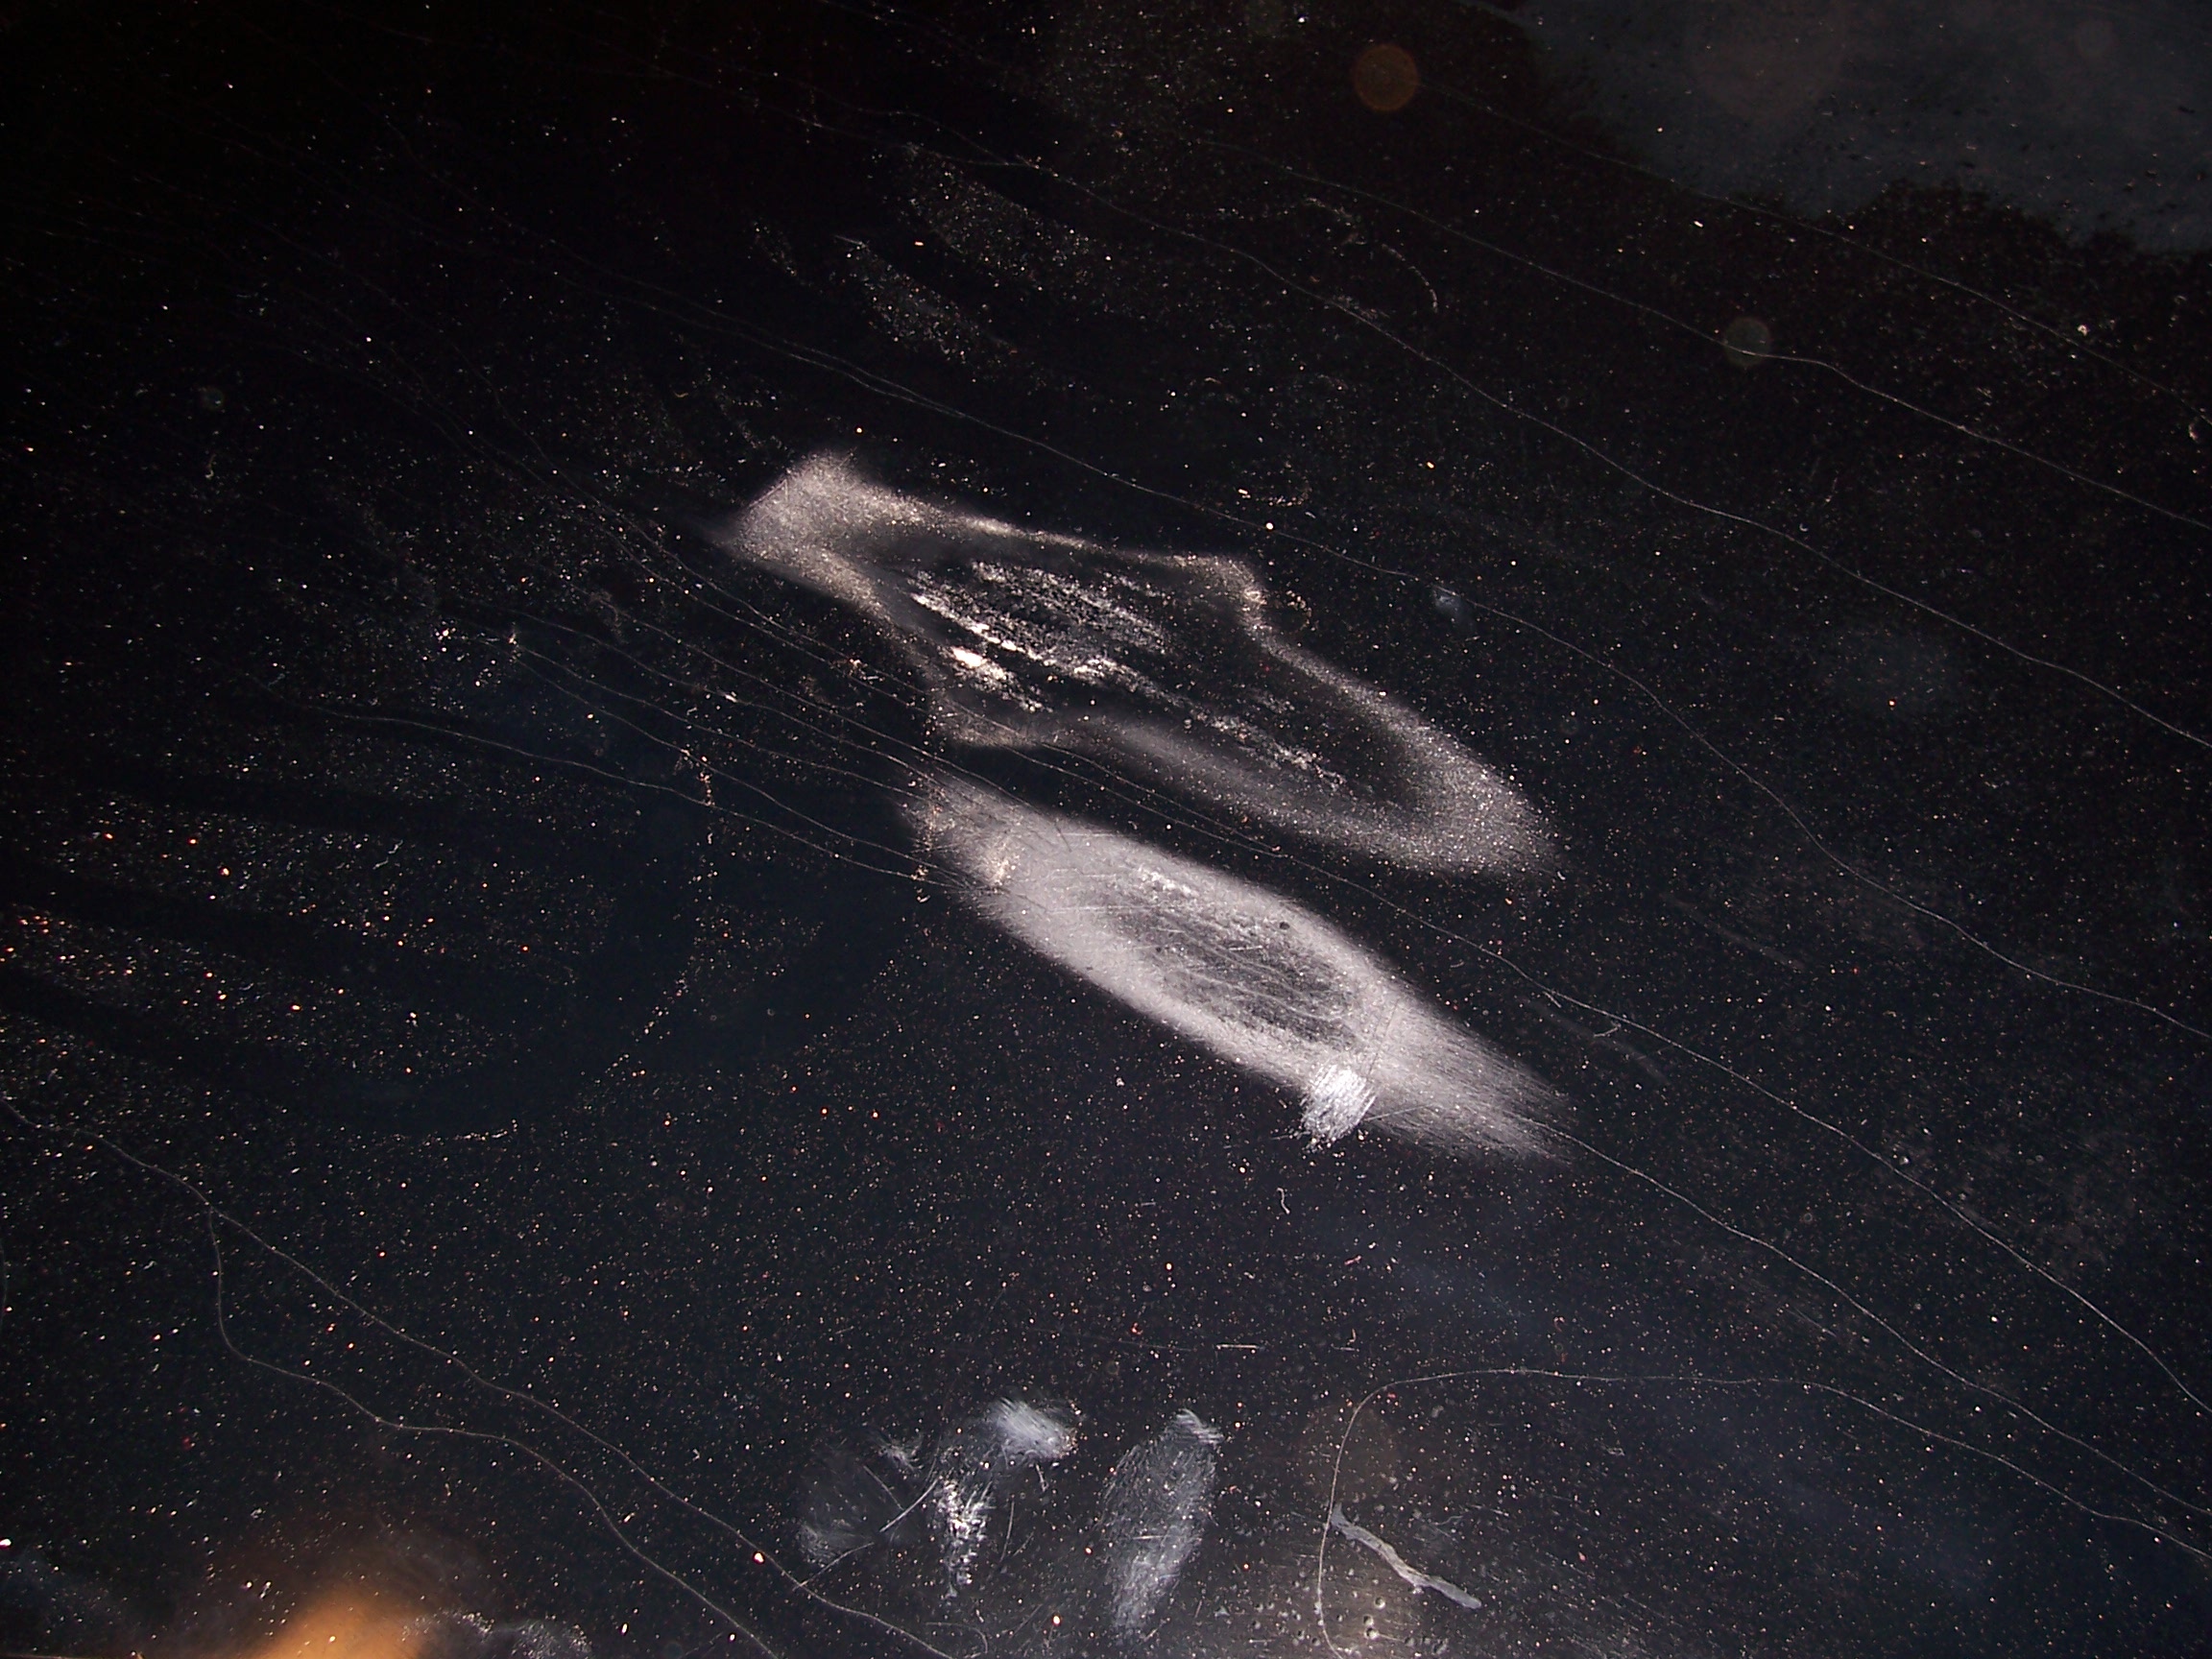
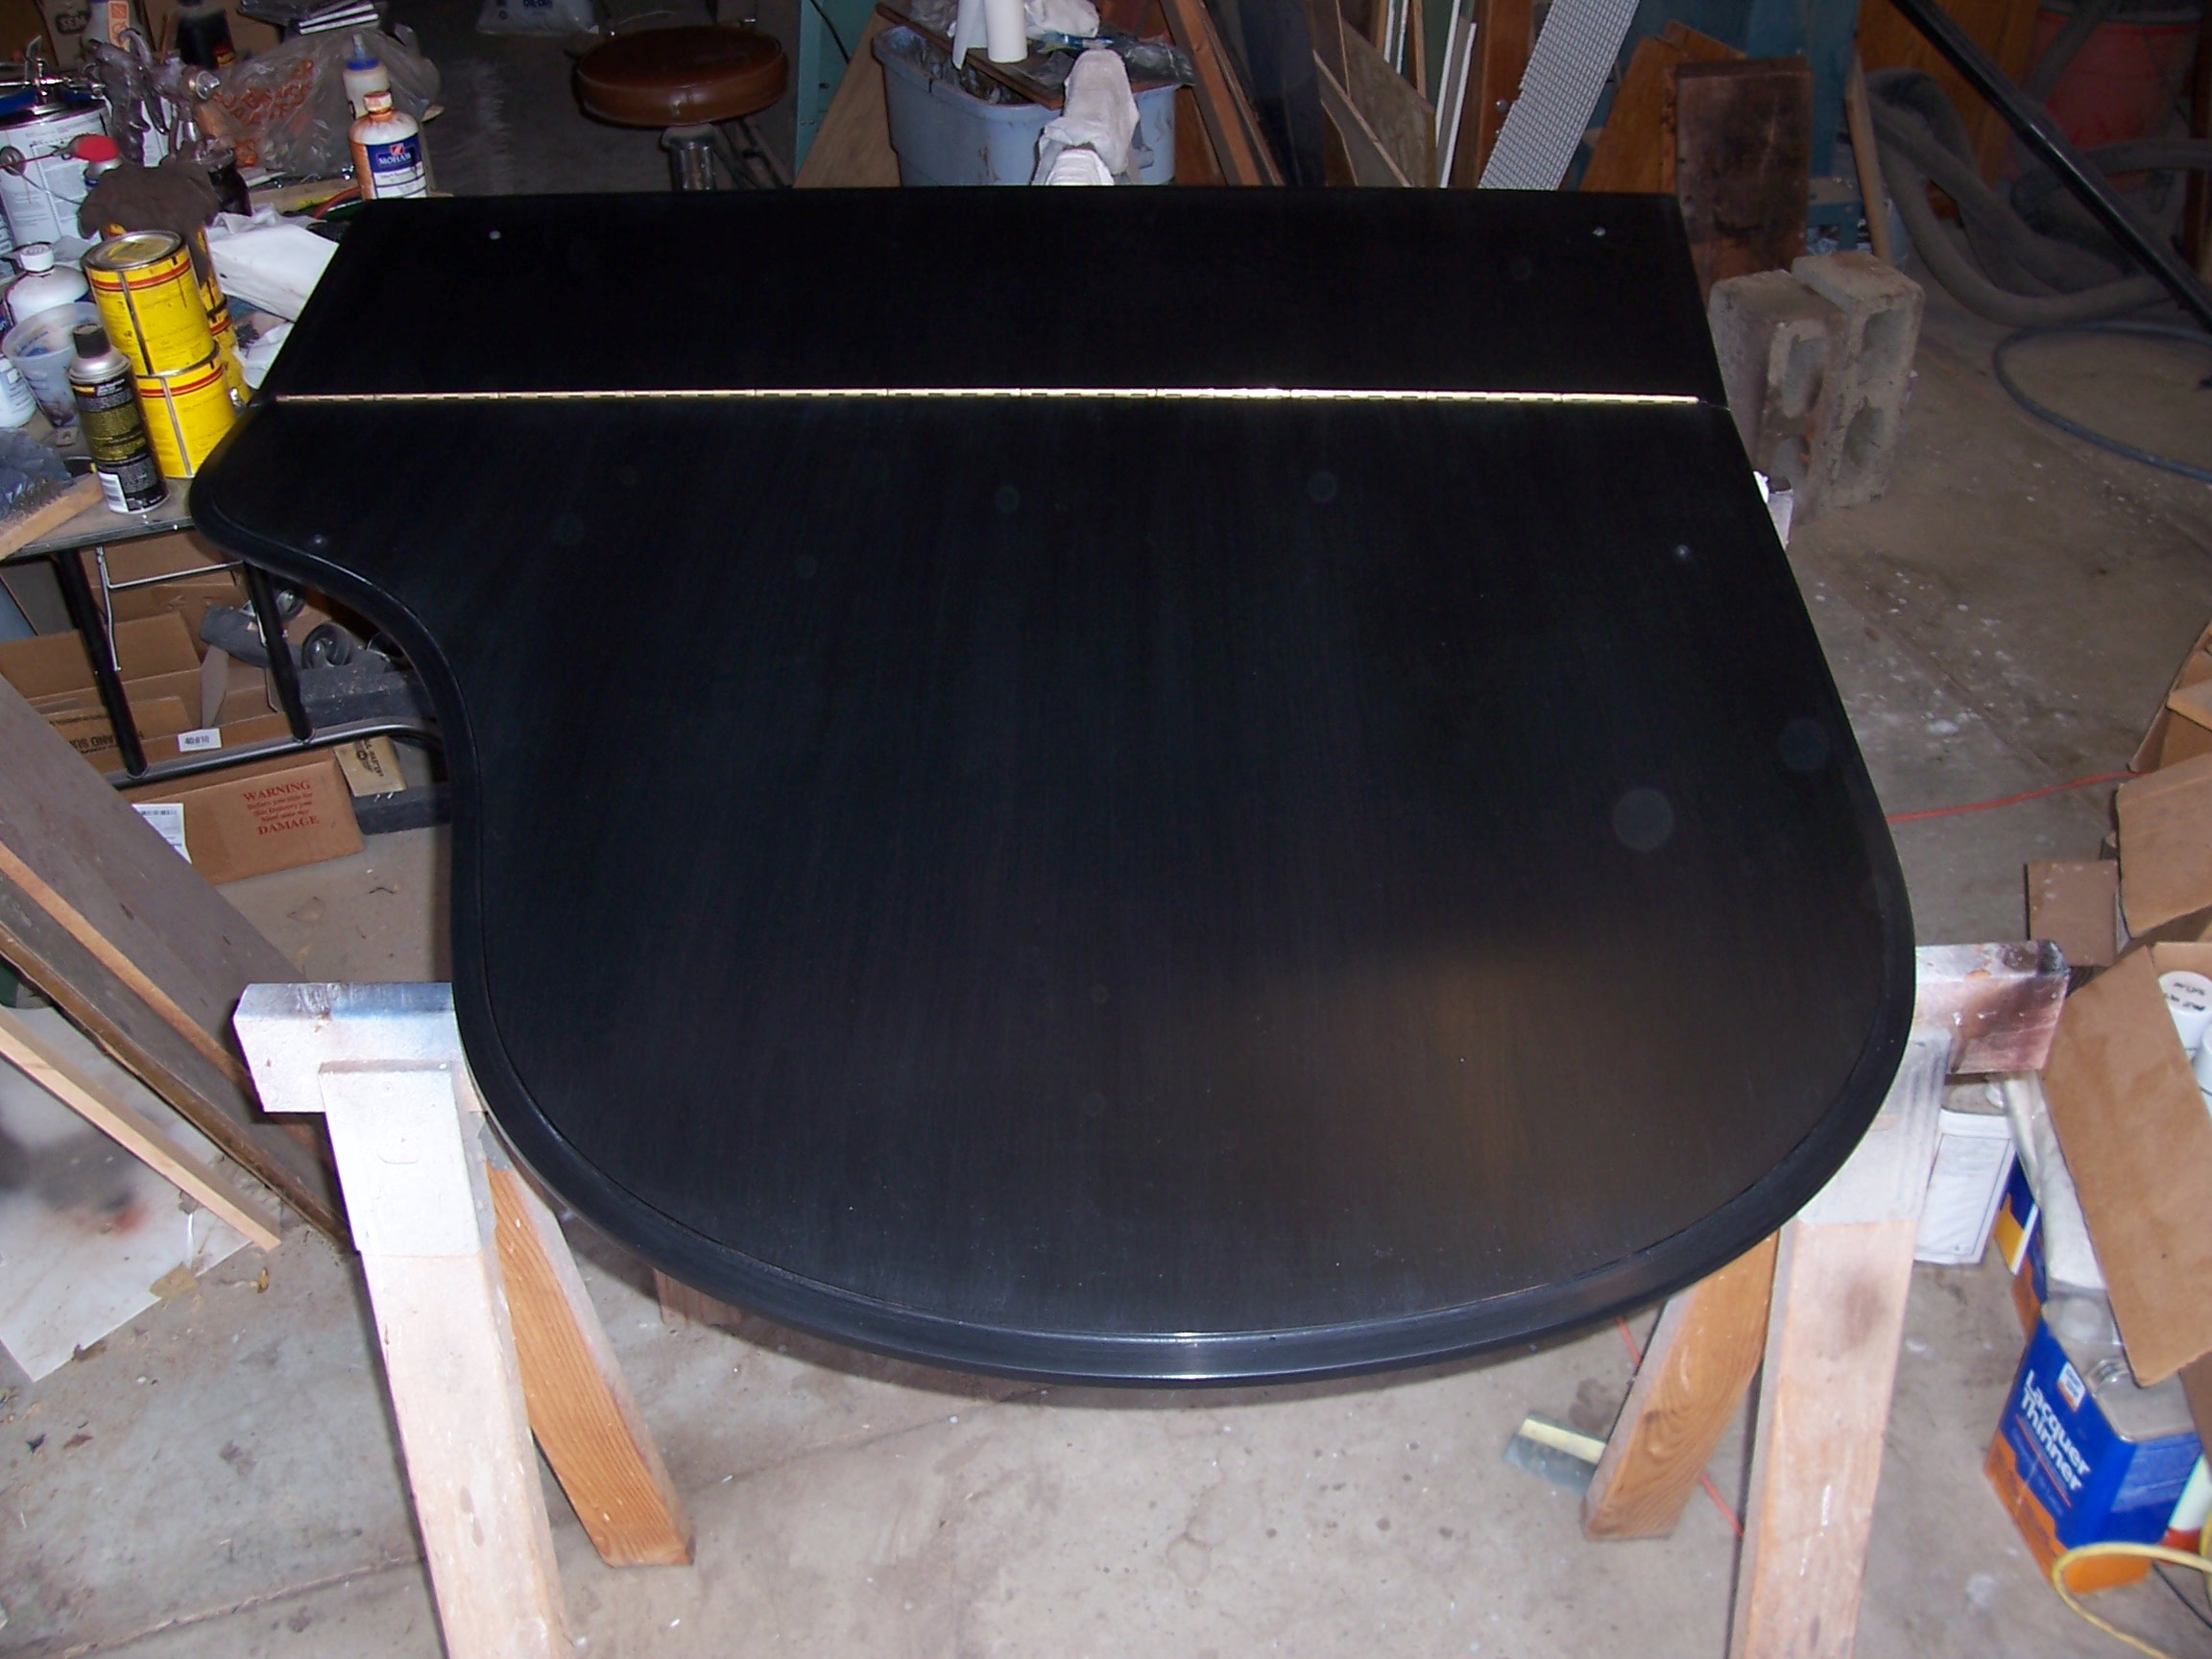
"Black magic Steinway"
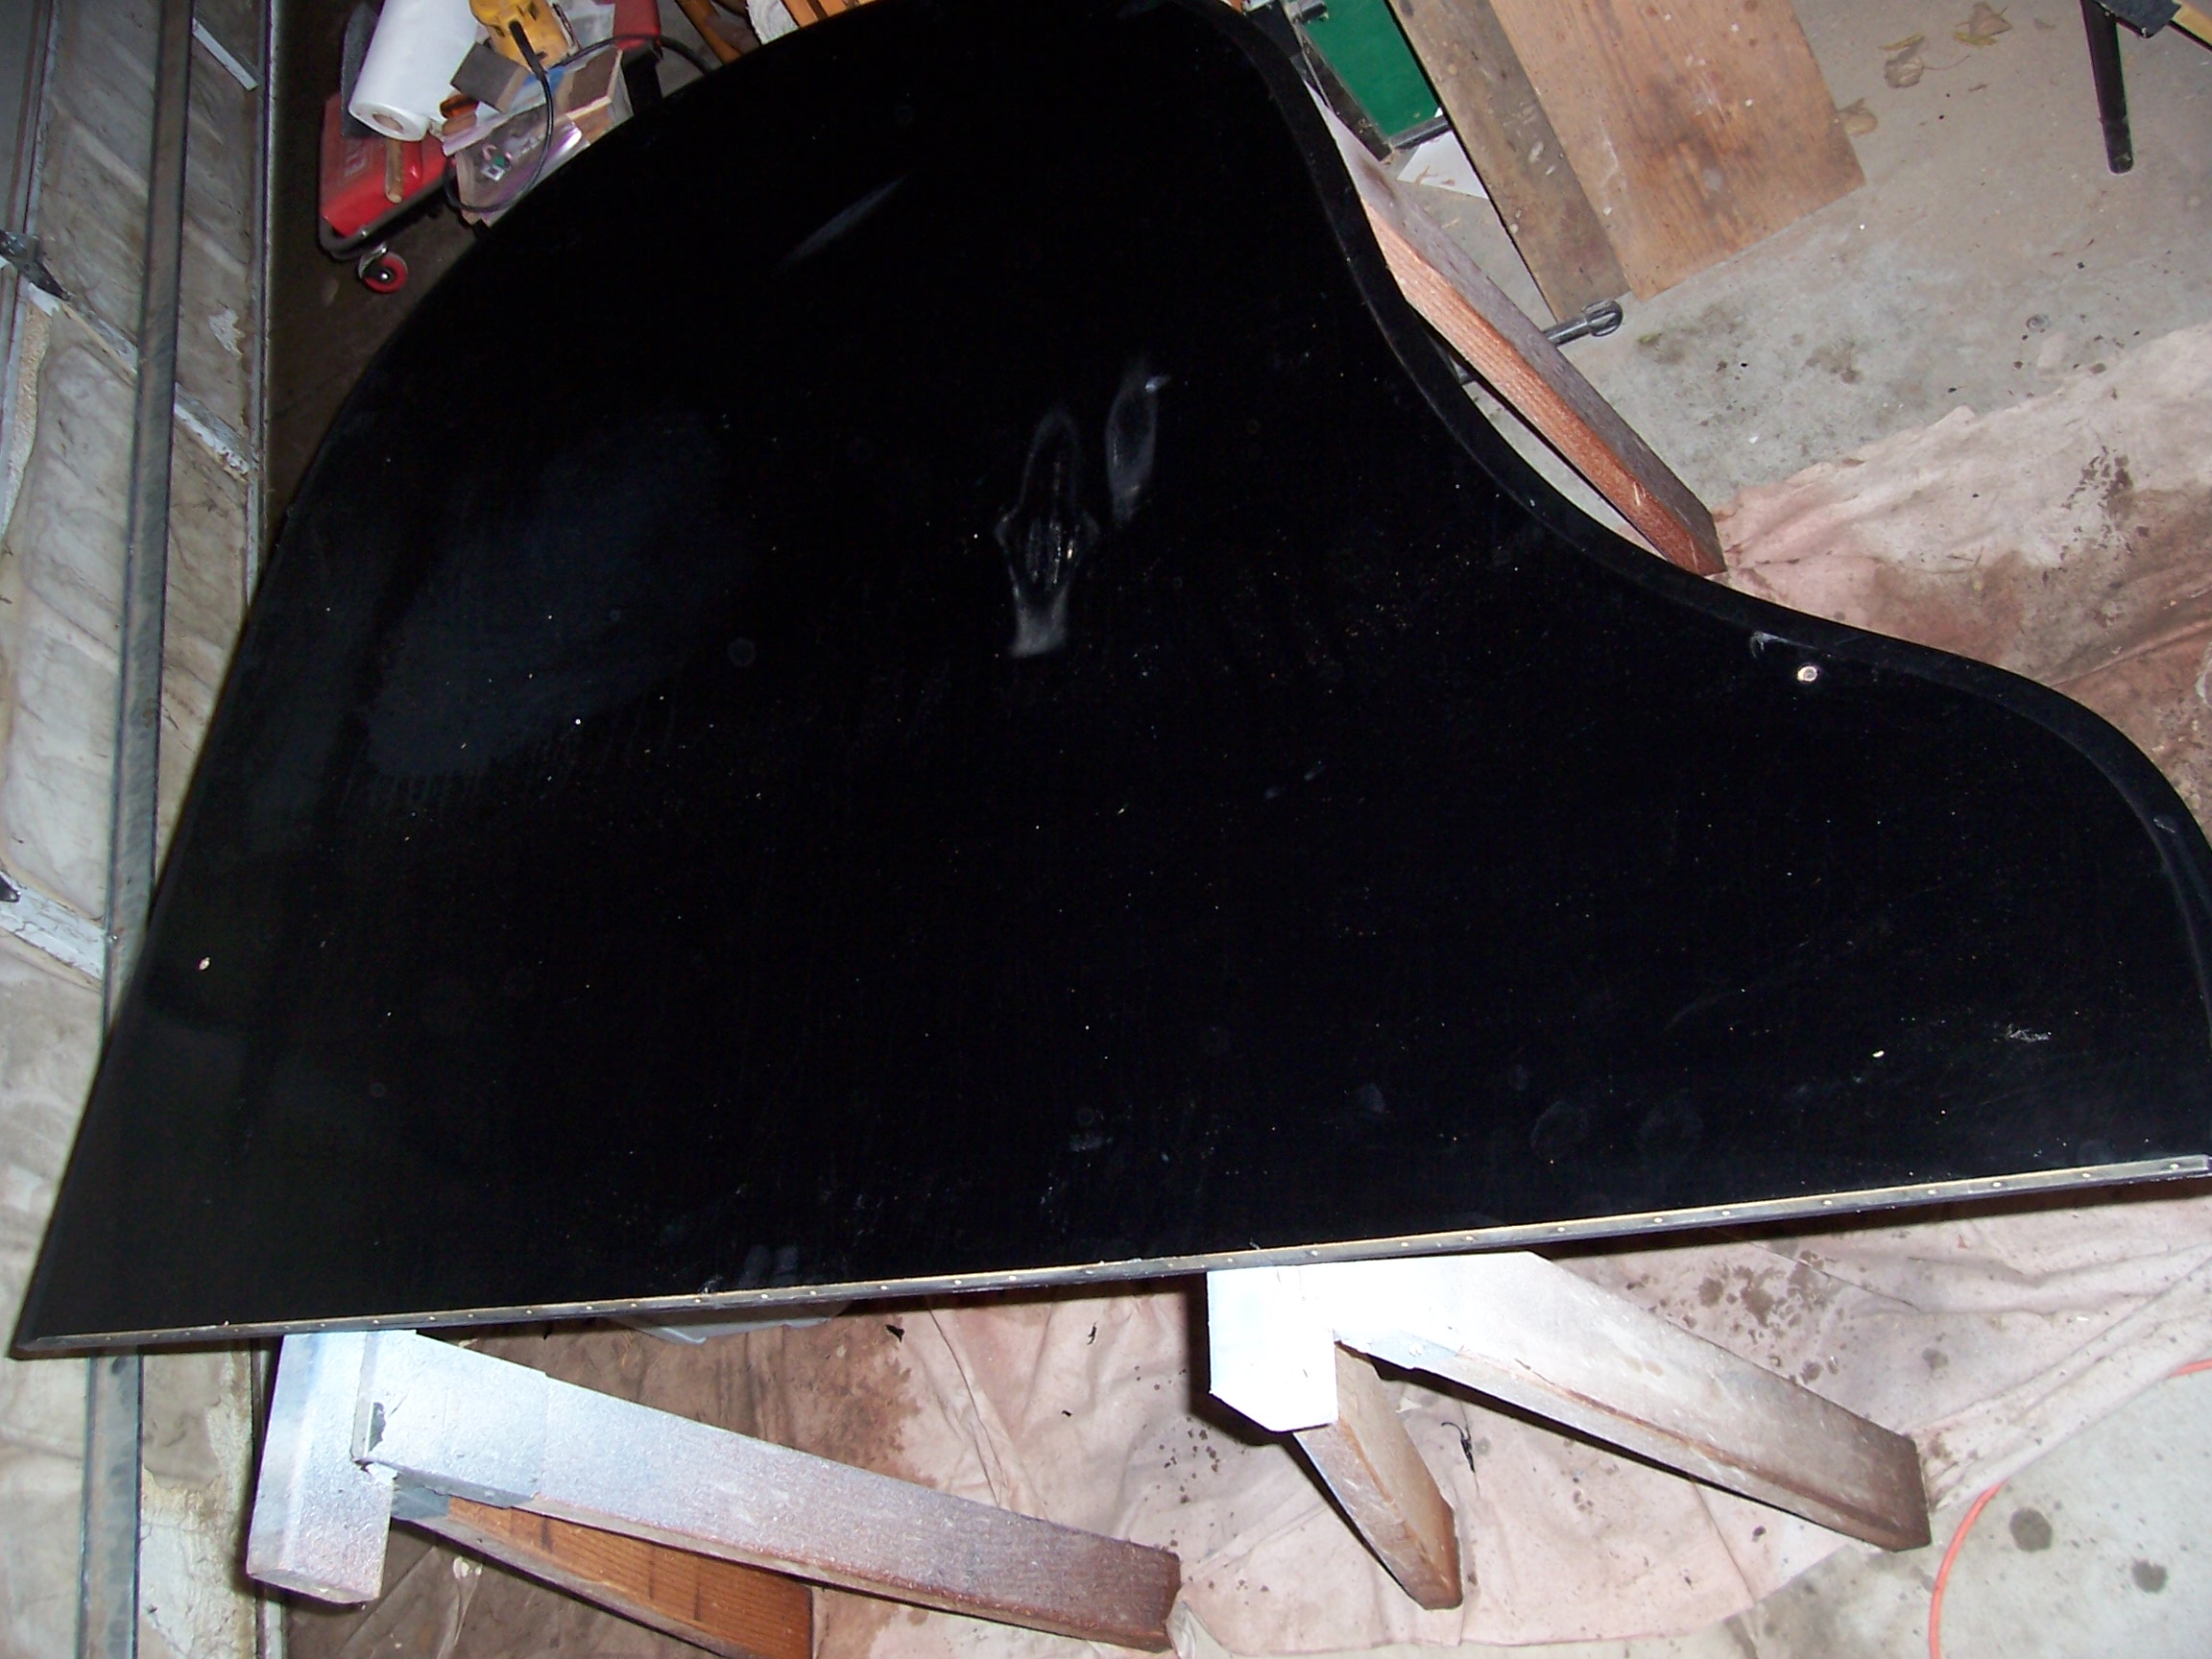
After a little more than 30 years of regular use, the normal wear of this Steinway grand was accelerated by a major spill on the lid, creating the need to refinish it. The ebonized (satin black) finish is always the toughest to finish, as every imperfection shows when the light hits it, so special experience is needed to duplicate a factory-quality finish. The fact that the finish "checked", or developed alligator cracks in the finish necessitated striping back to bare wood. Checking occurs when the wood expands and contracts over years, and the finish dries out and loses it's ability to expand and contract with the wood. The only solution is to completely remove the damaged finish and start from the beginning.
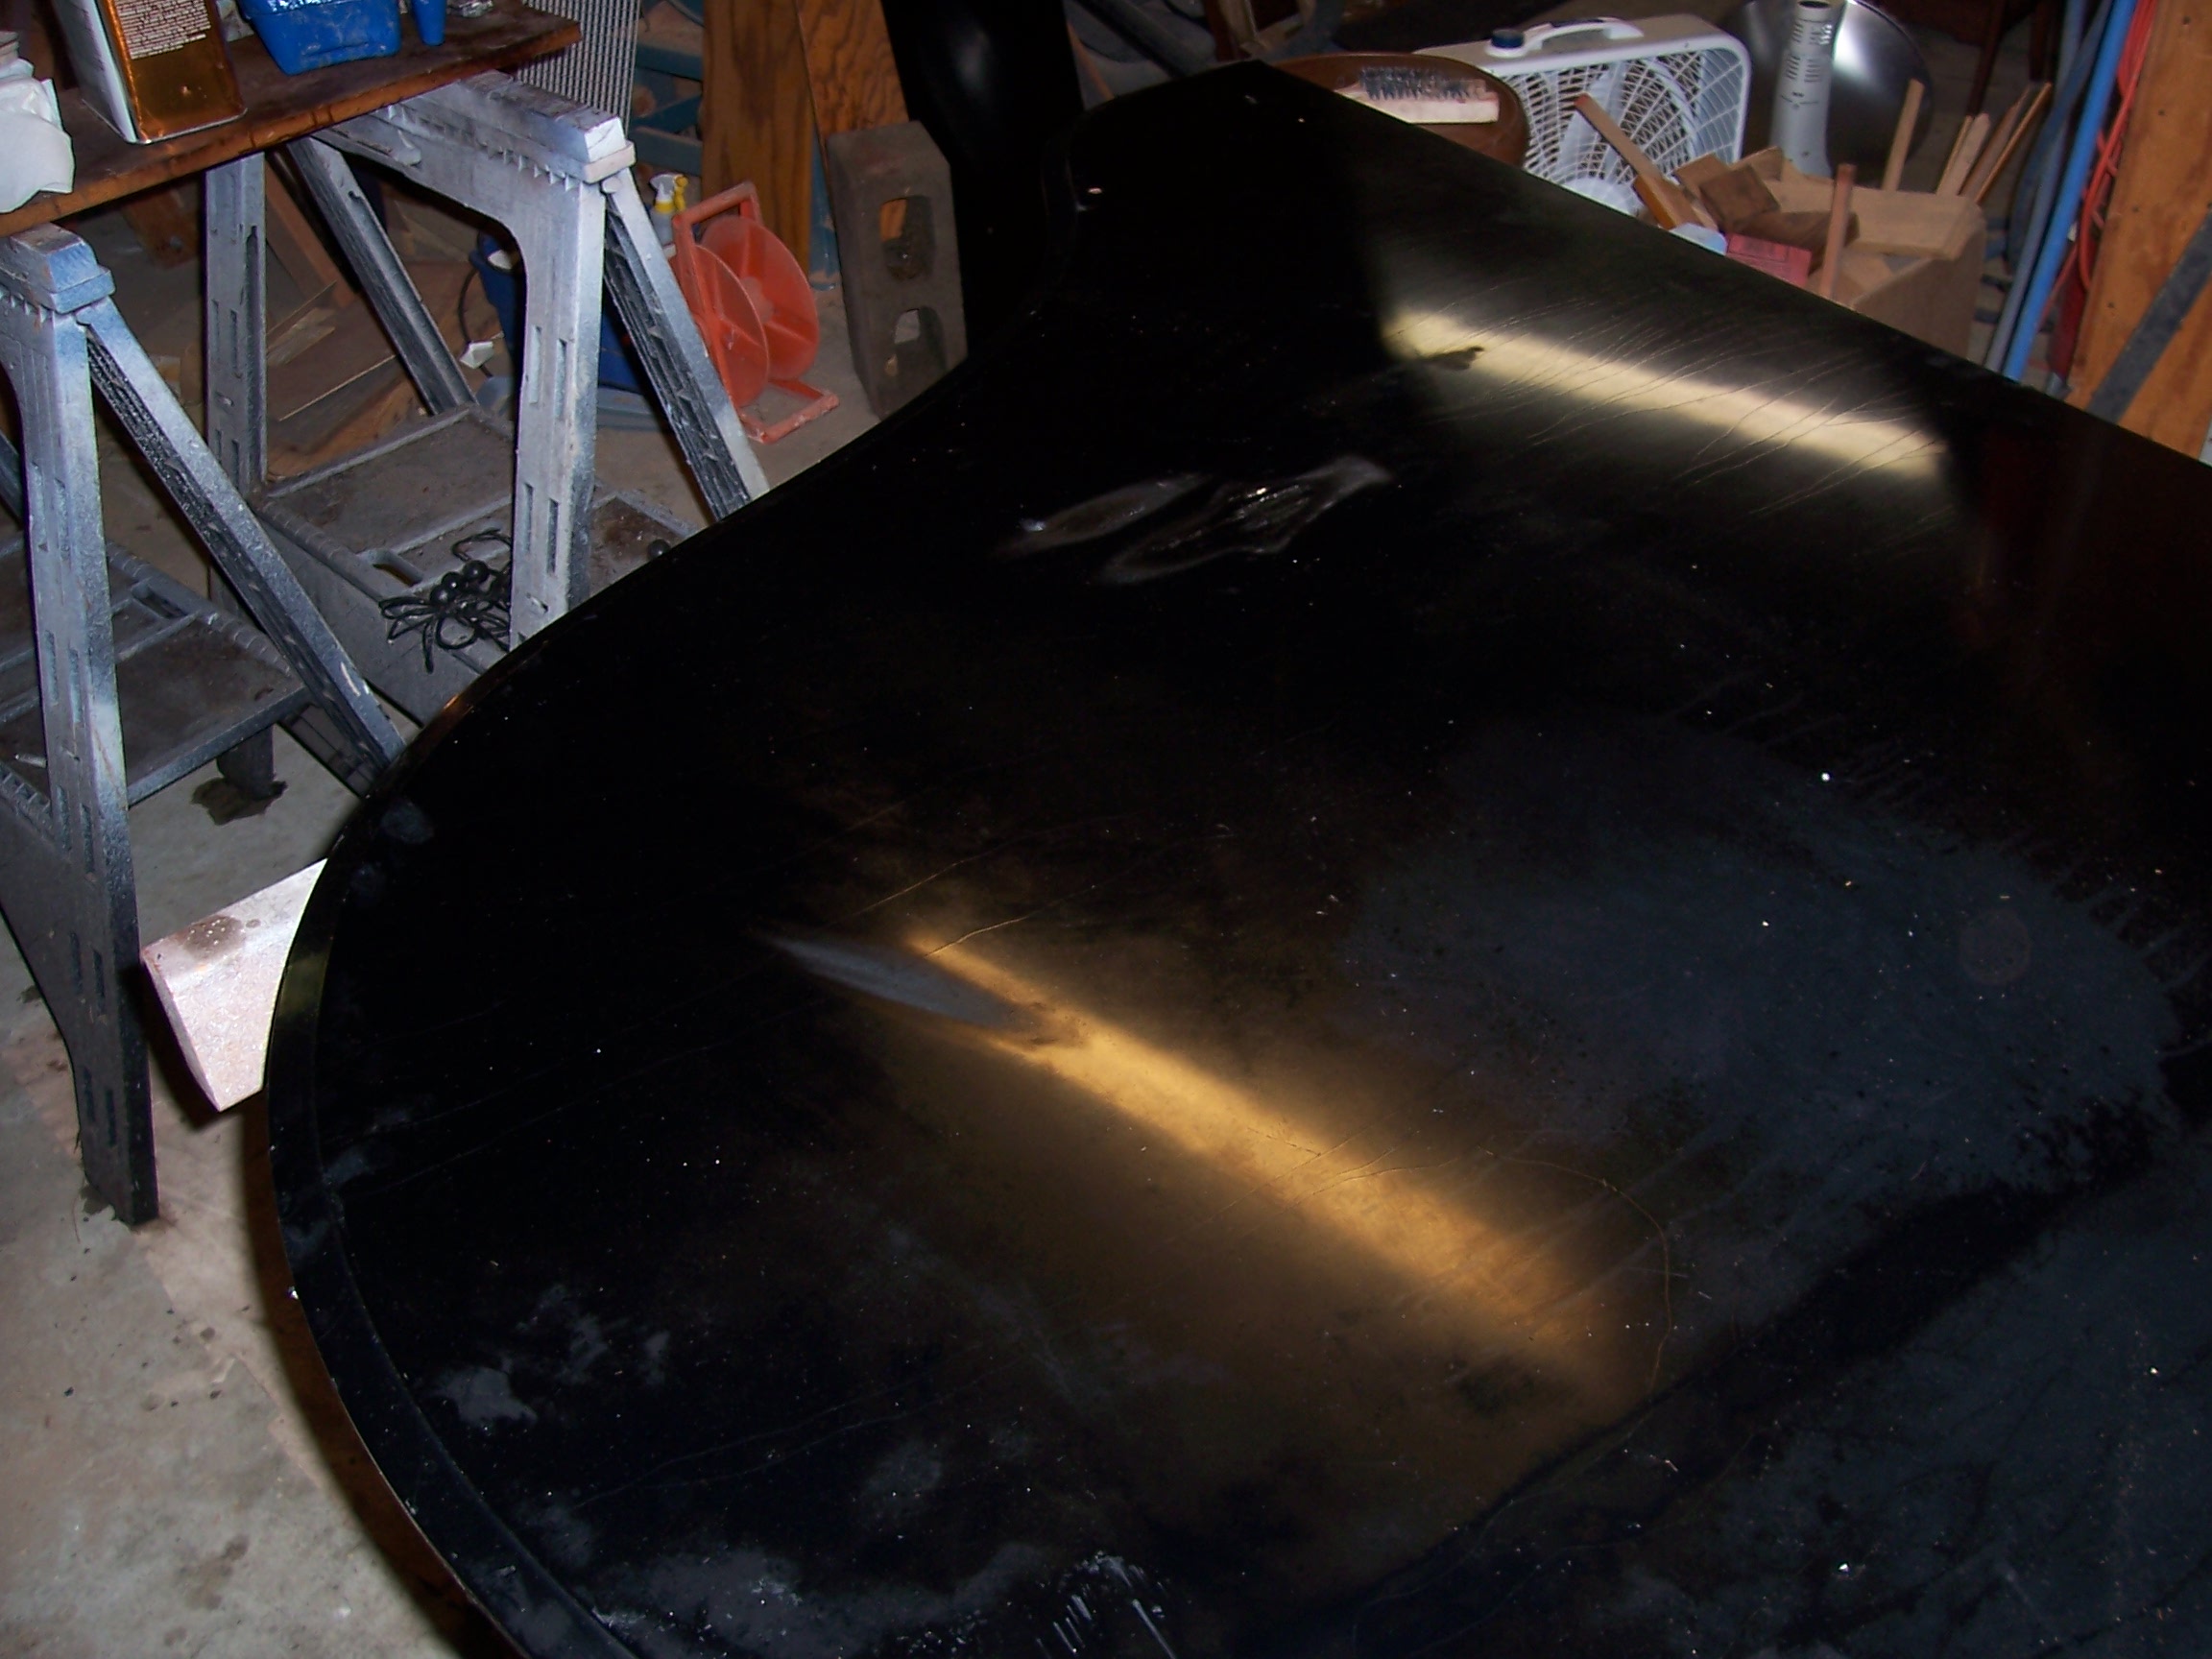
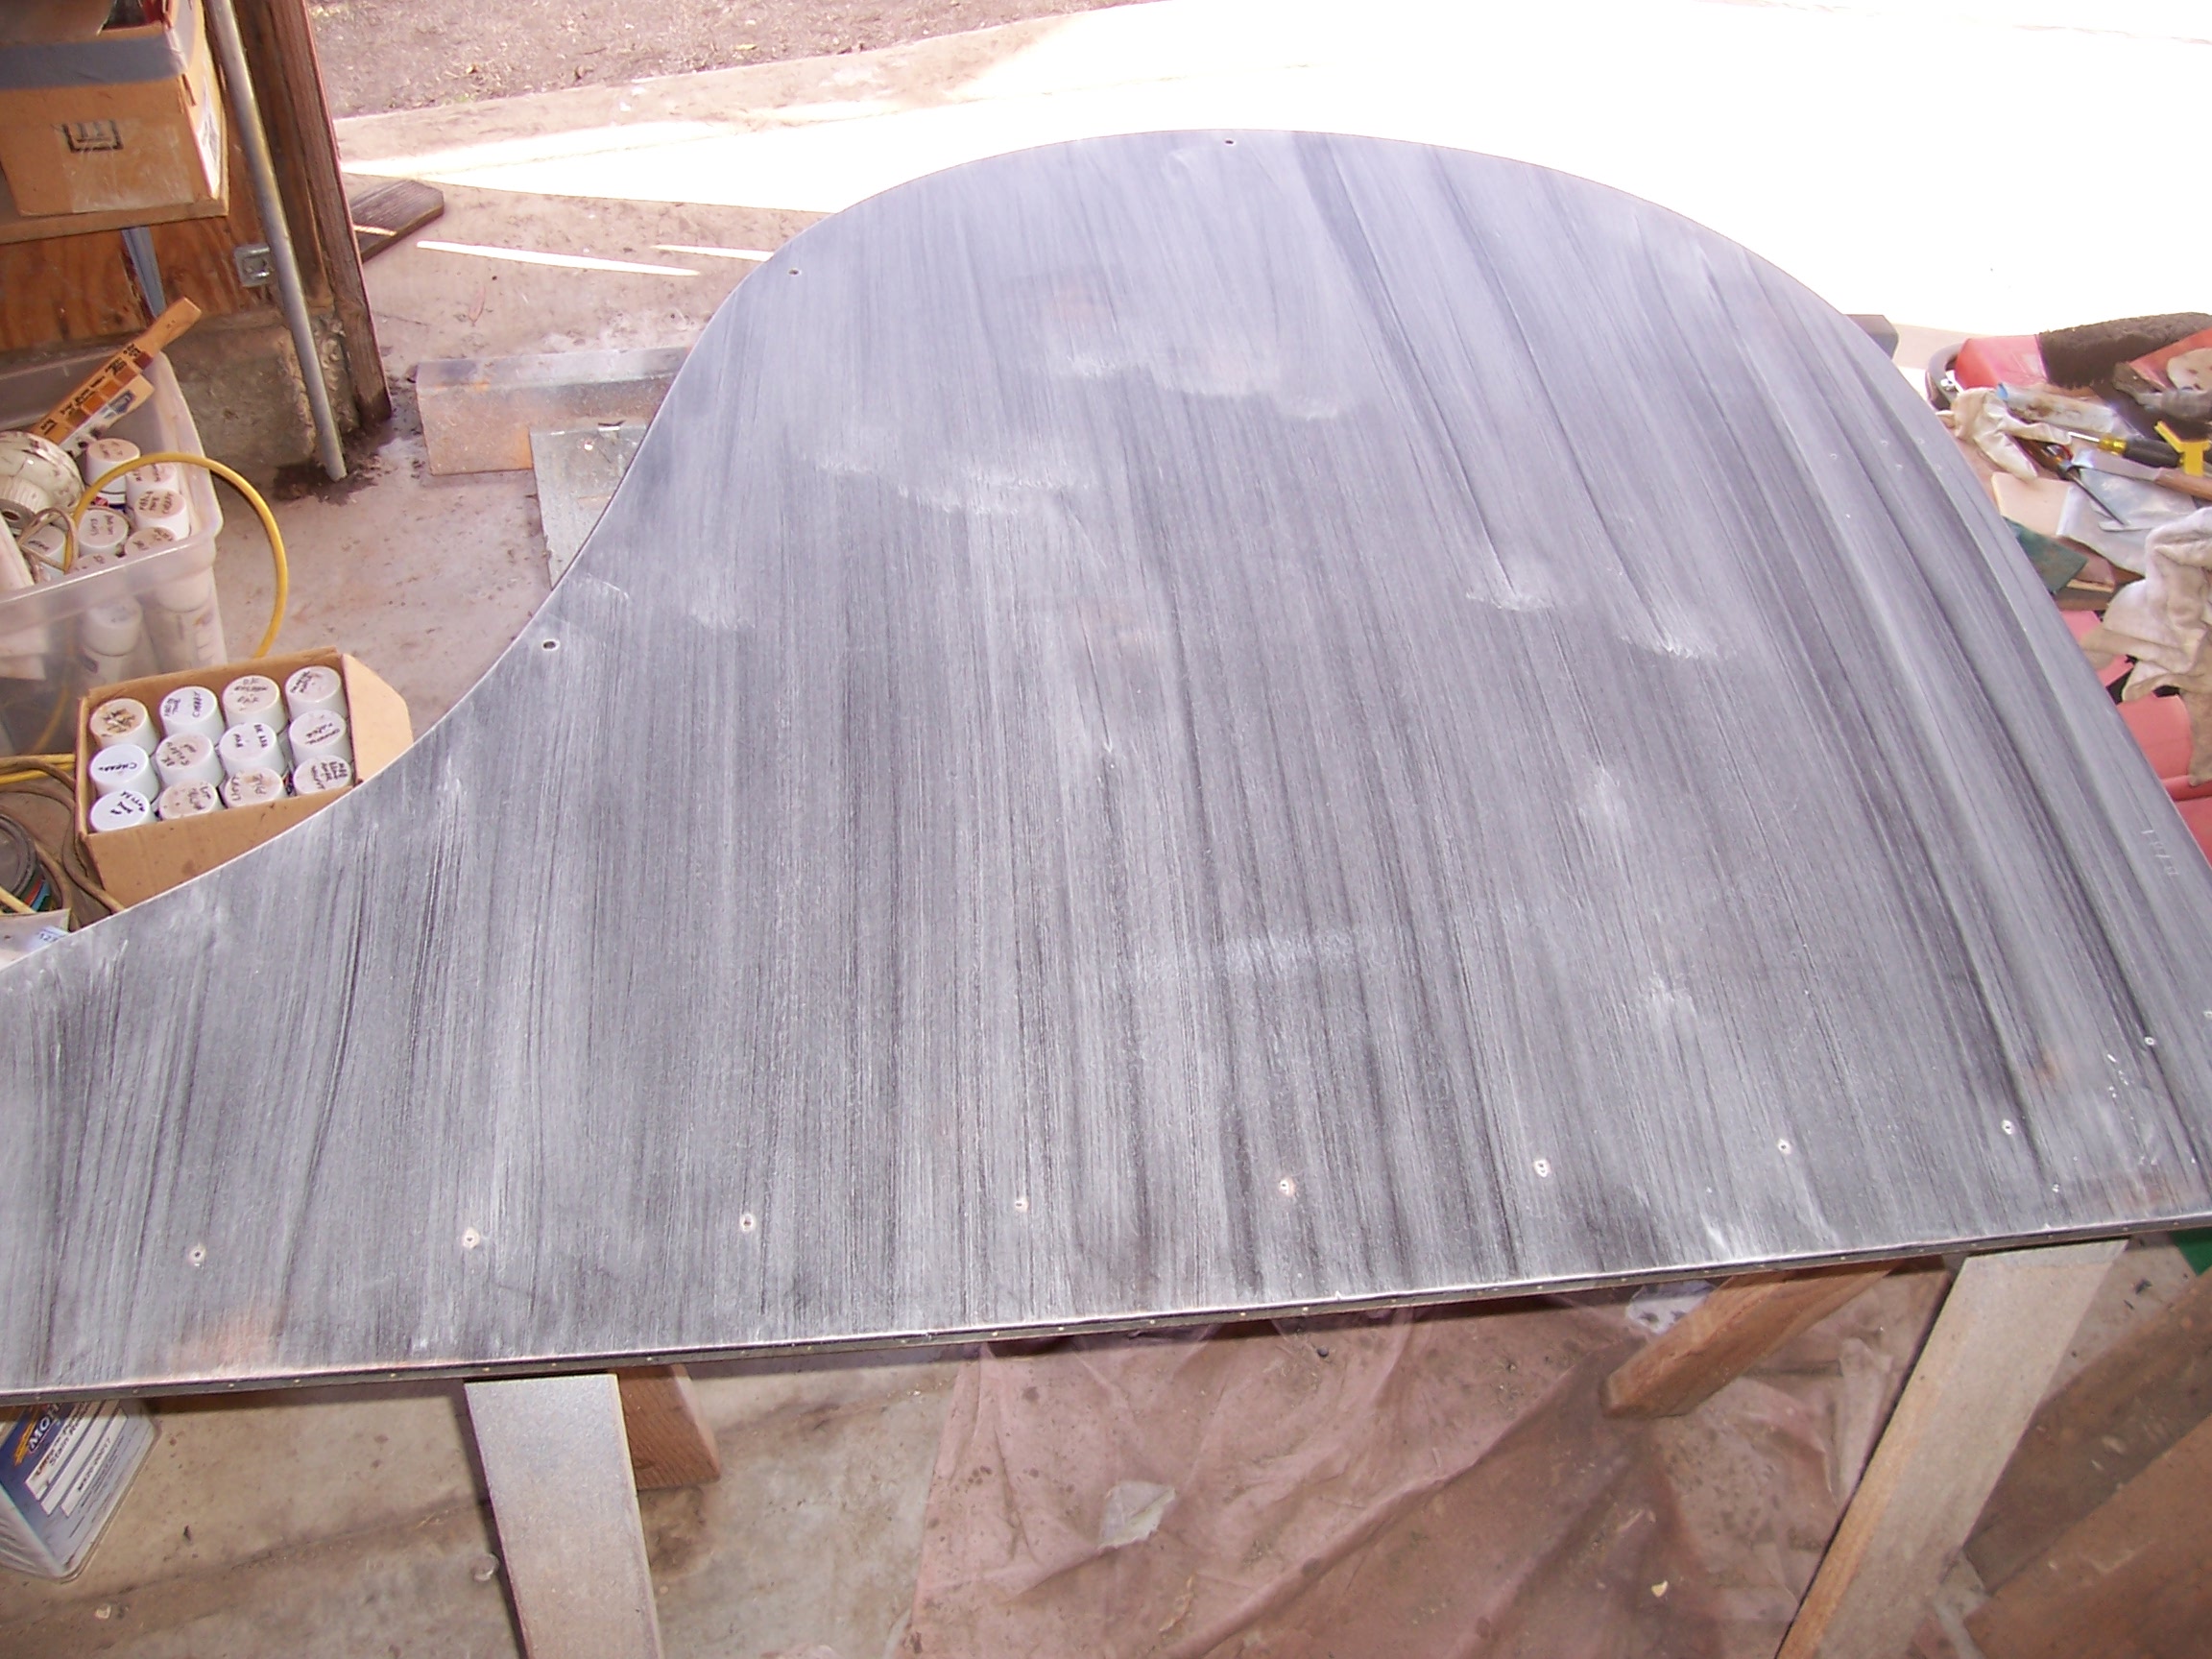
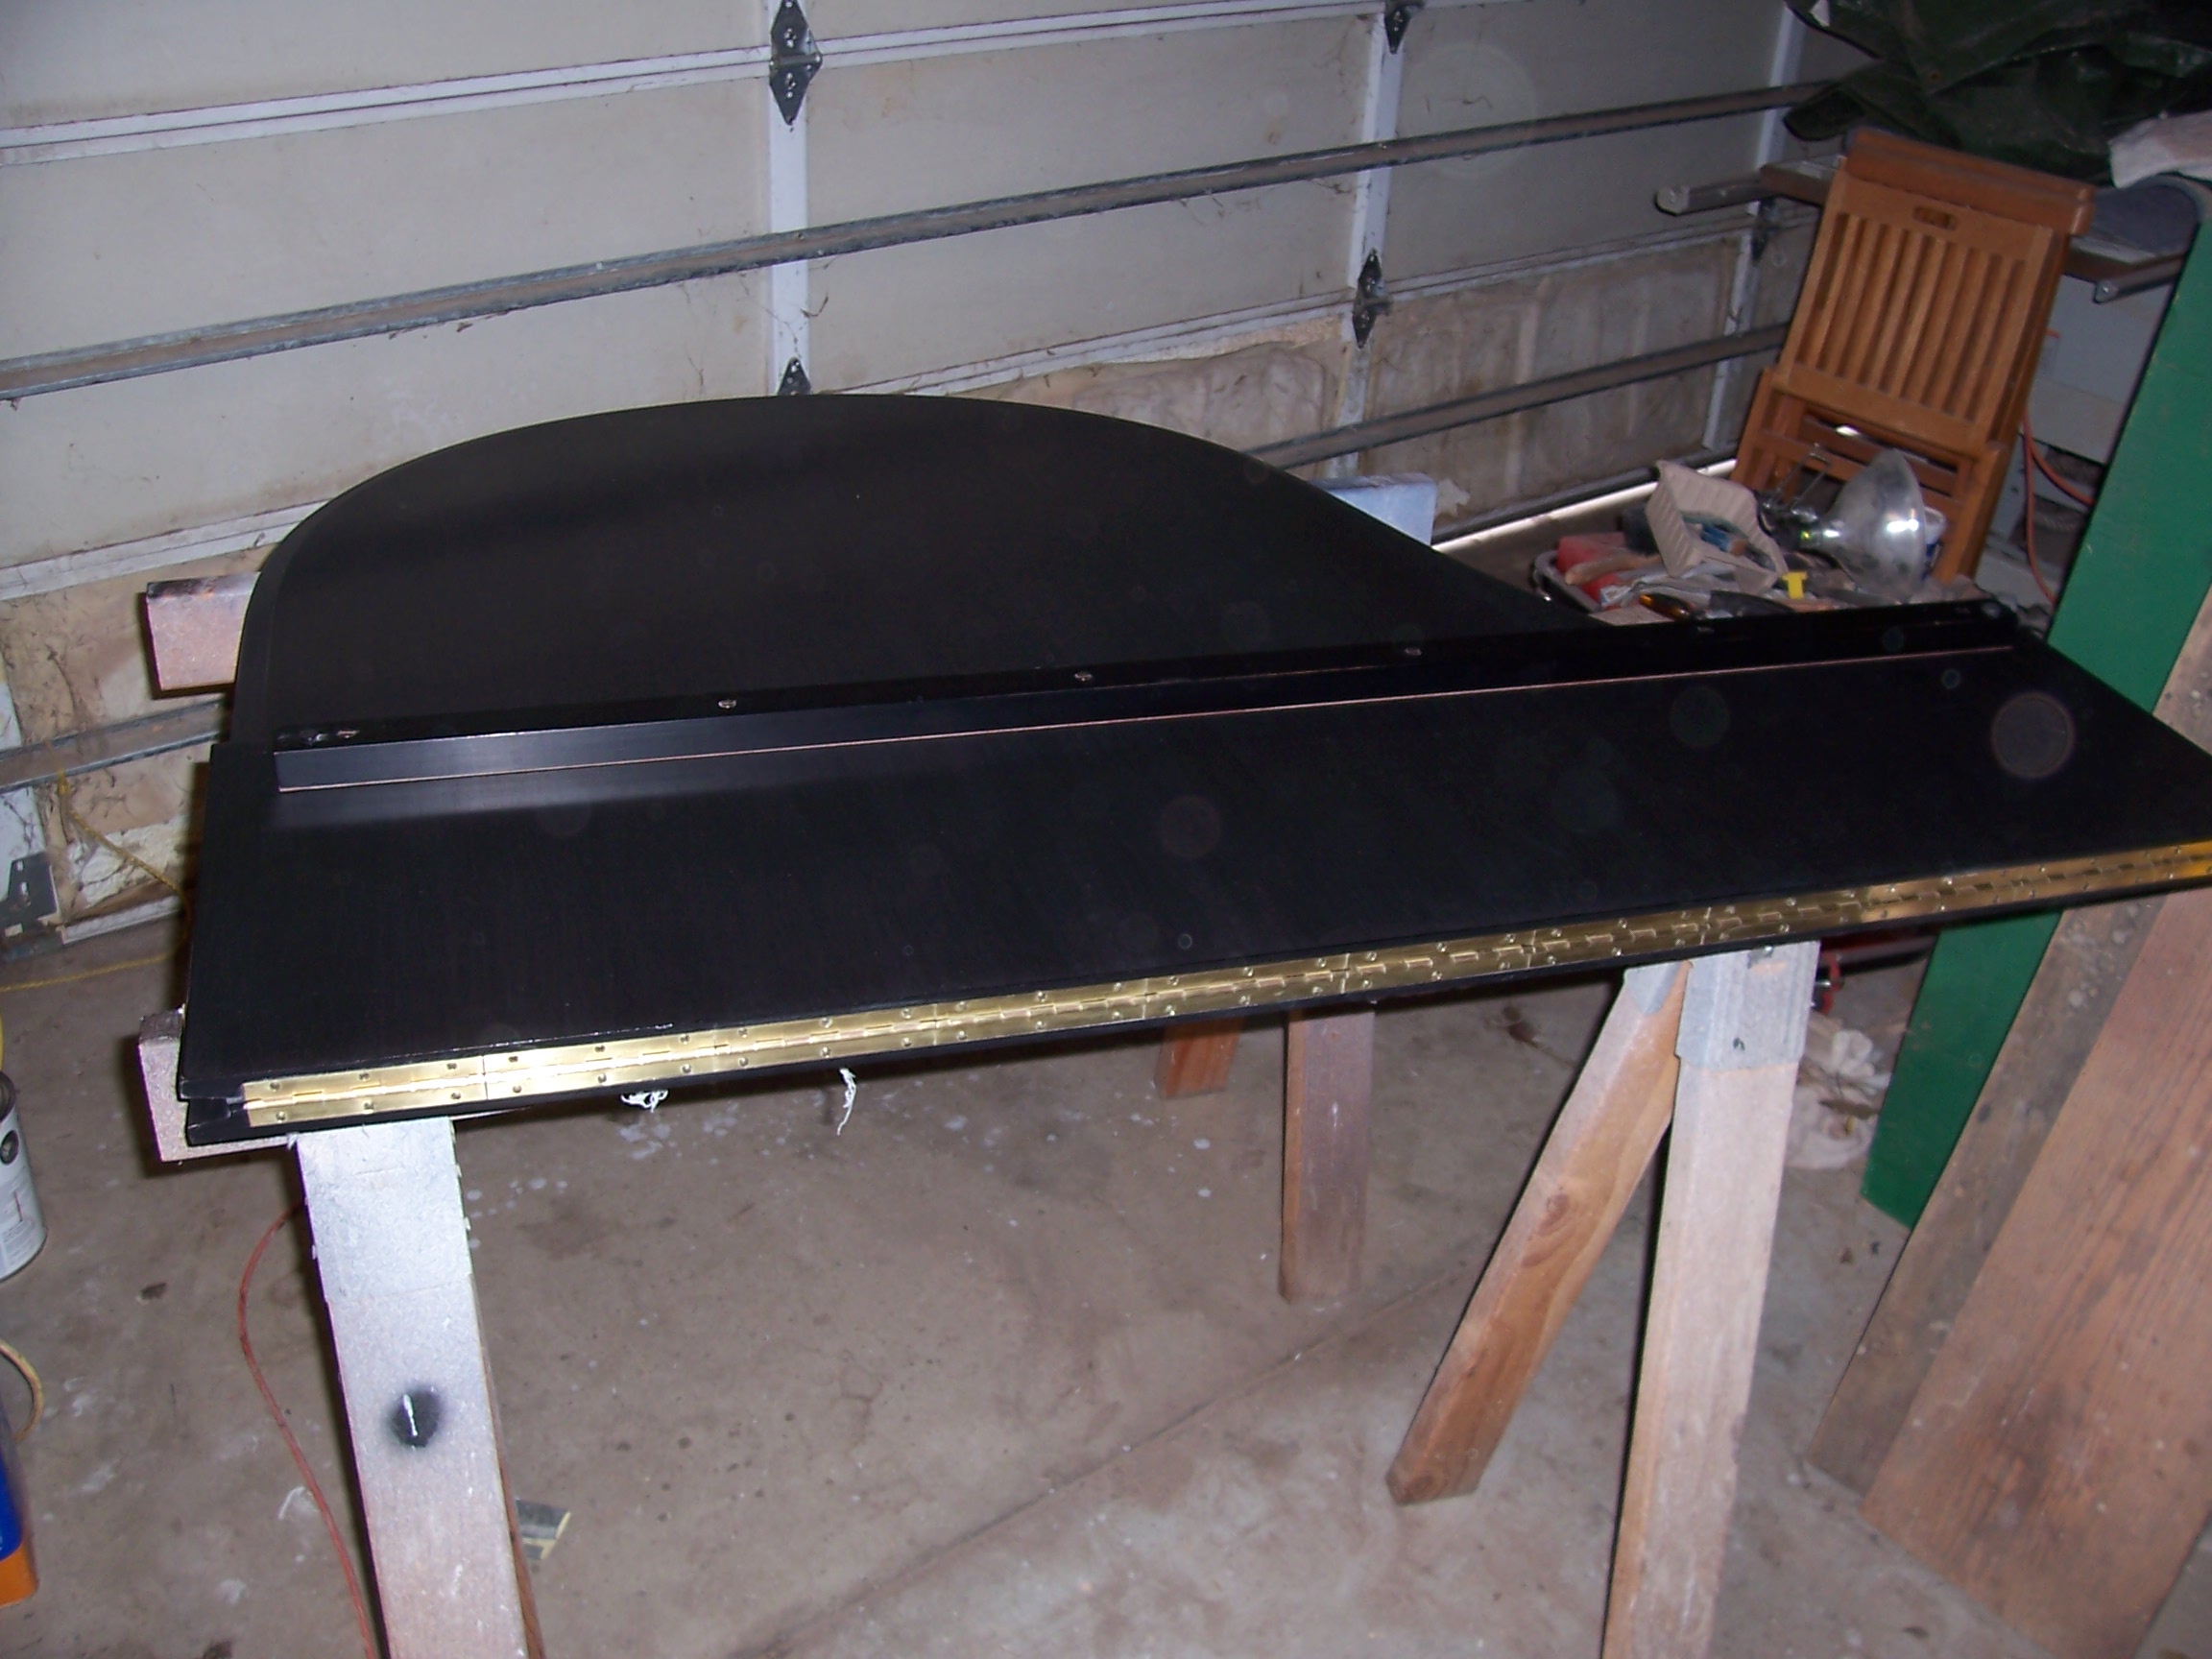
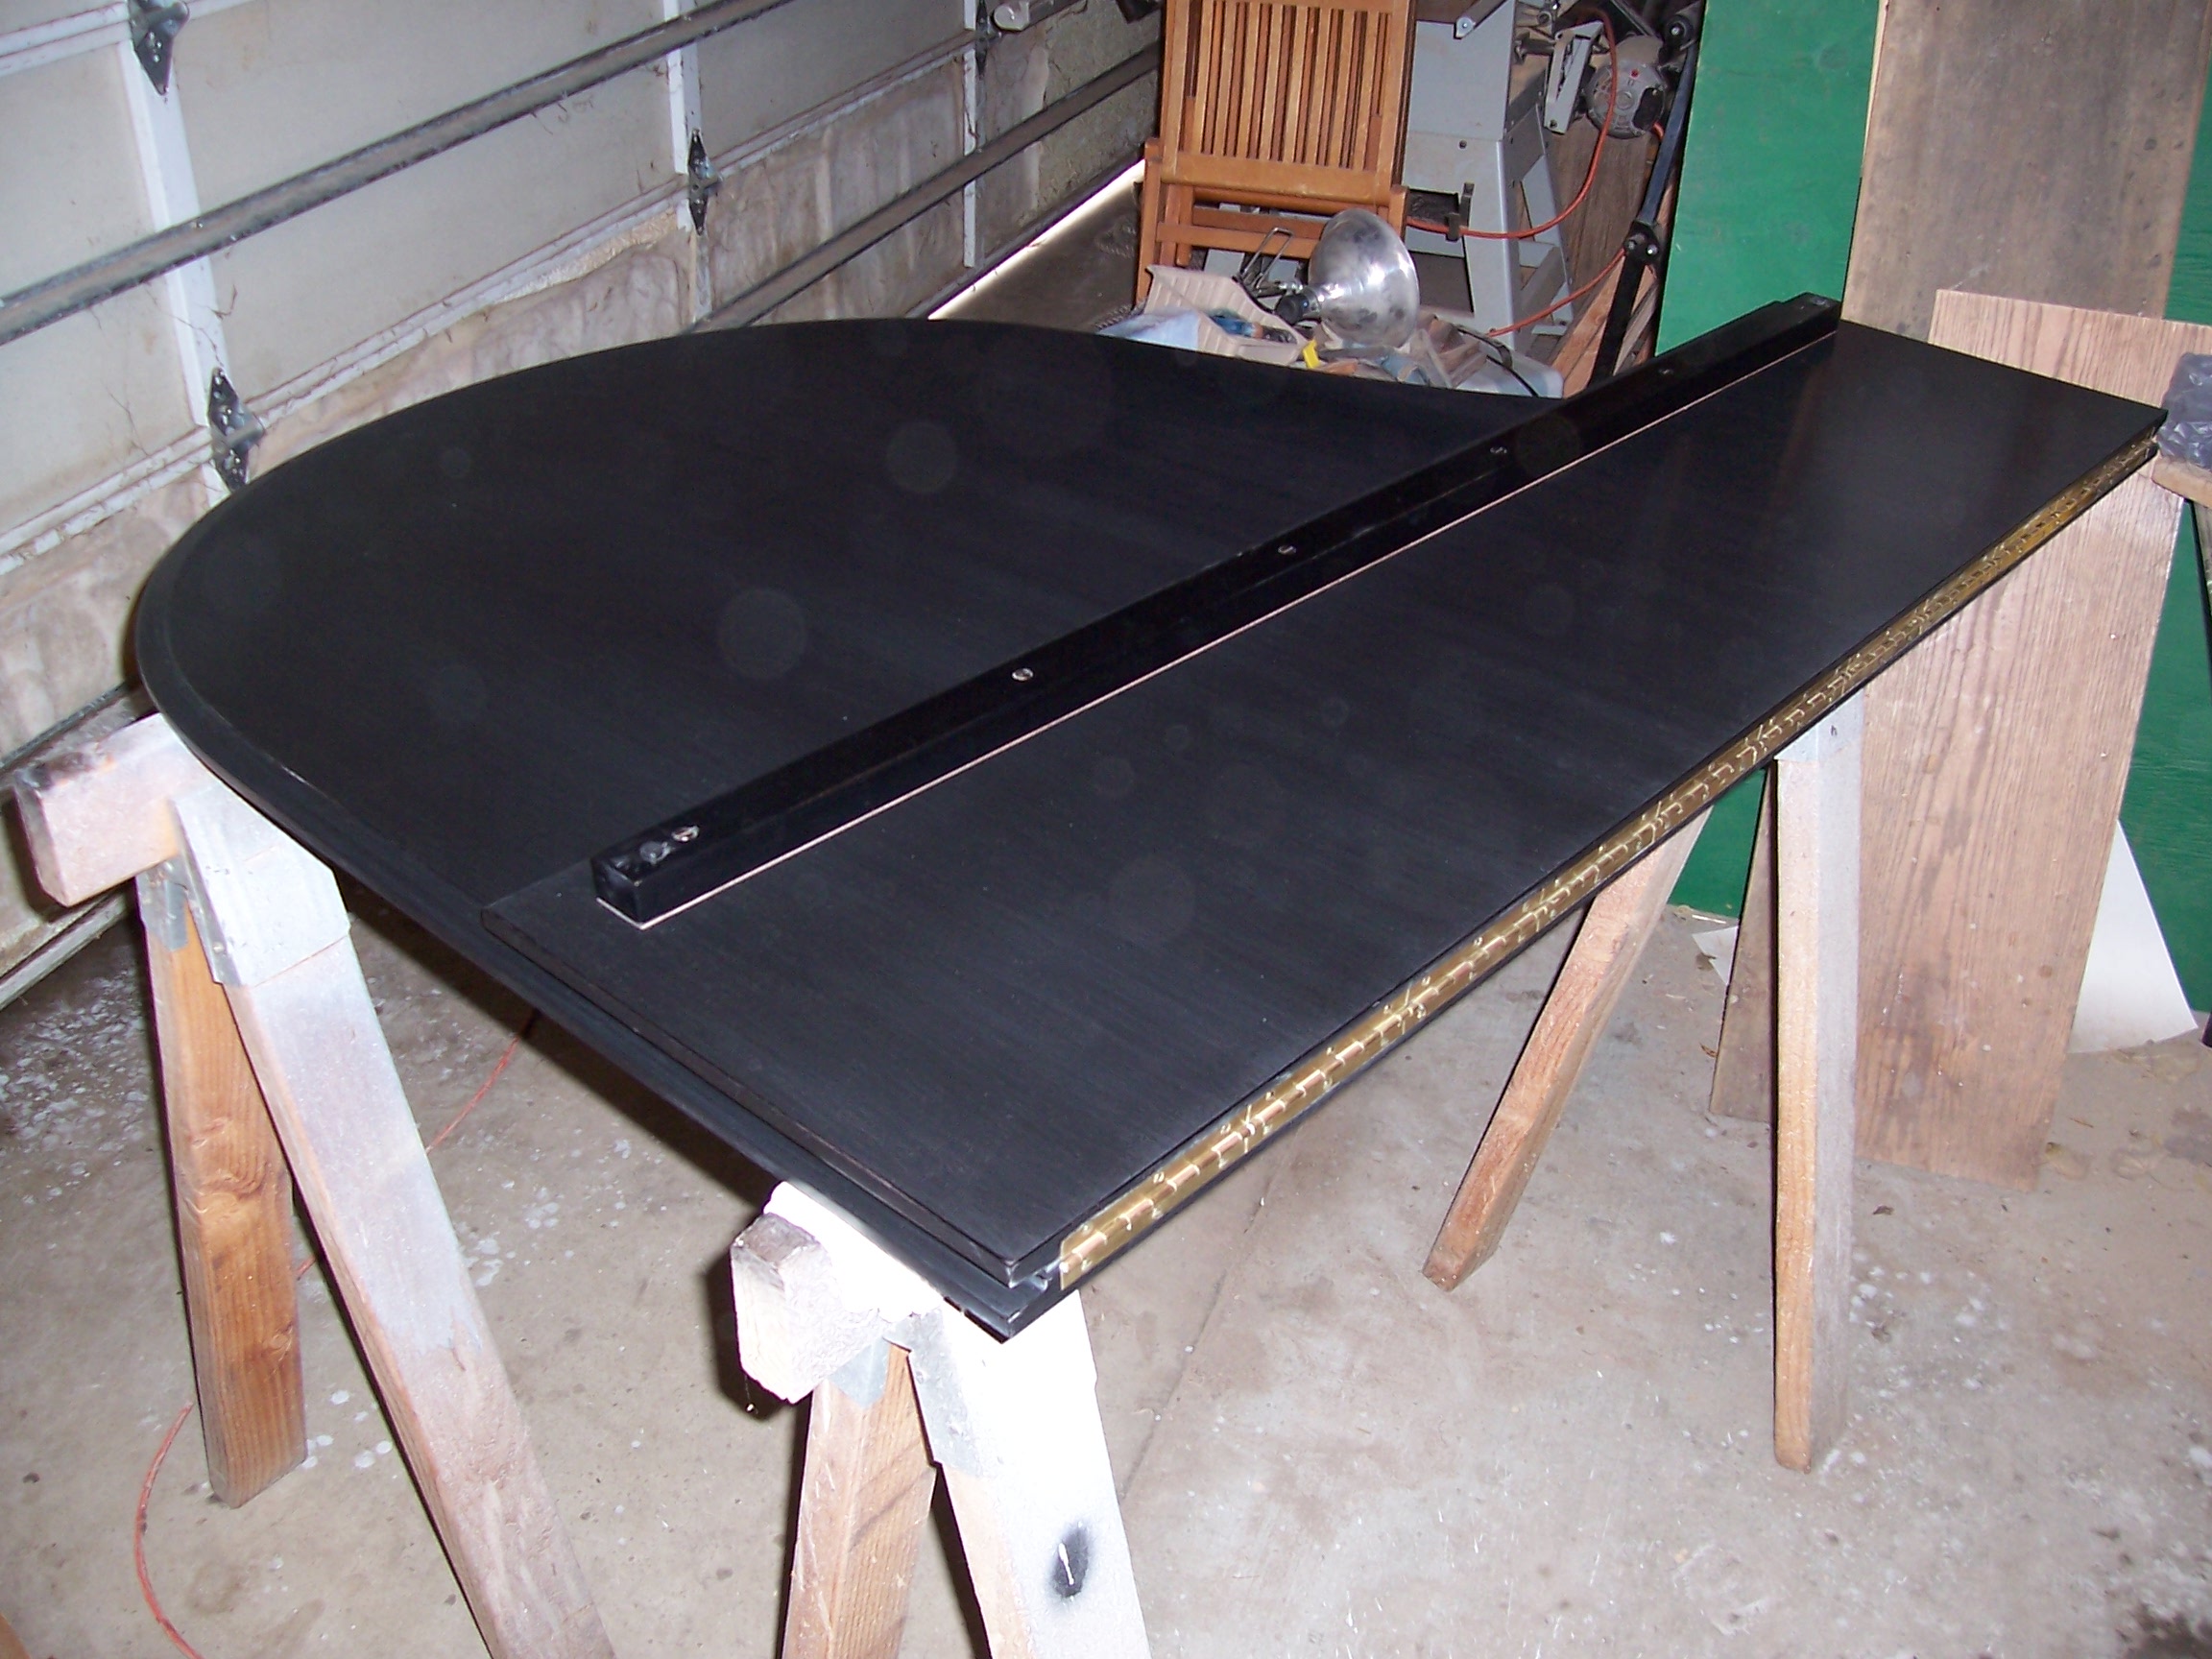
Complete disassembly is always the first step, removing all hinges, fittings, and rubber bumpers. Chemical stripping, followed by sanding gets us down to the point where we can fill minor dents and scratches and evaluated the condition of the piece. Ebonized finishes require extra care in locating and correcting every blemish, as any shortcuts taken here will result in a poor finish later. Many finishers deal with this problem by building up a very thick finish, but this is prone to chipping, and you lose the crisp sharp edges the piece had when new. The picture above to the right shows the first coat of sealer which fills the fine pores of the wood, that has been sanded back. The idea is to leave just enough sealer to create a glass-smooth finish without building up extra finish thickness.
After the sealer, comes the black lacquer, which is rubbed back to remove any texture that resulted from the spraying process, followed by clear satin lacquer to protect the color coat for longer life and durability. Final rubbing to create the rubbed satin look the piano had when new requires a sense of touch that only comes with experience. First, the rub marks have to be perfectly straight and parallel. Rub too little, and some of the texture from spraying remains. Rub too much, and you go through the clear into the underlying color coat. The edges are particularly easy to rub through to bare wood. The last step is to polish all brass hinges and fittings (including screwheads), and reassemble the project.
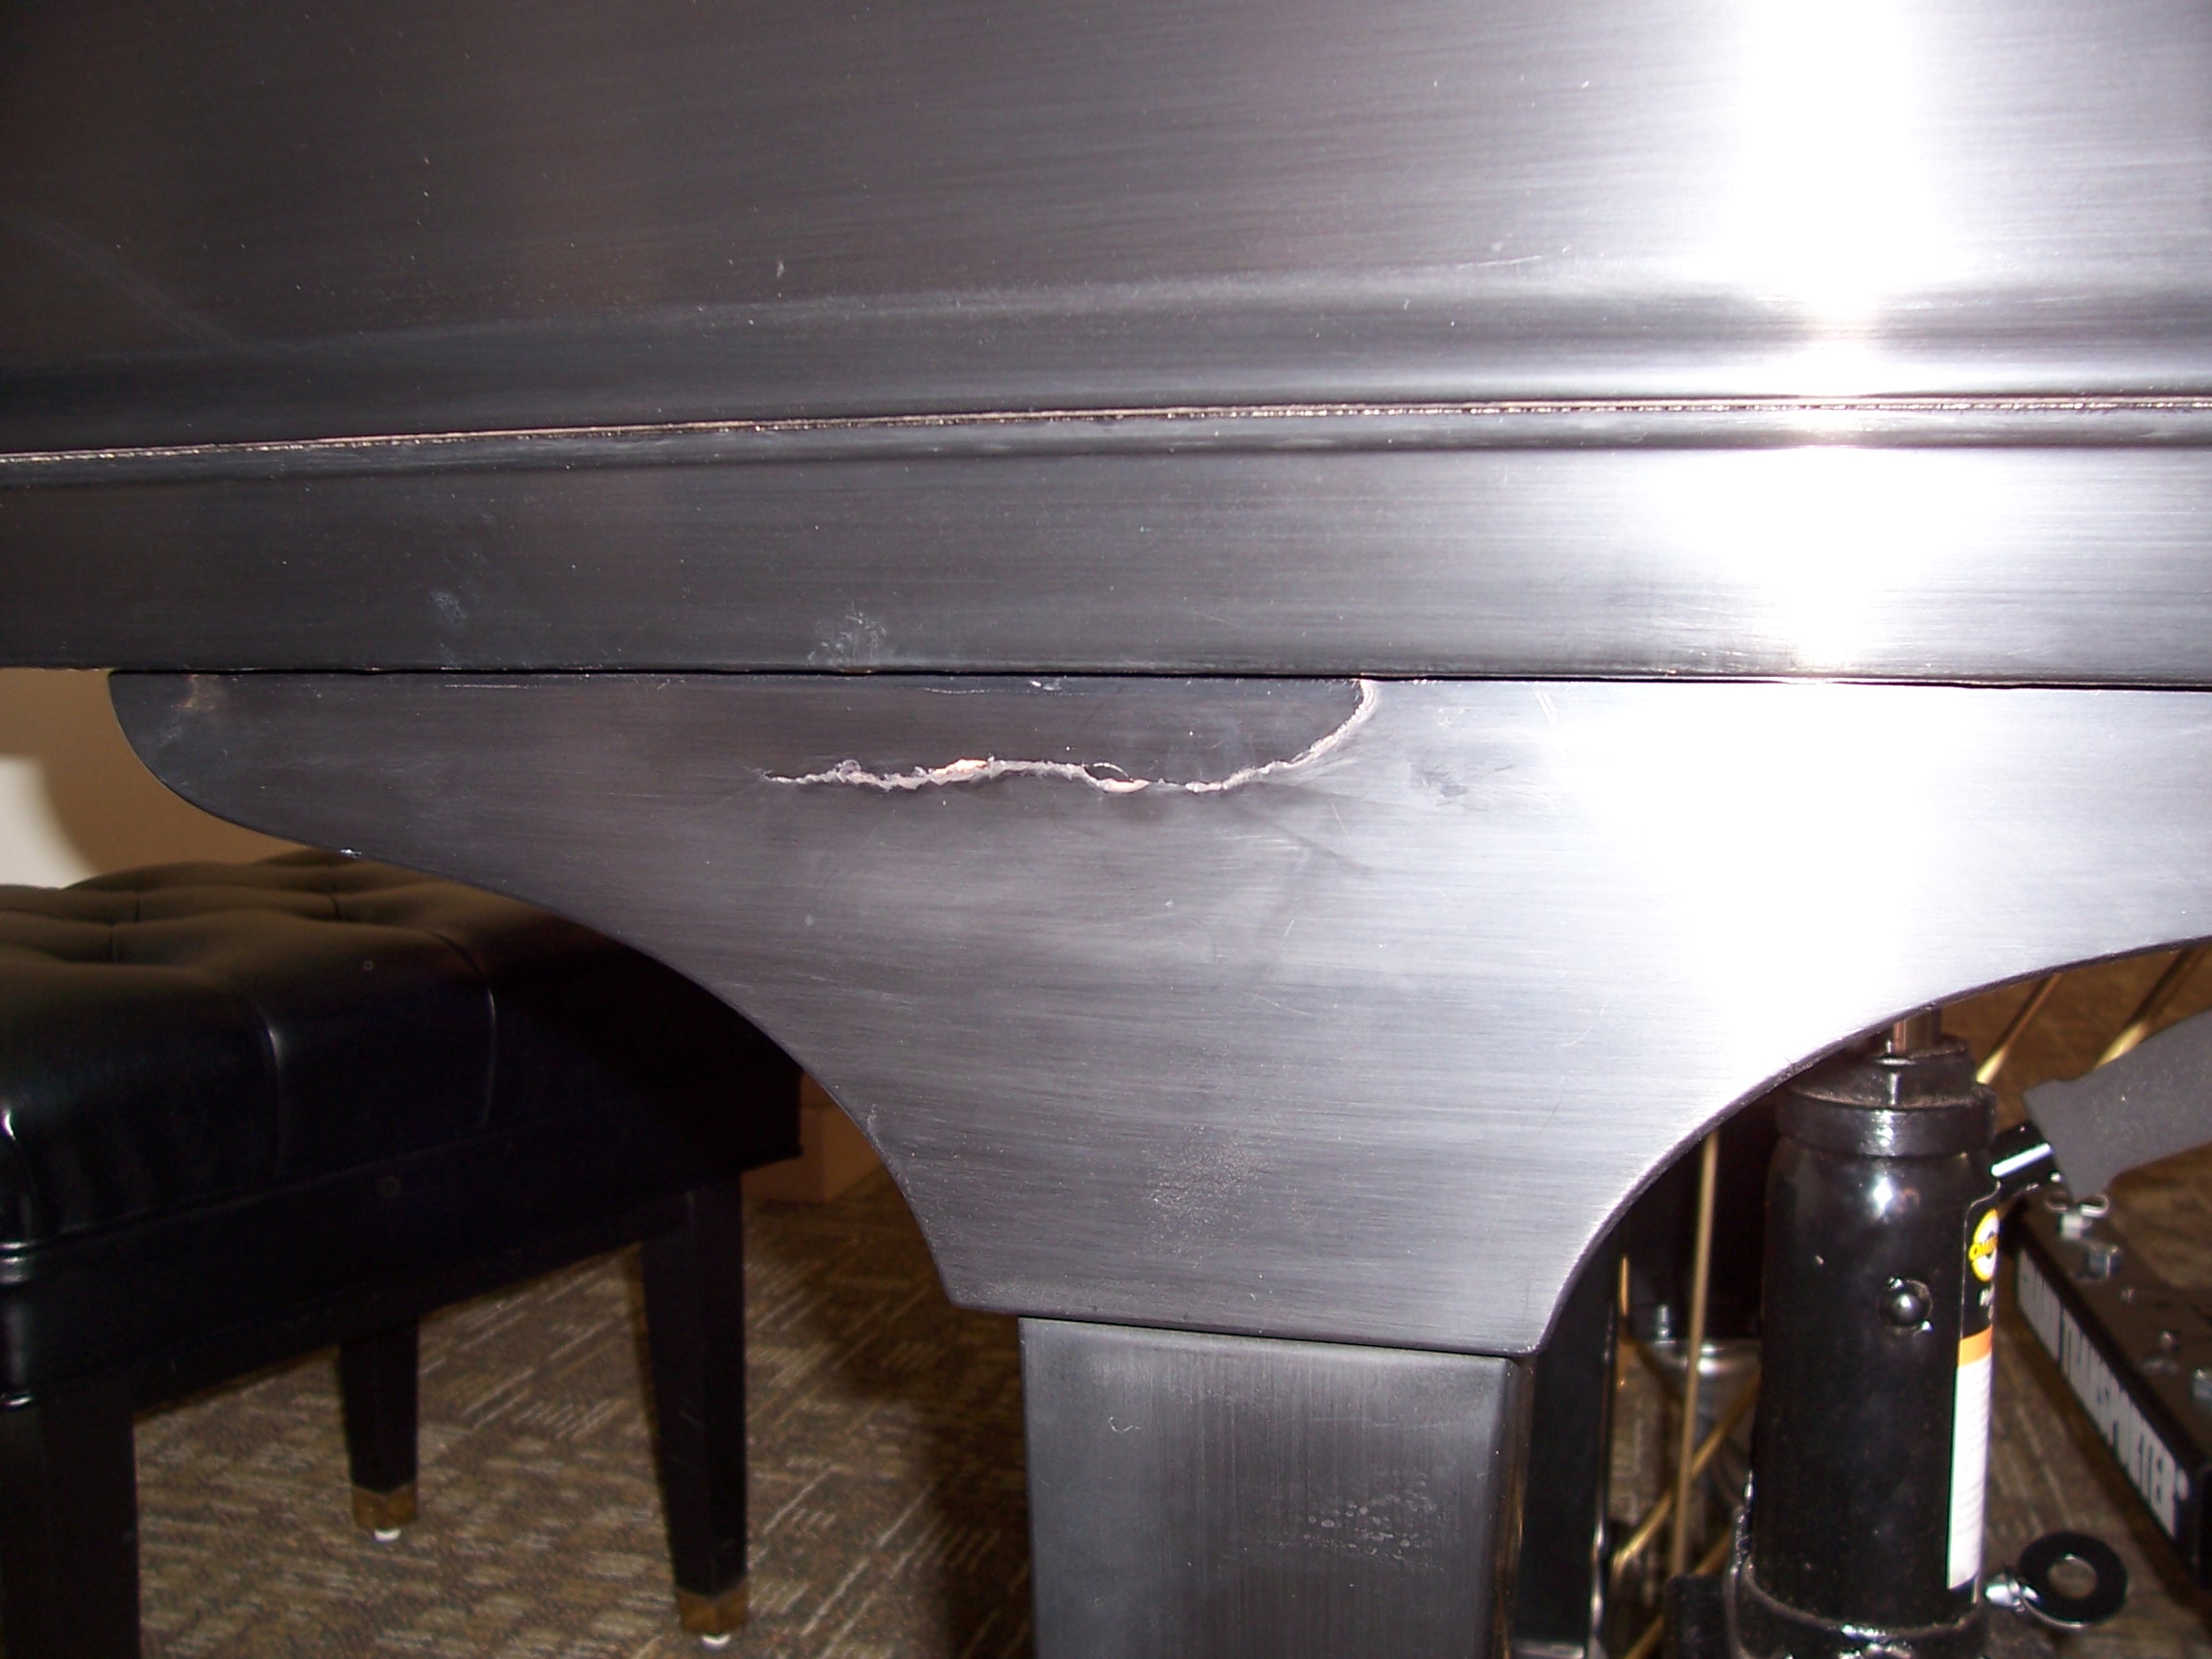
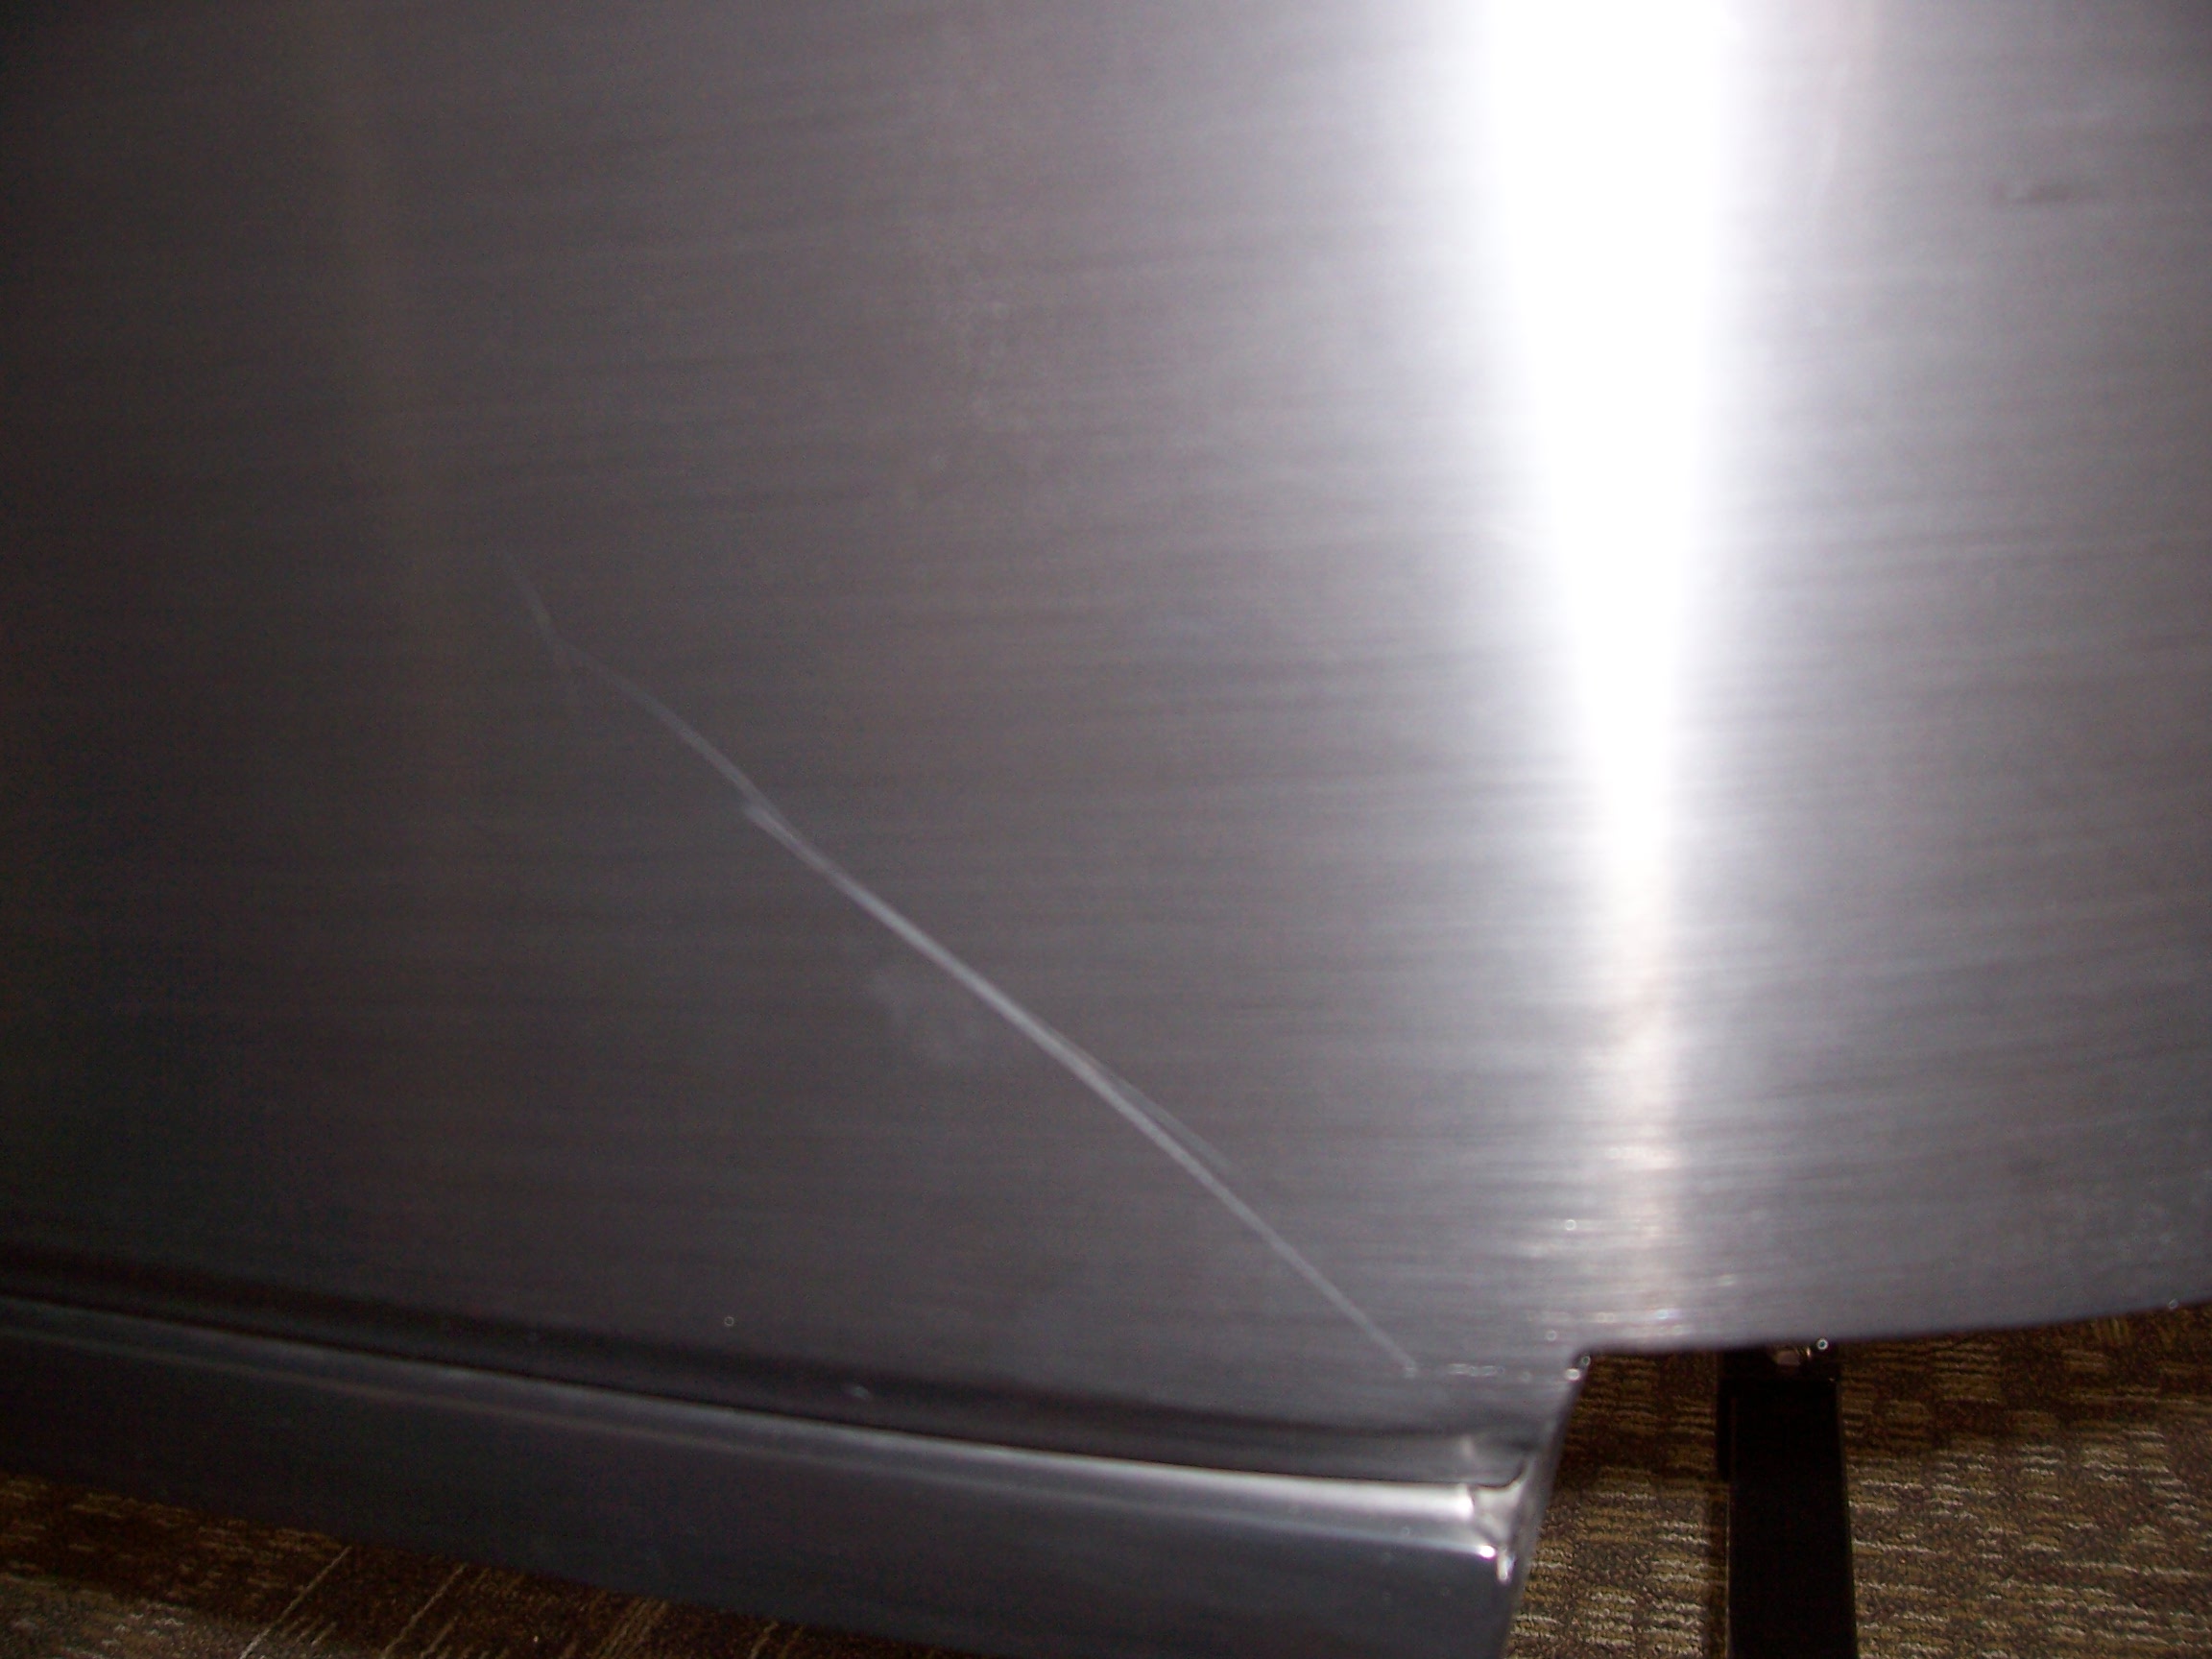
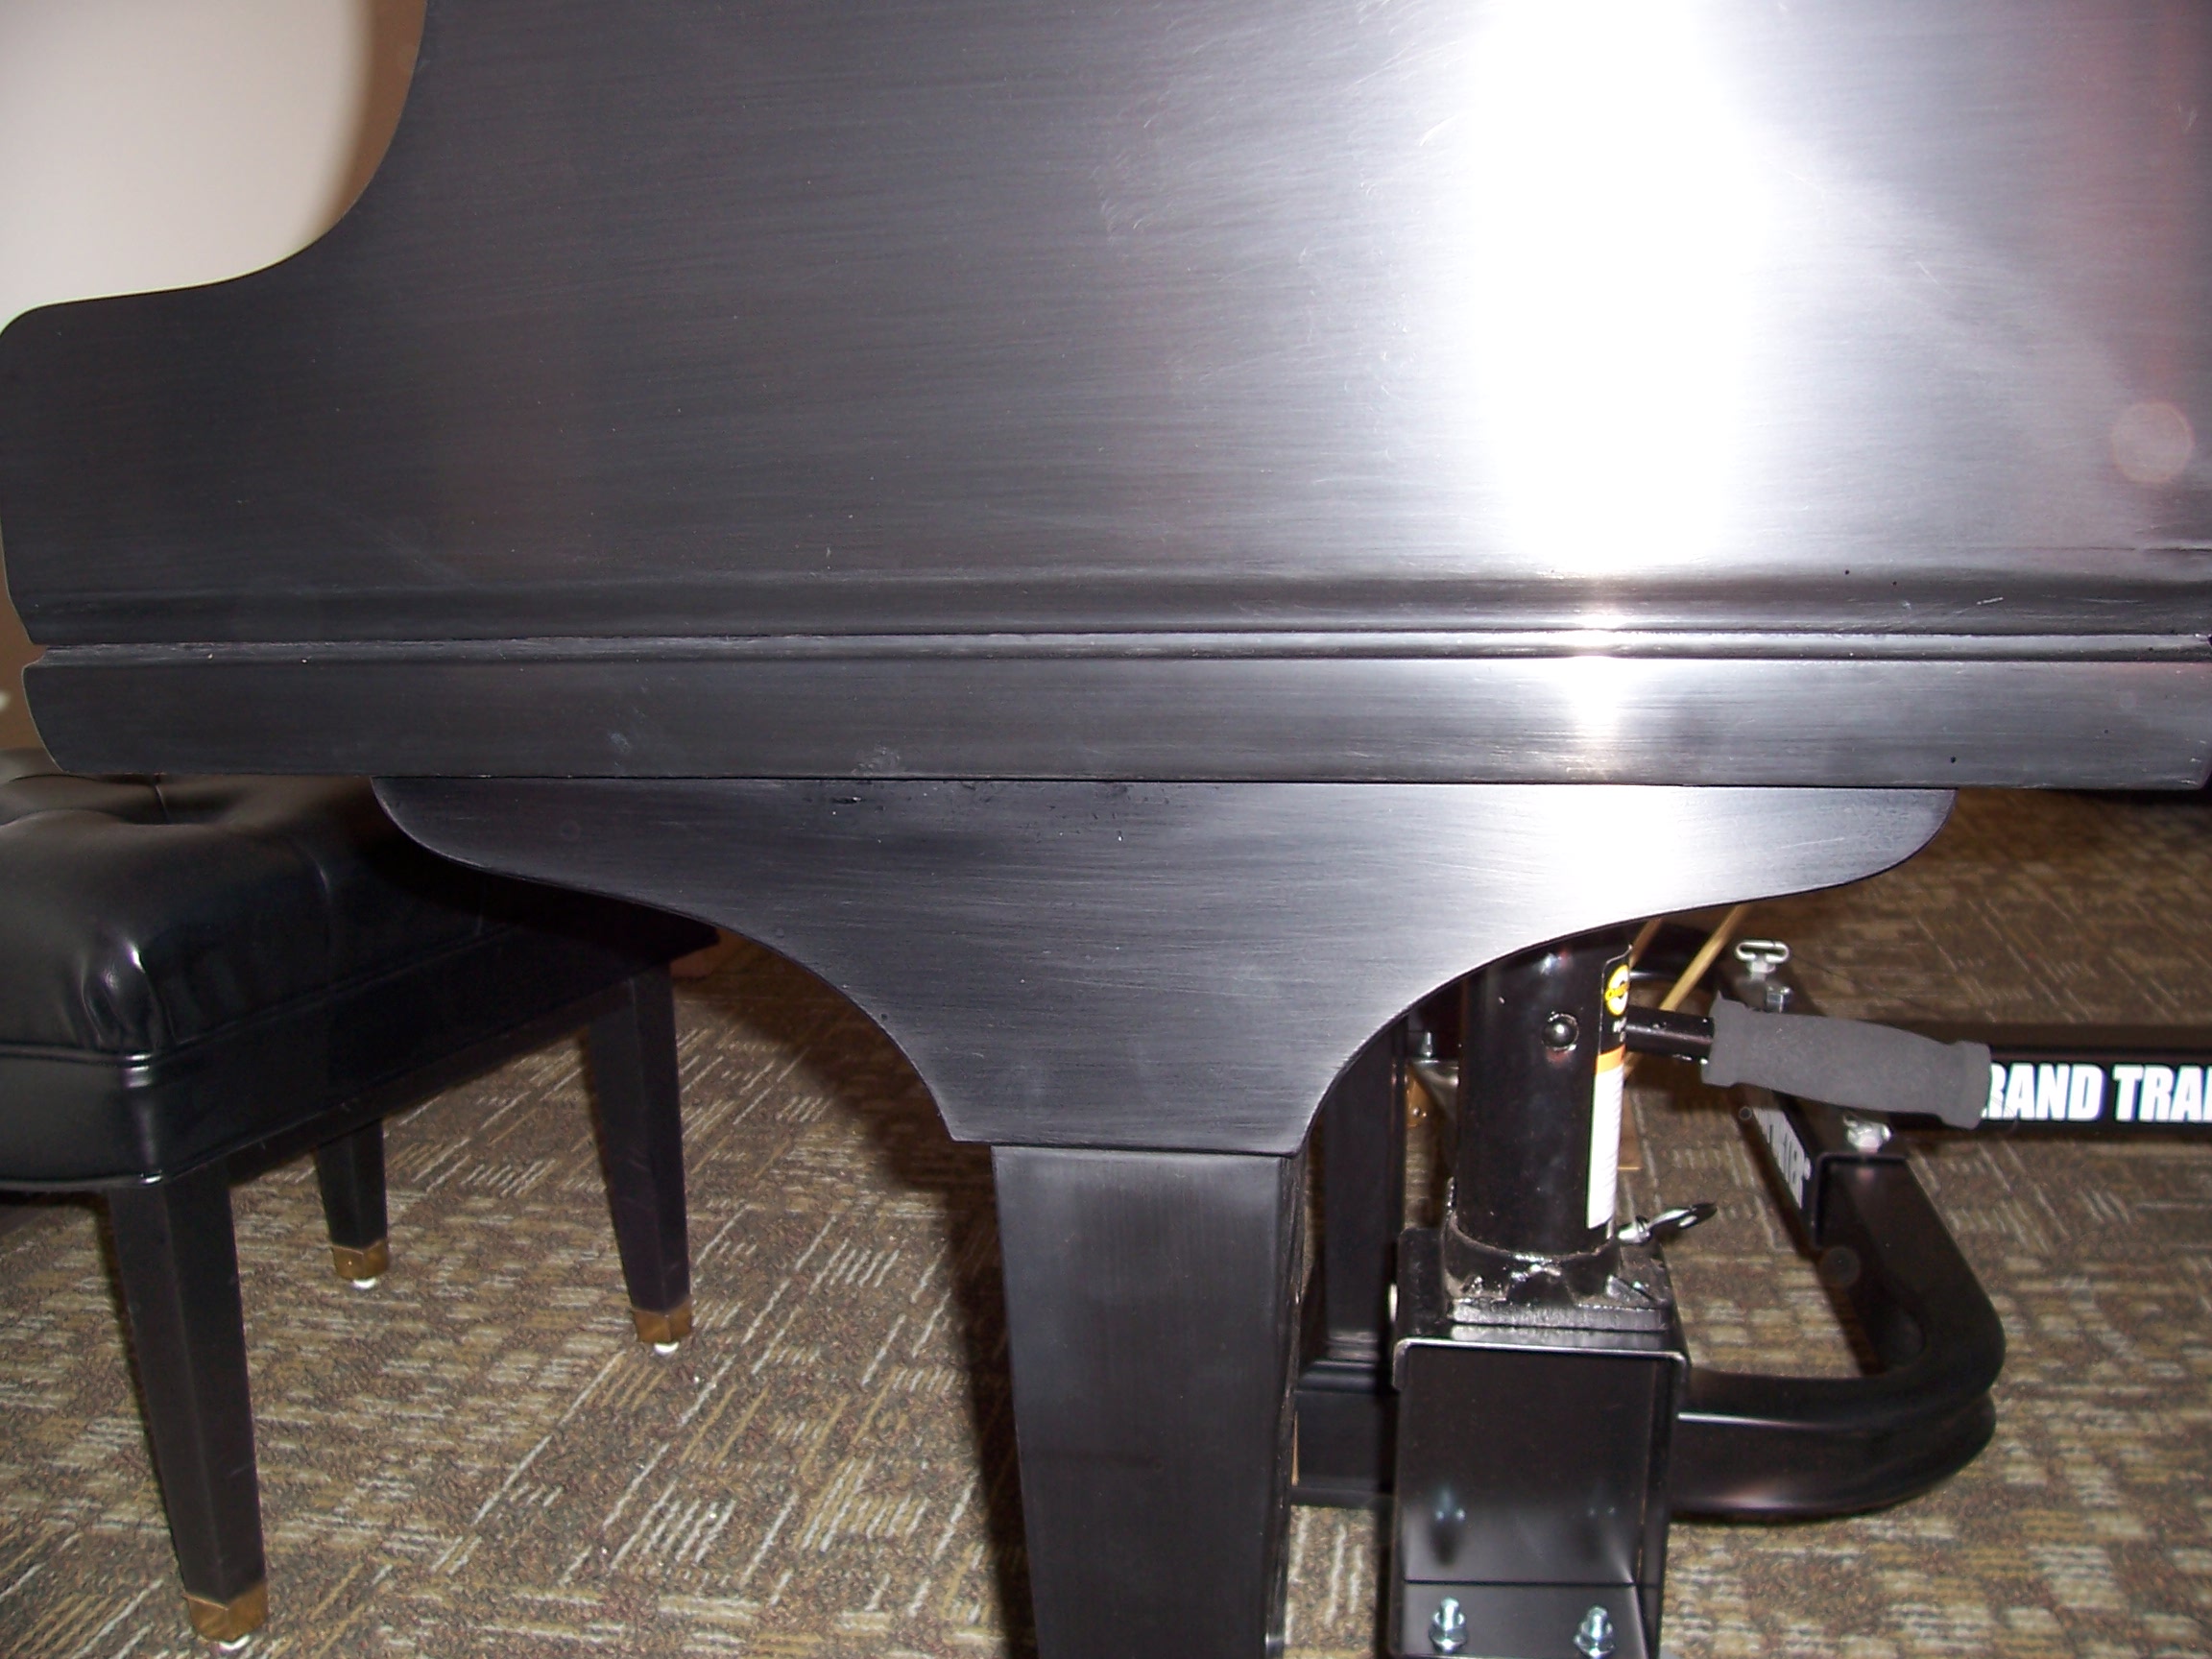
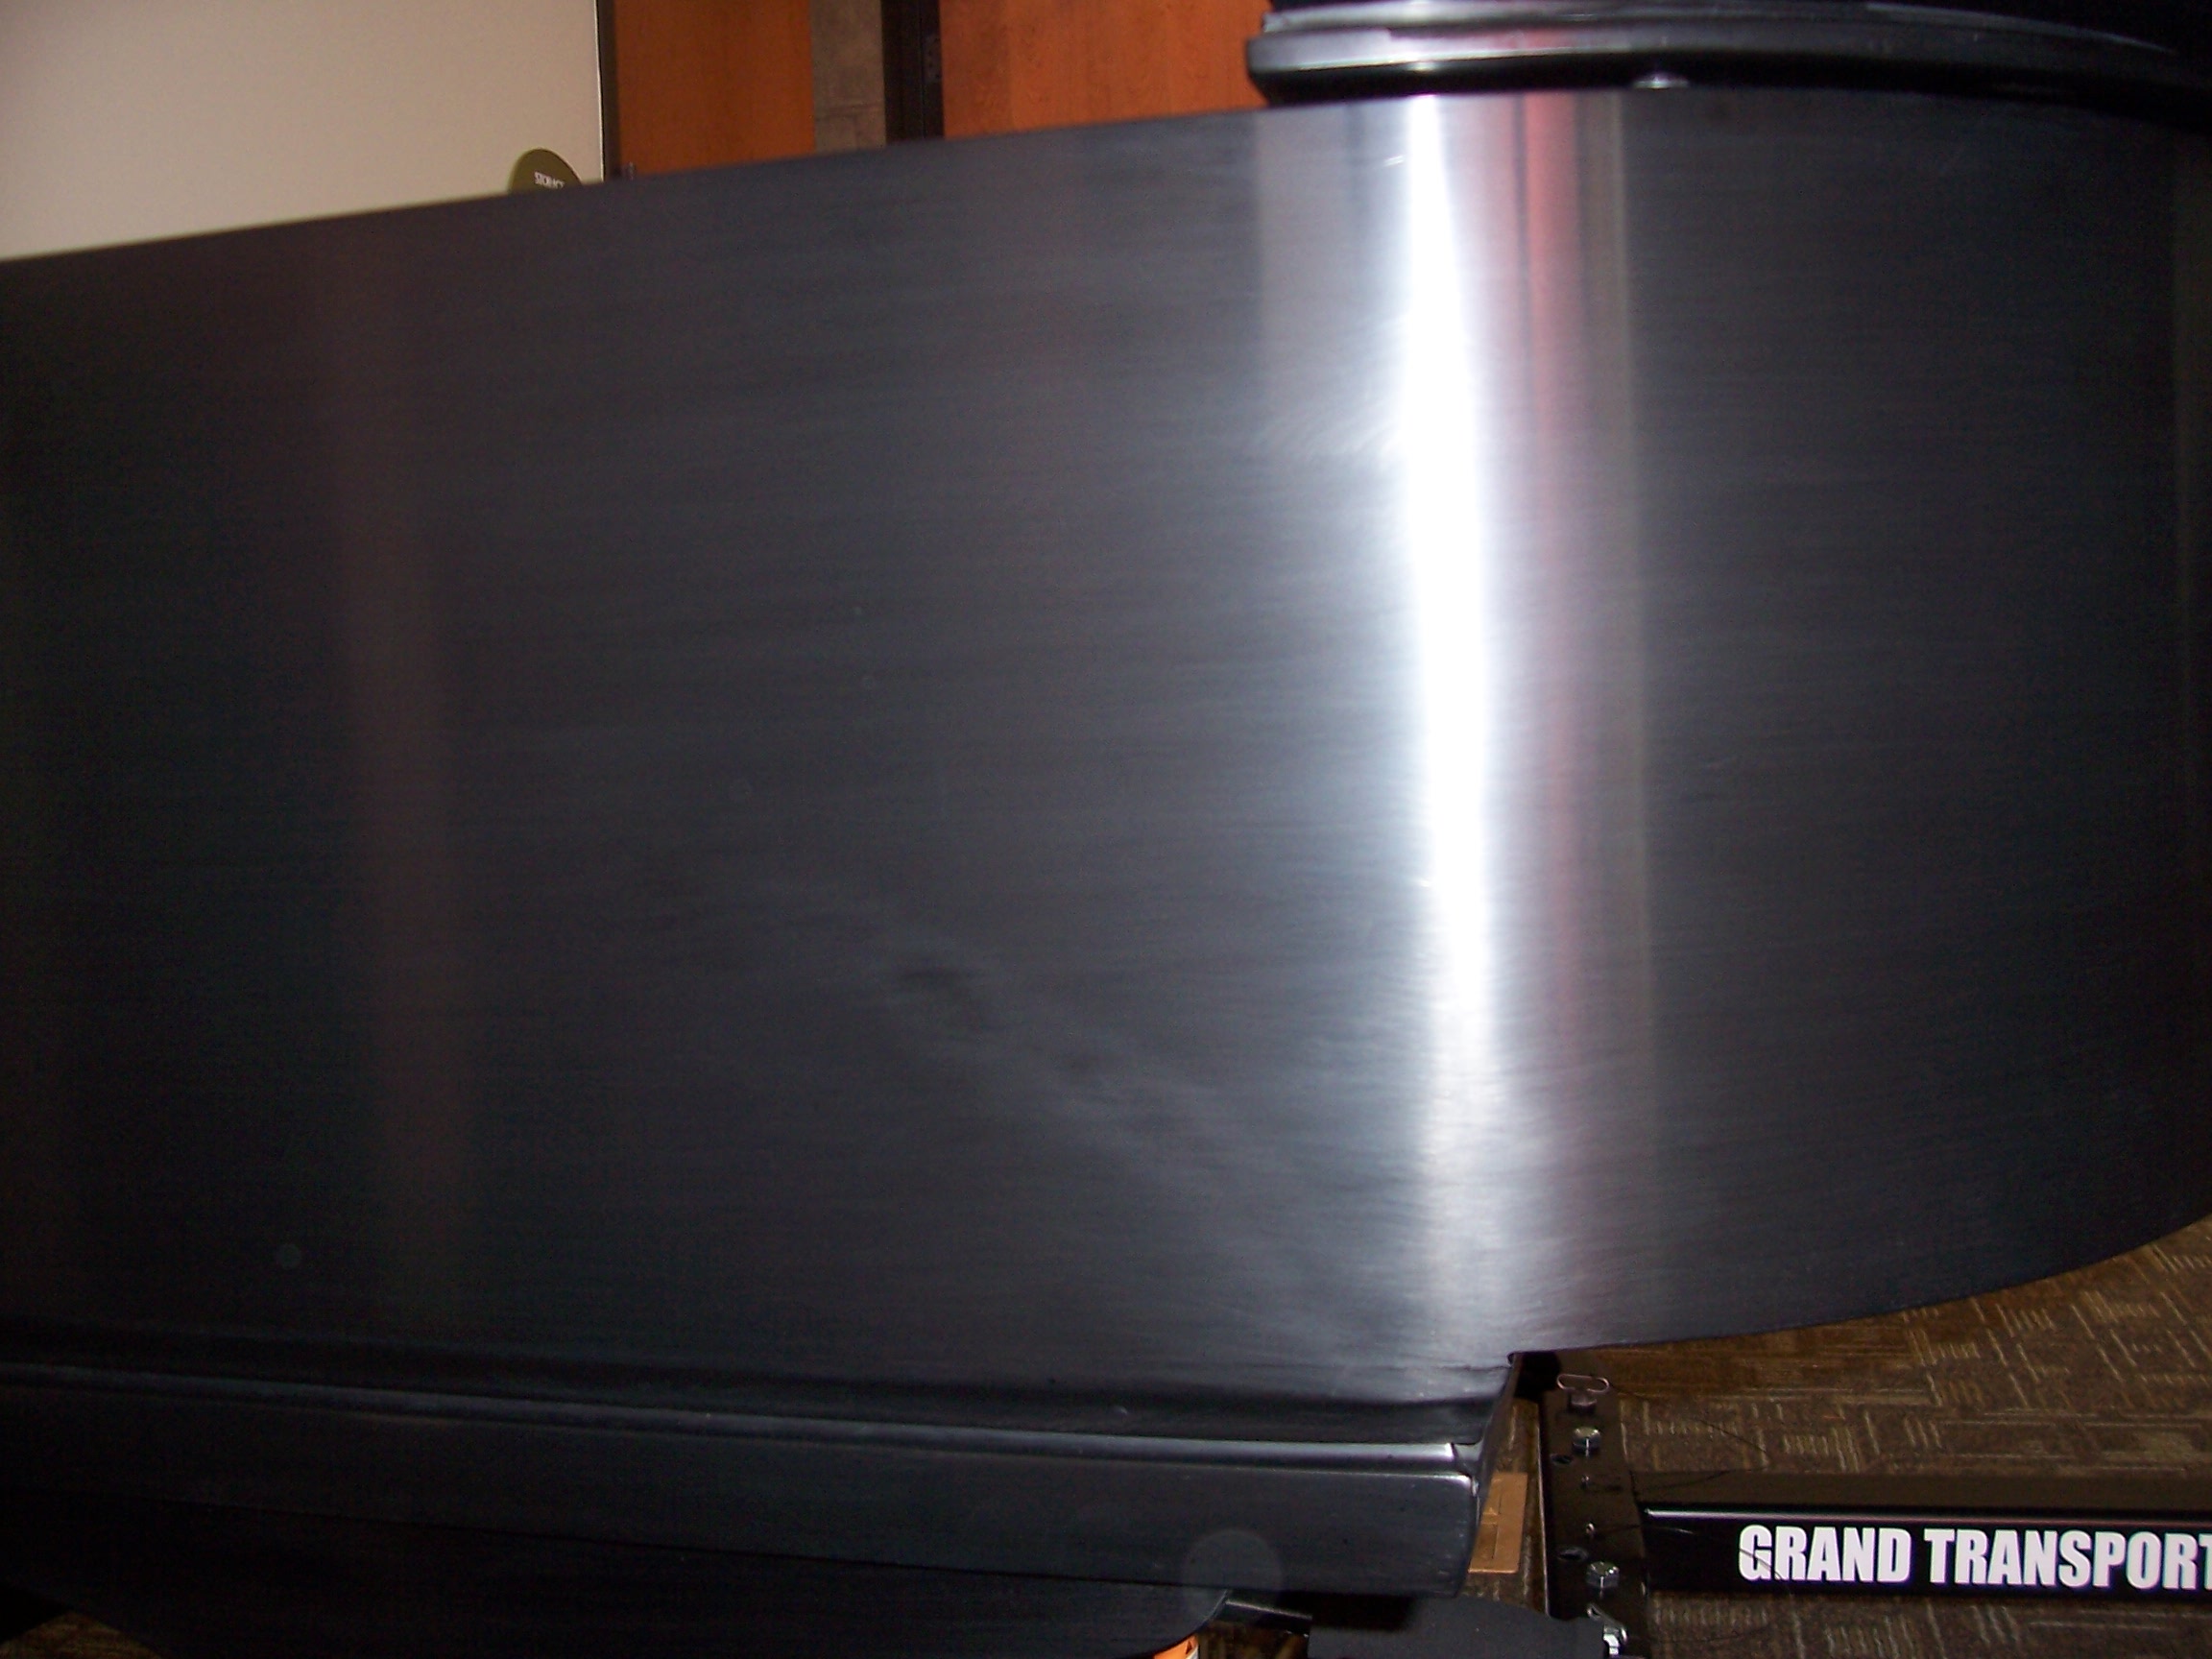
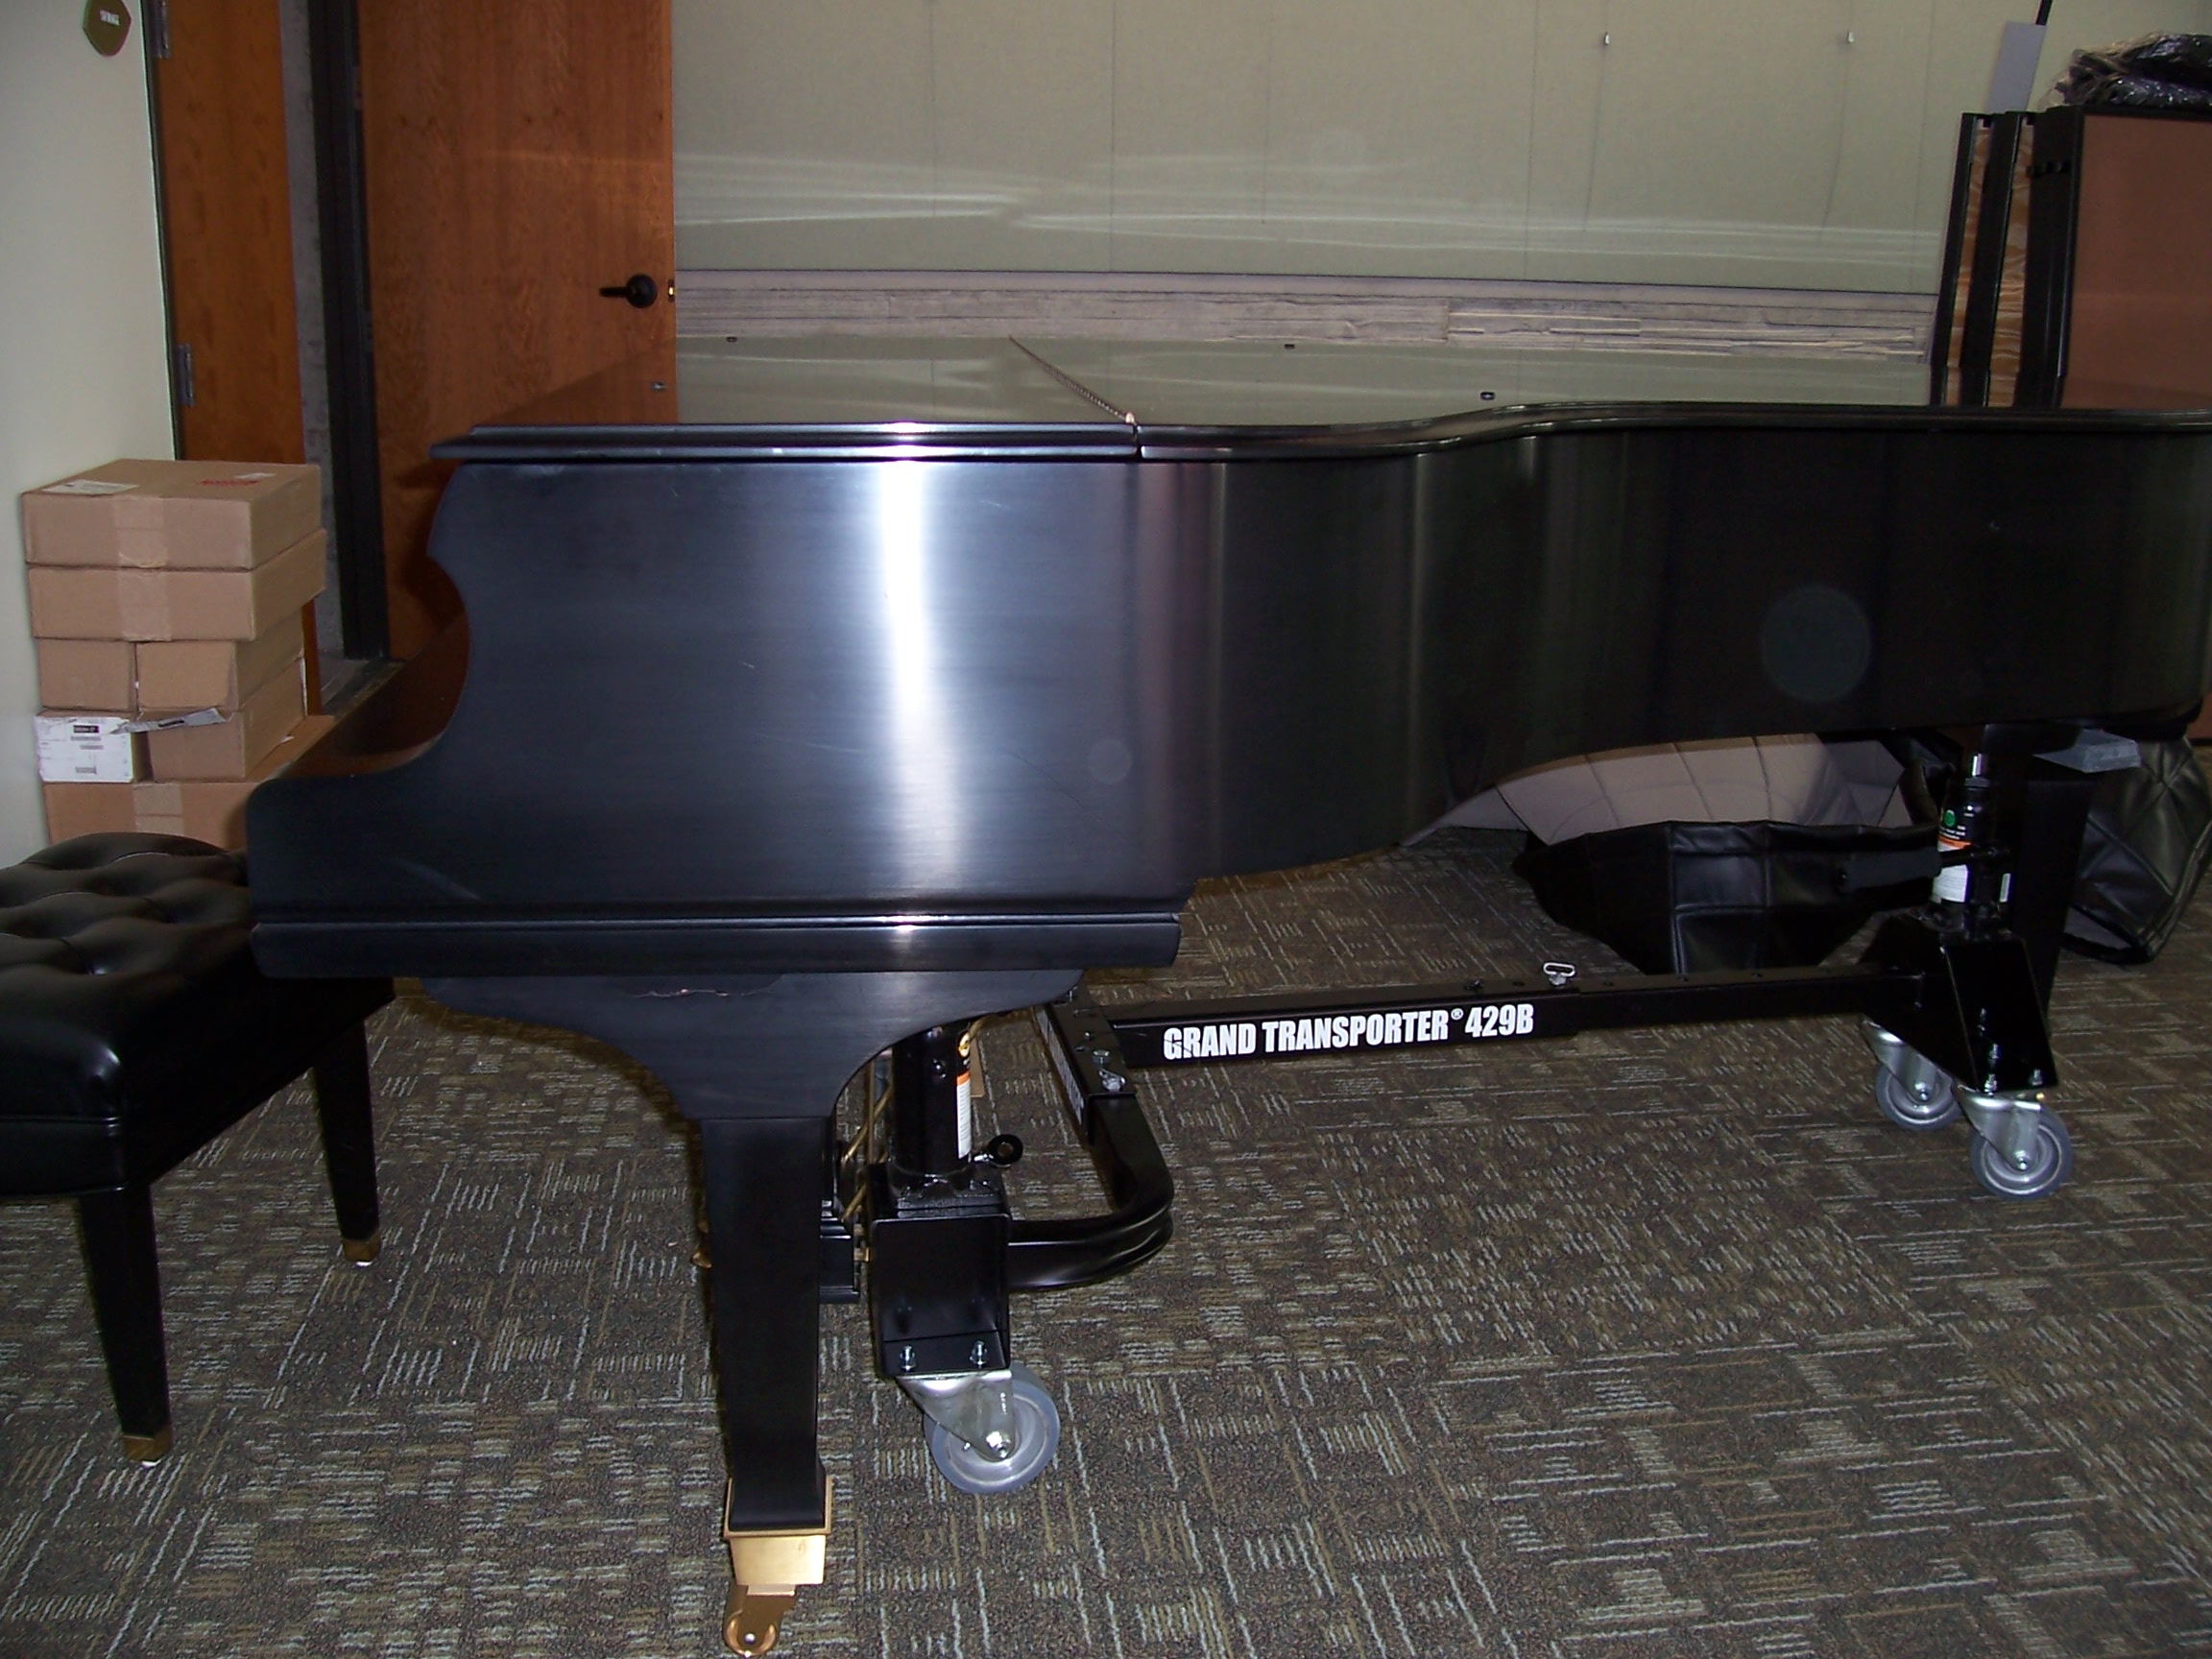
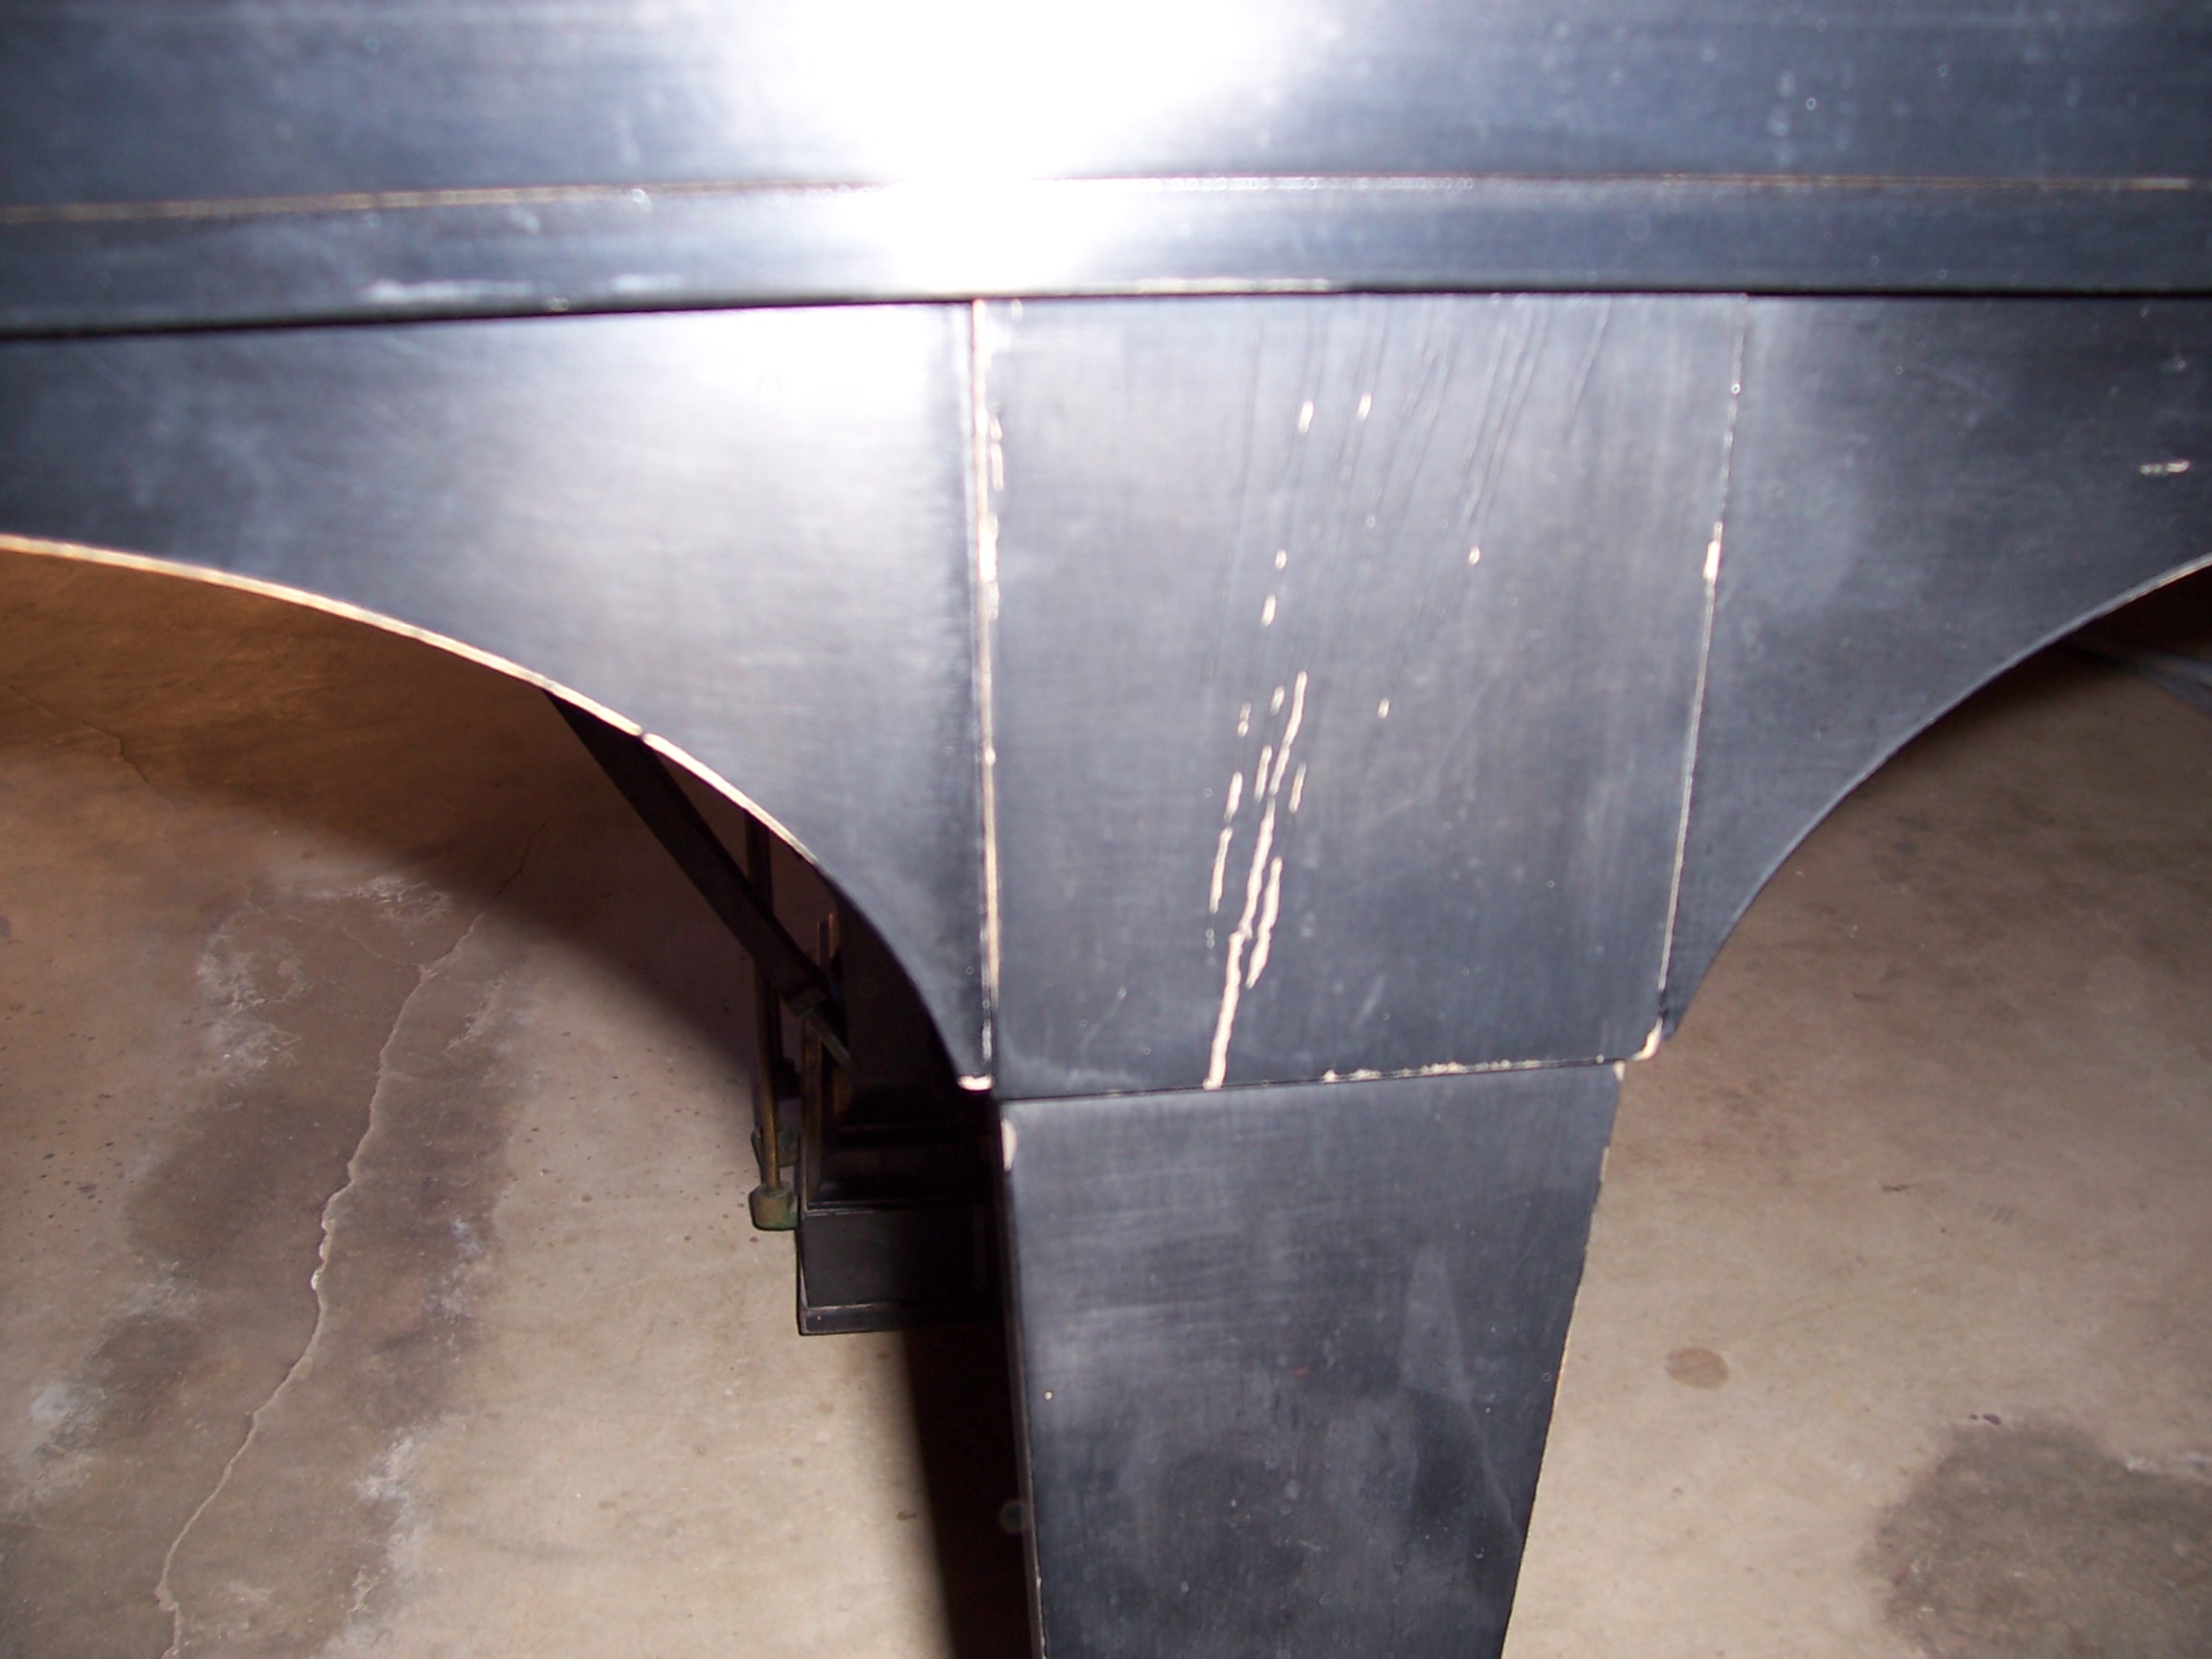
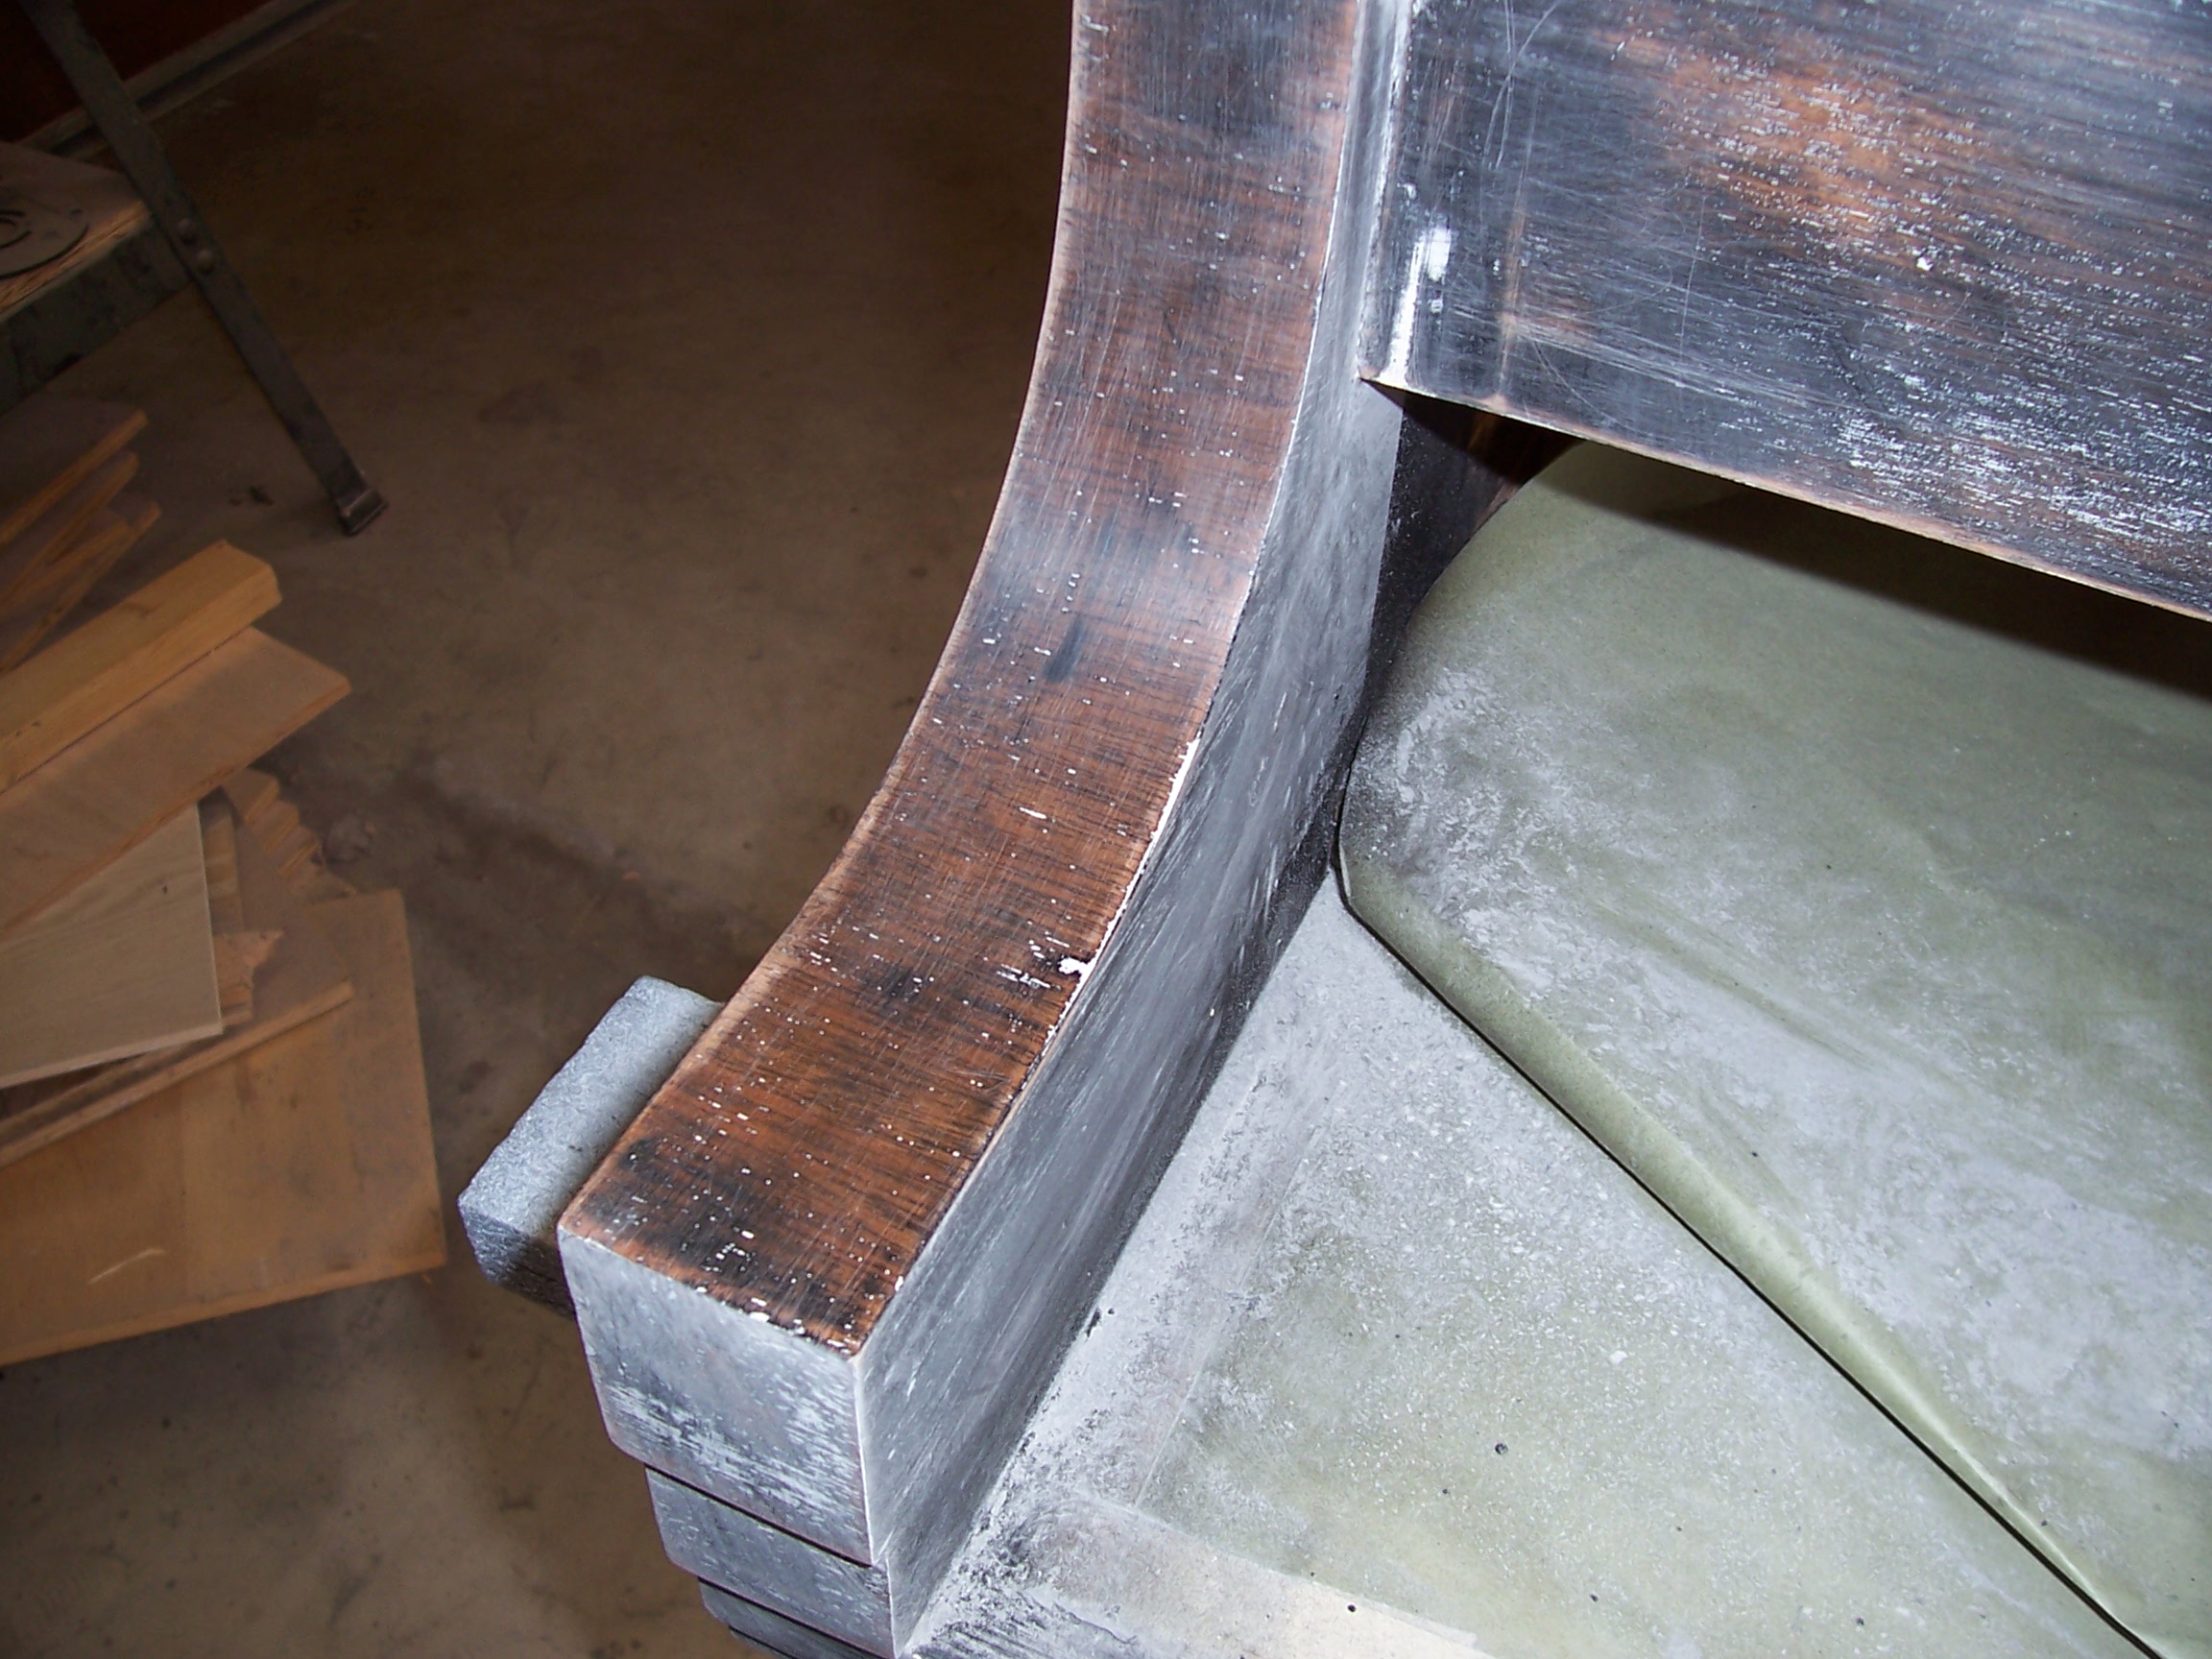
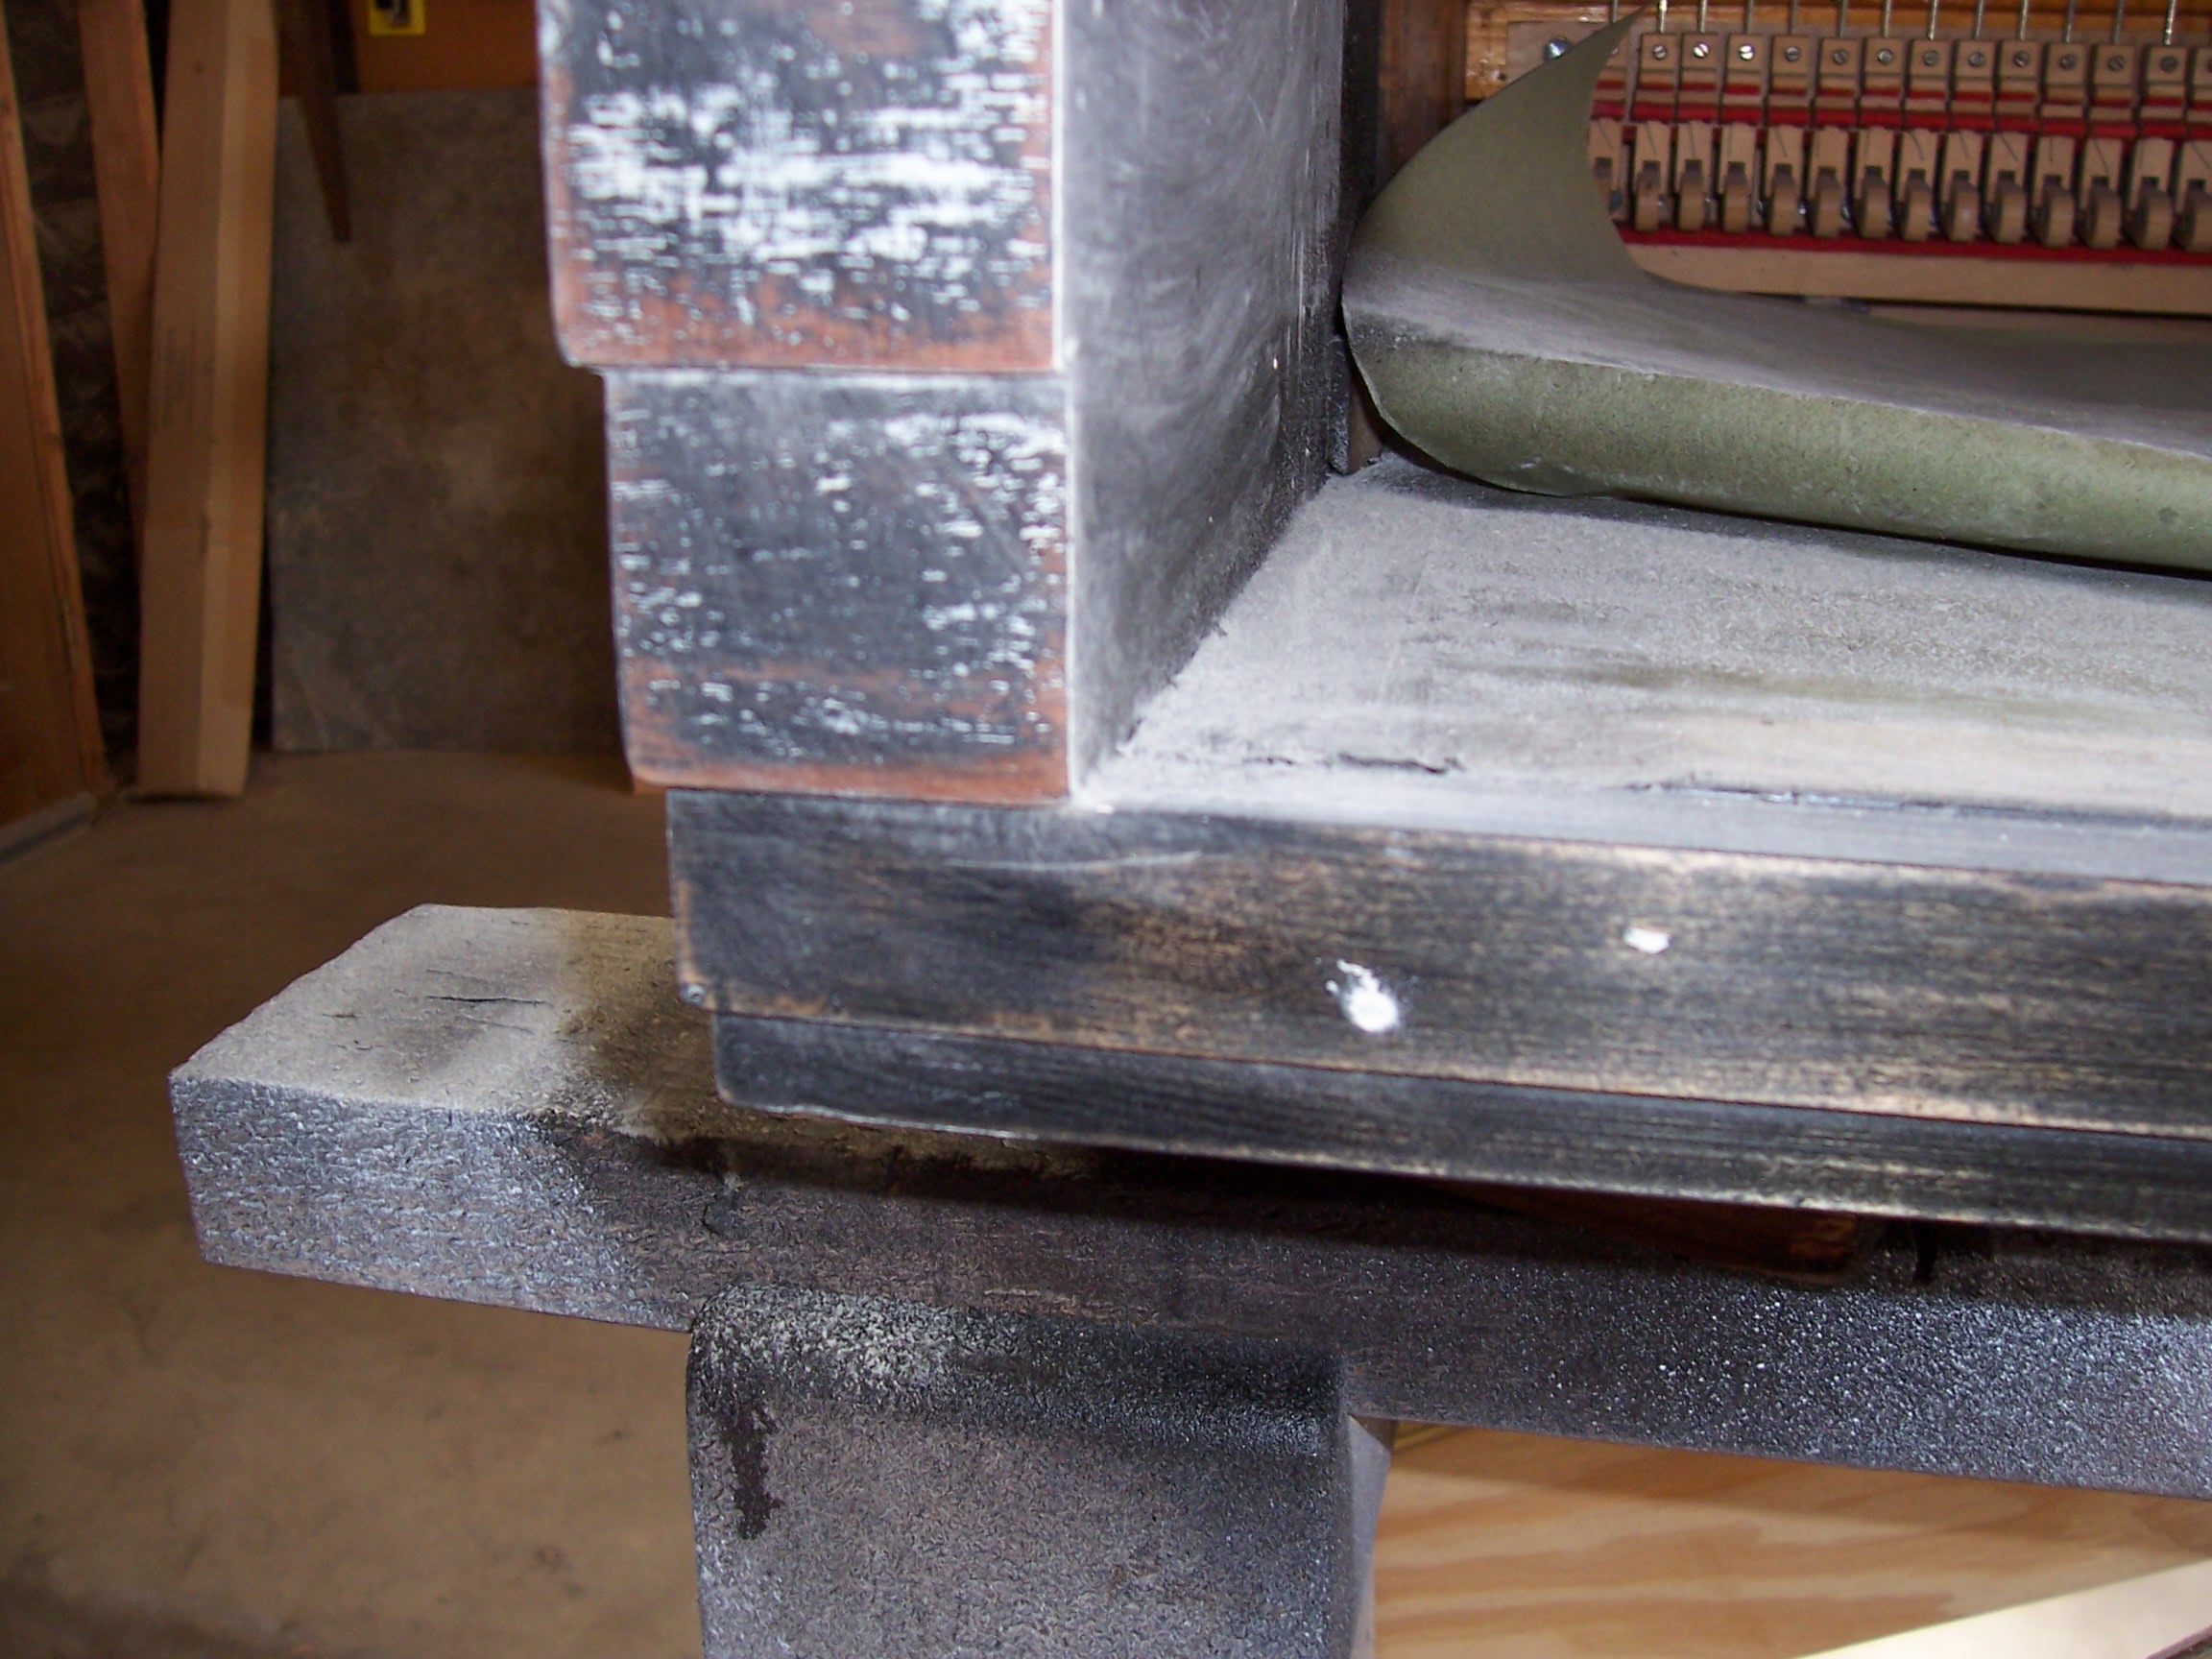
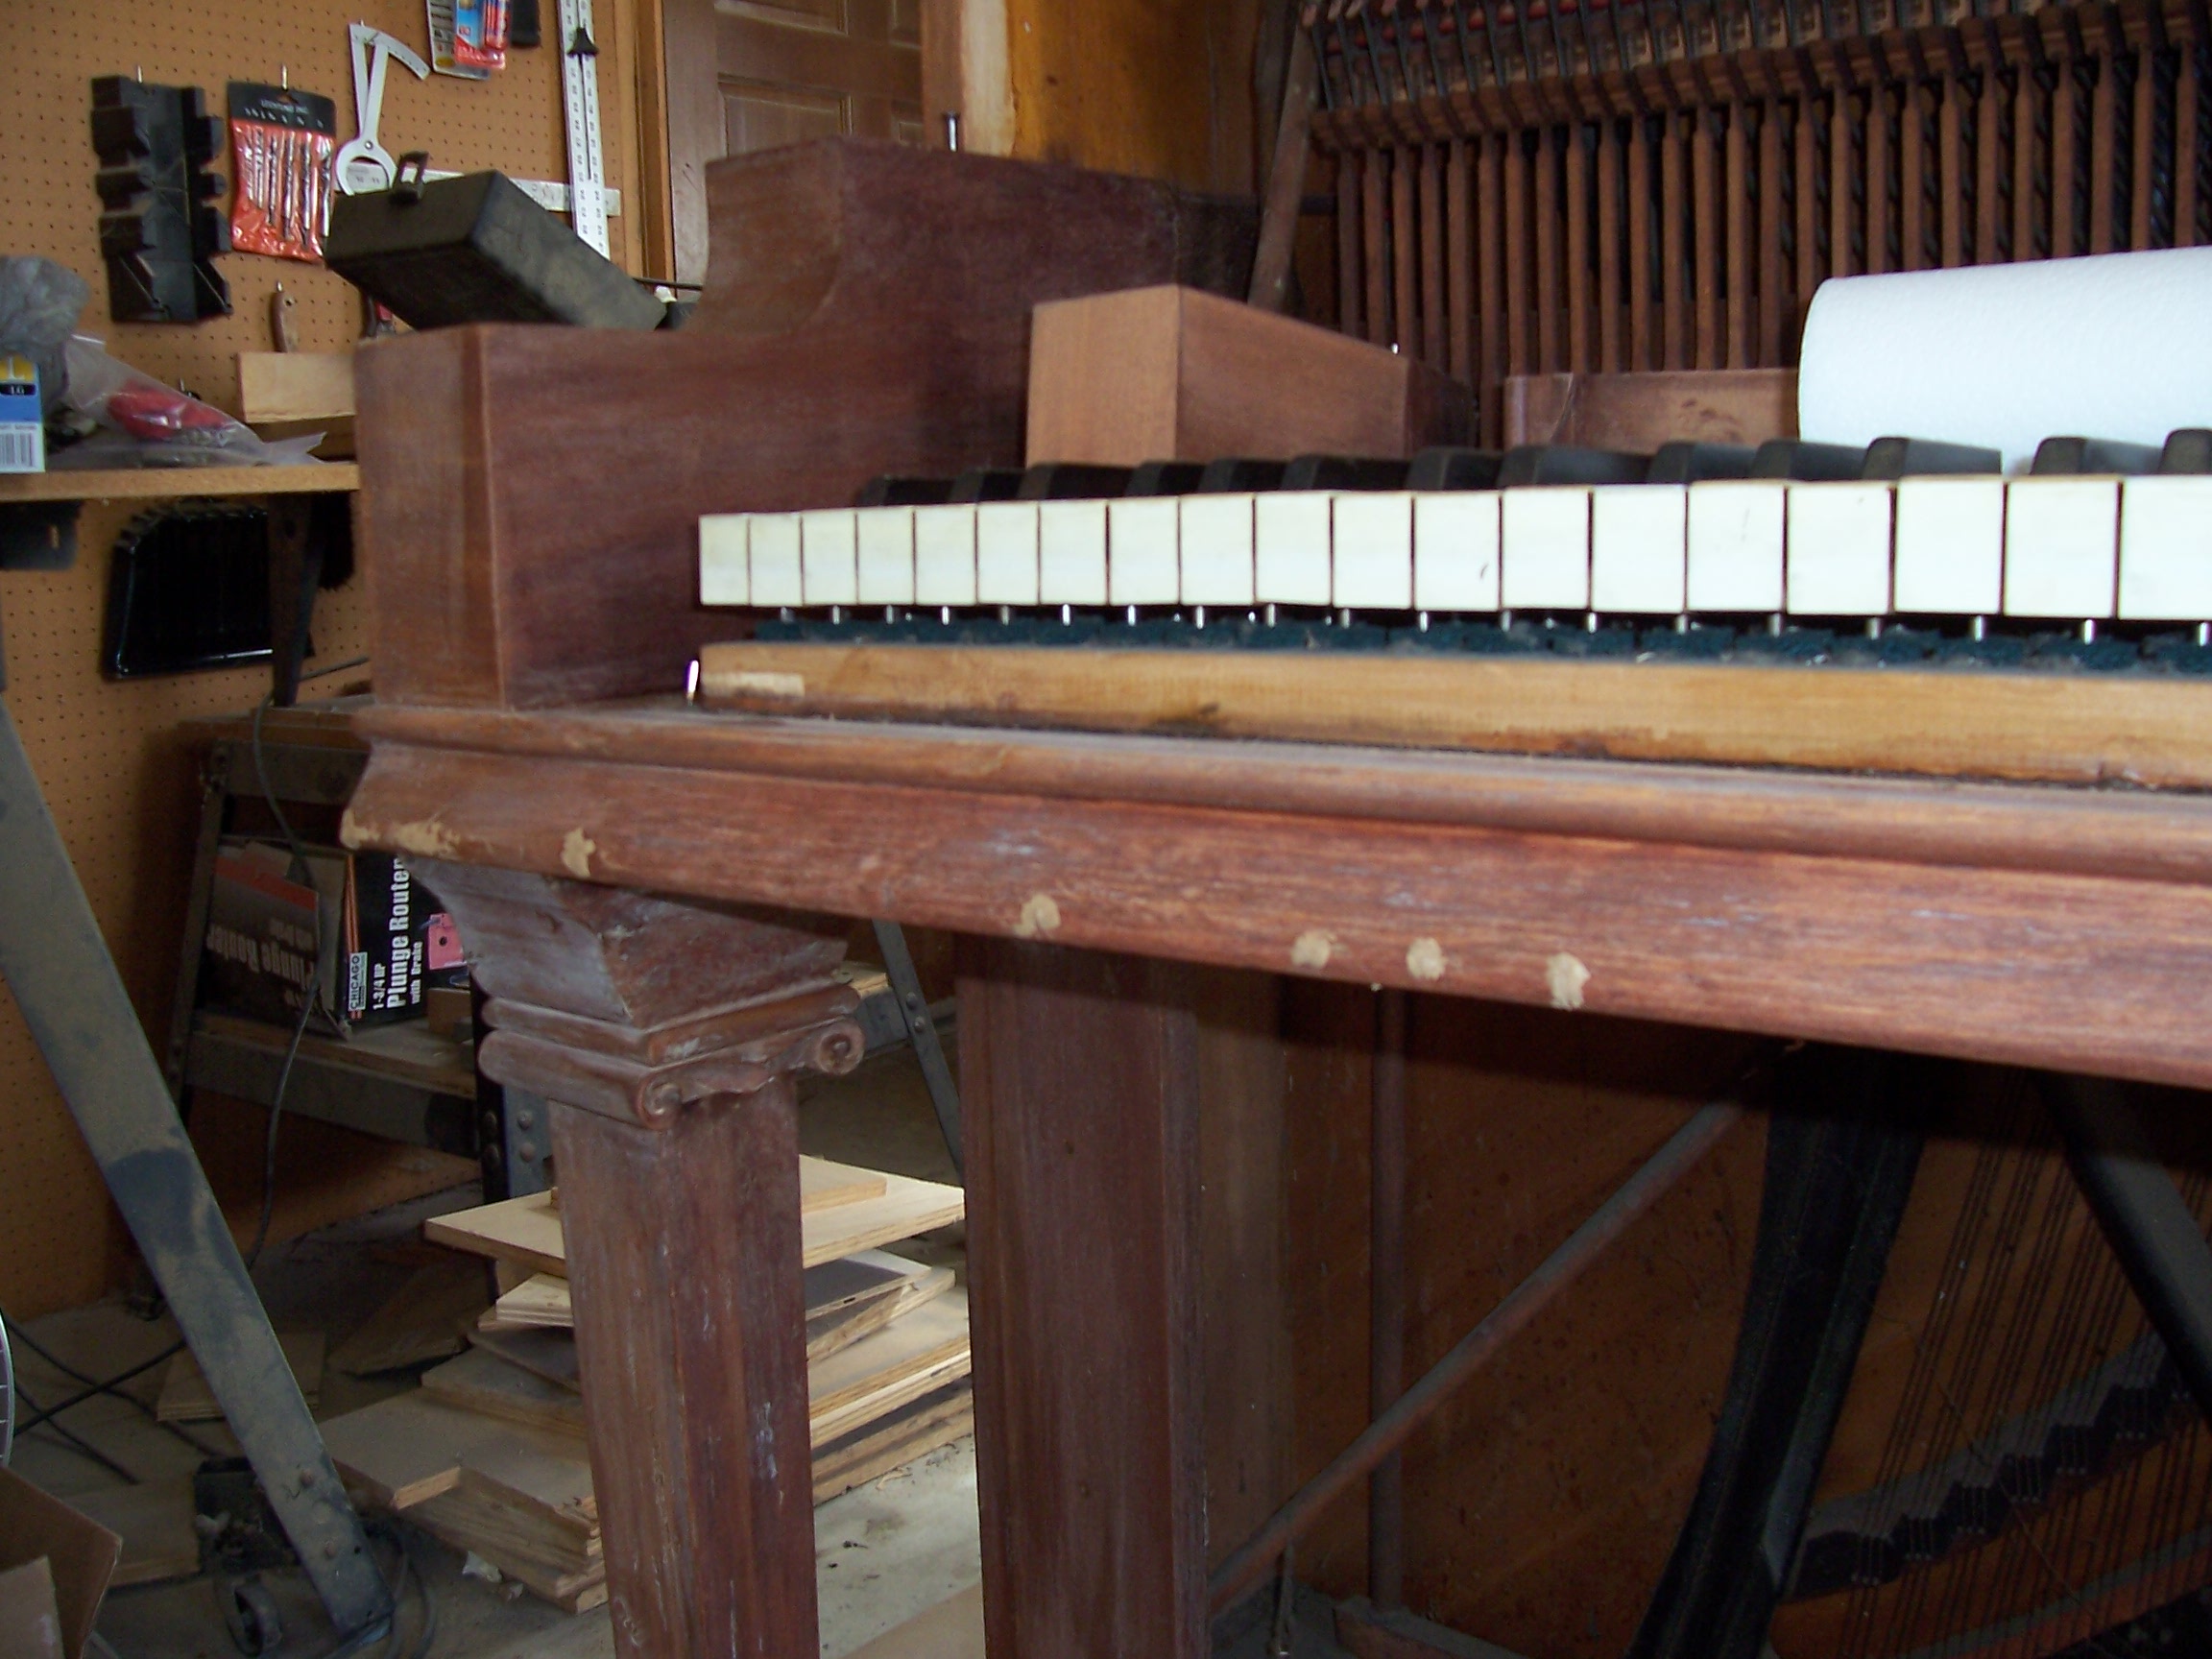
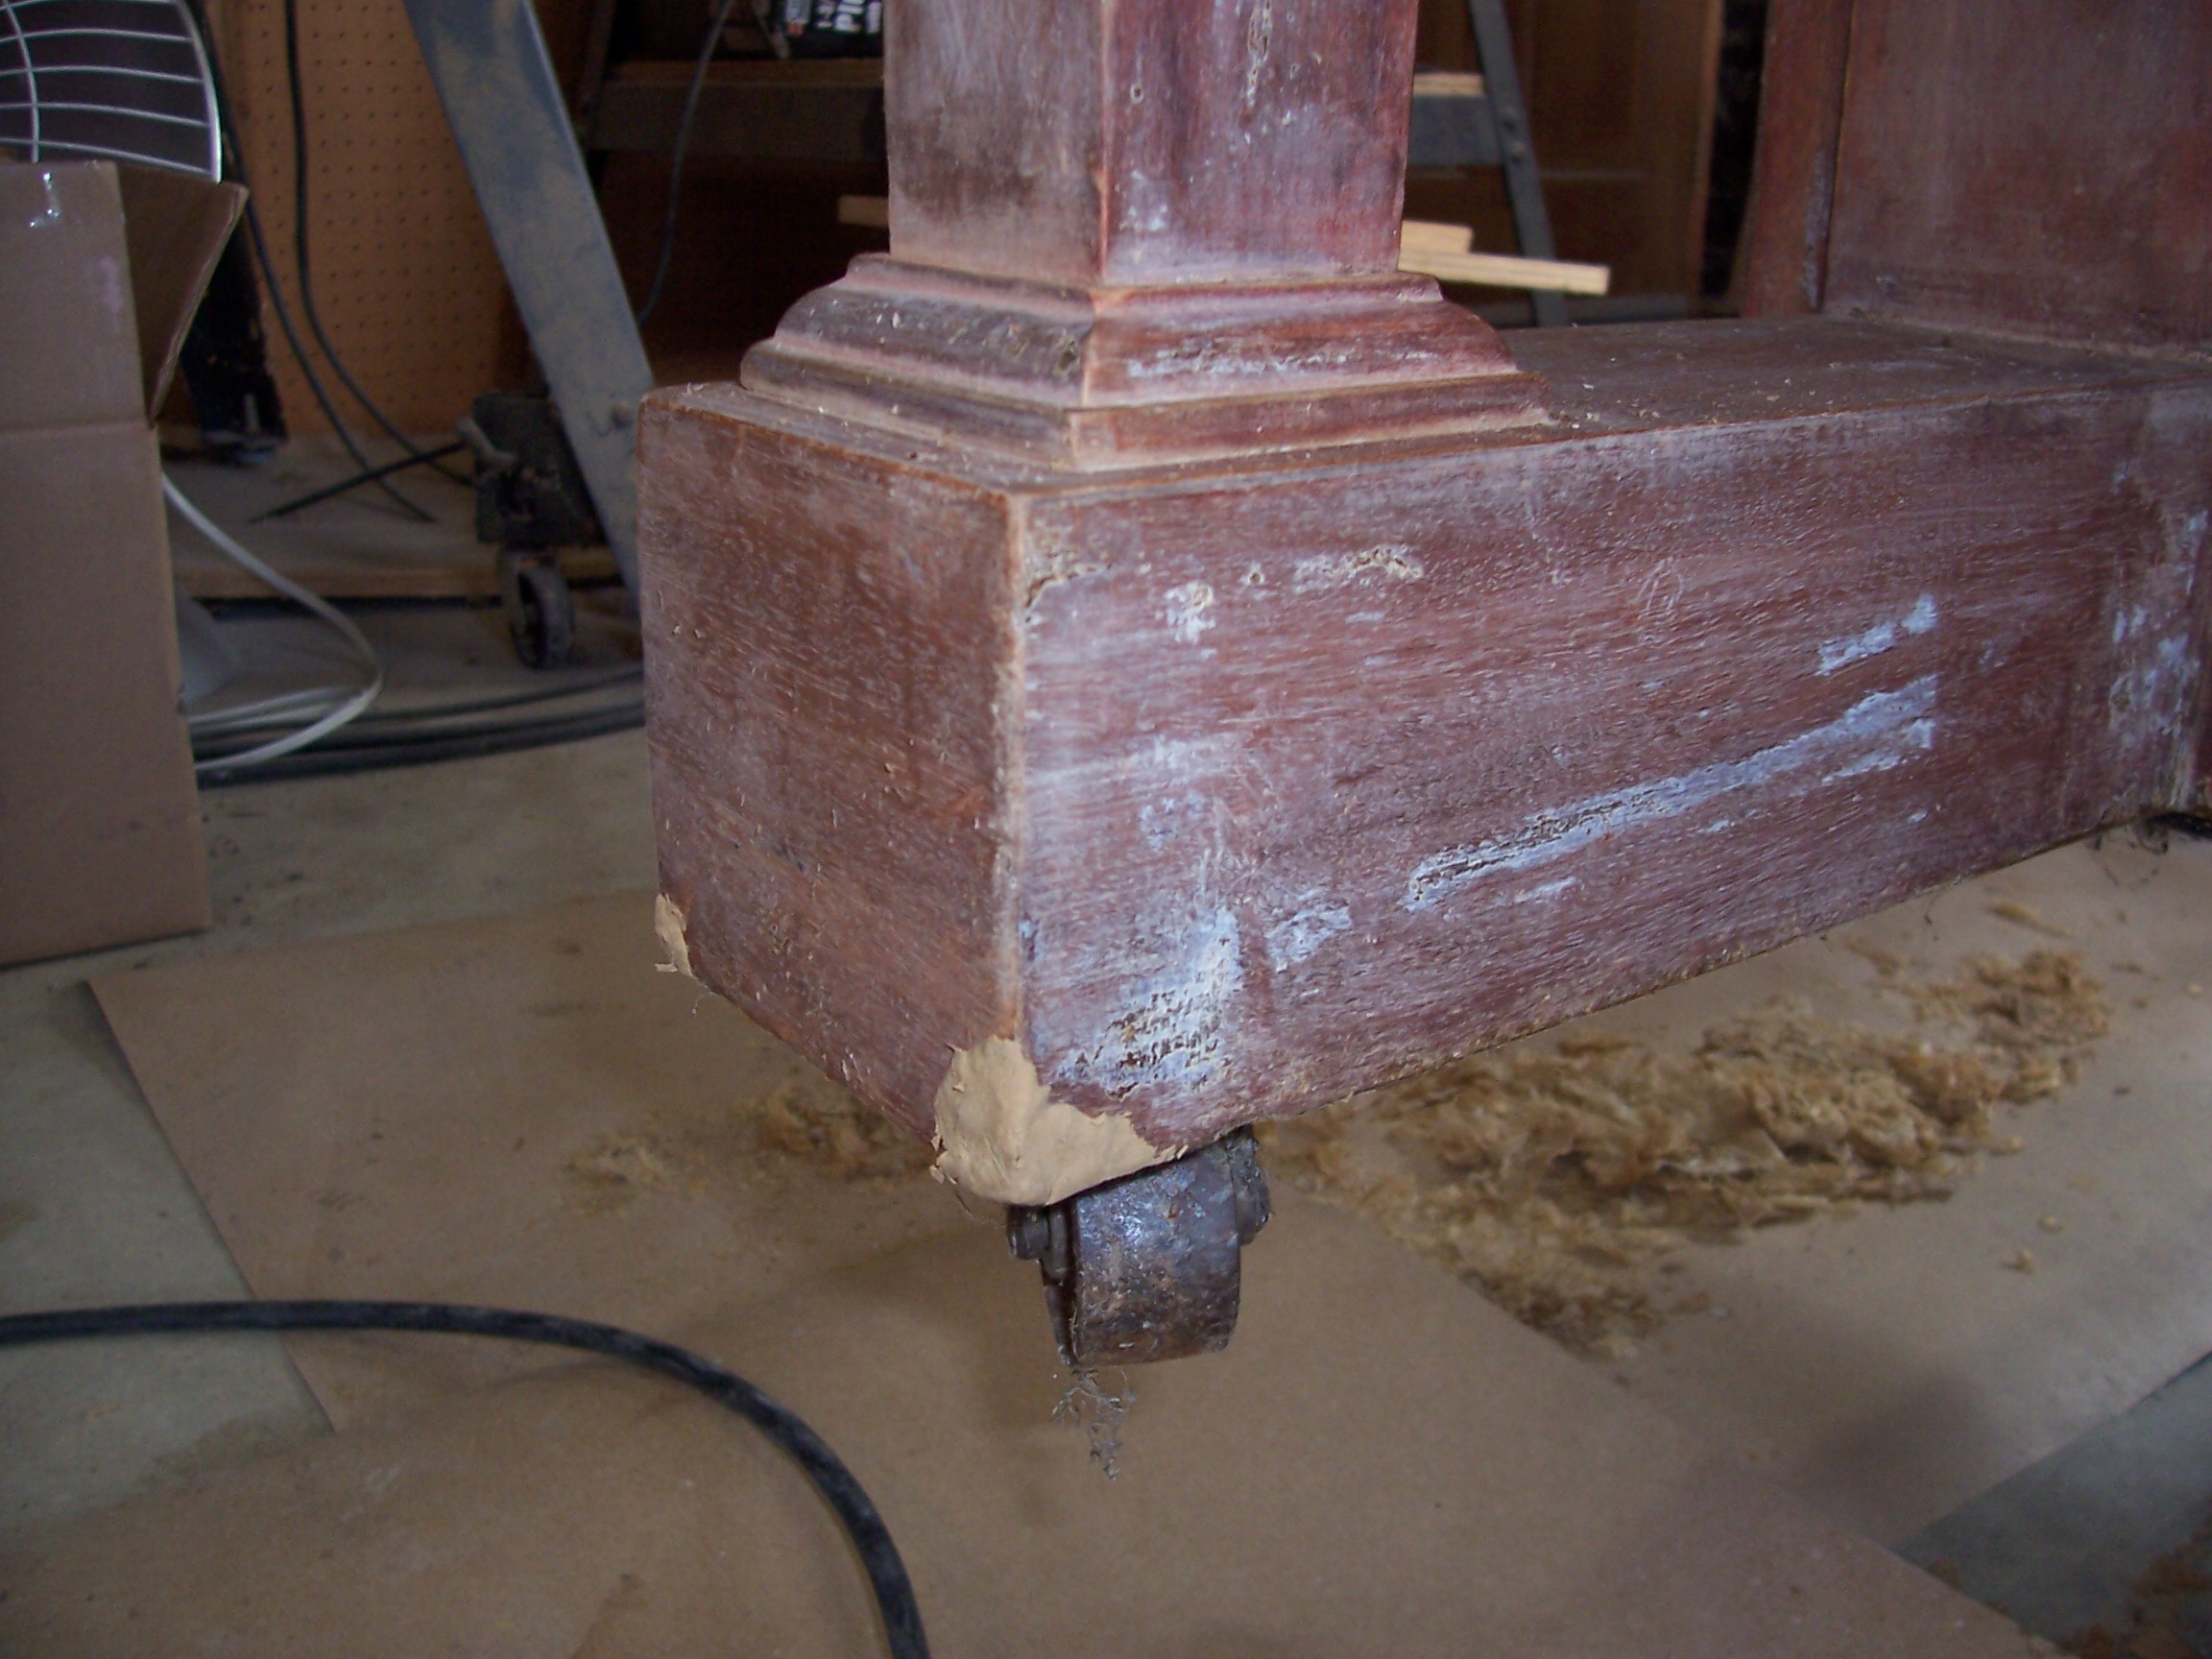
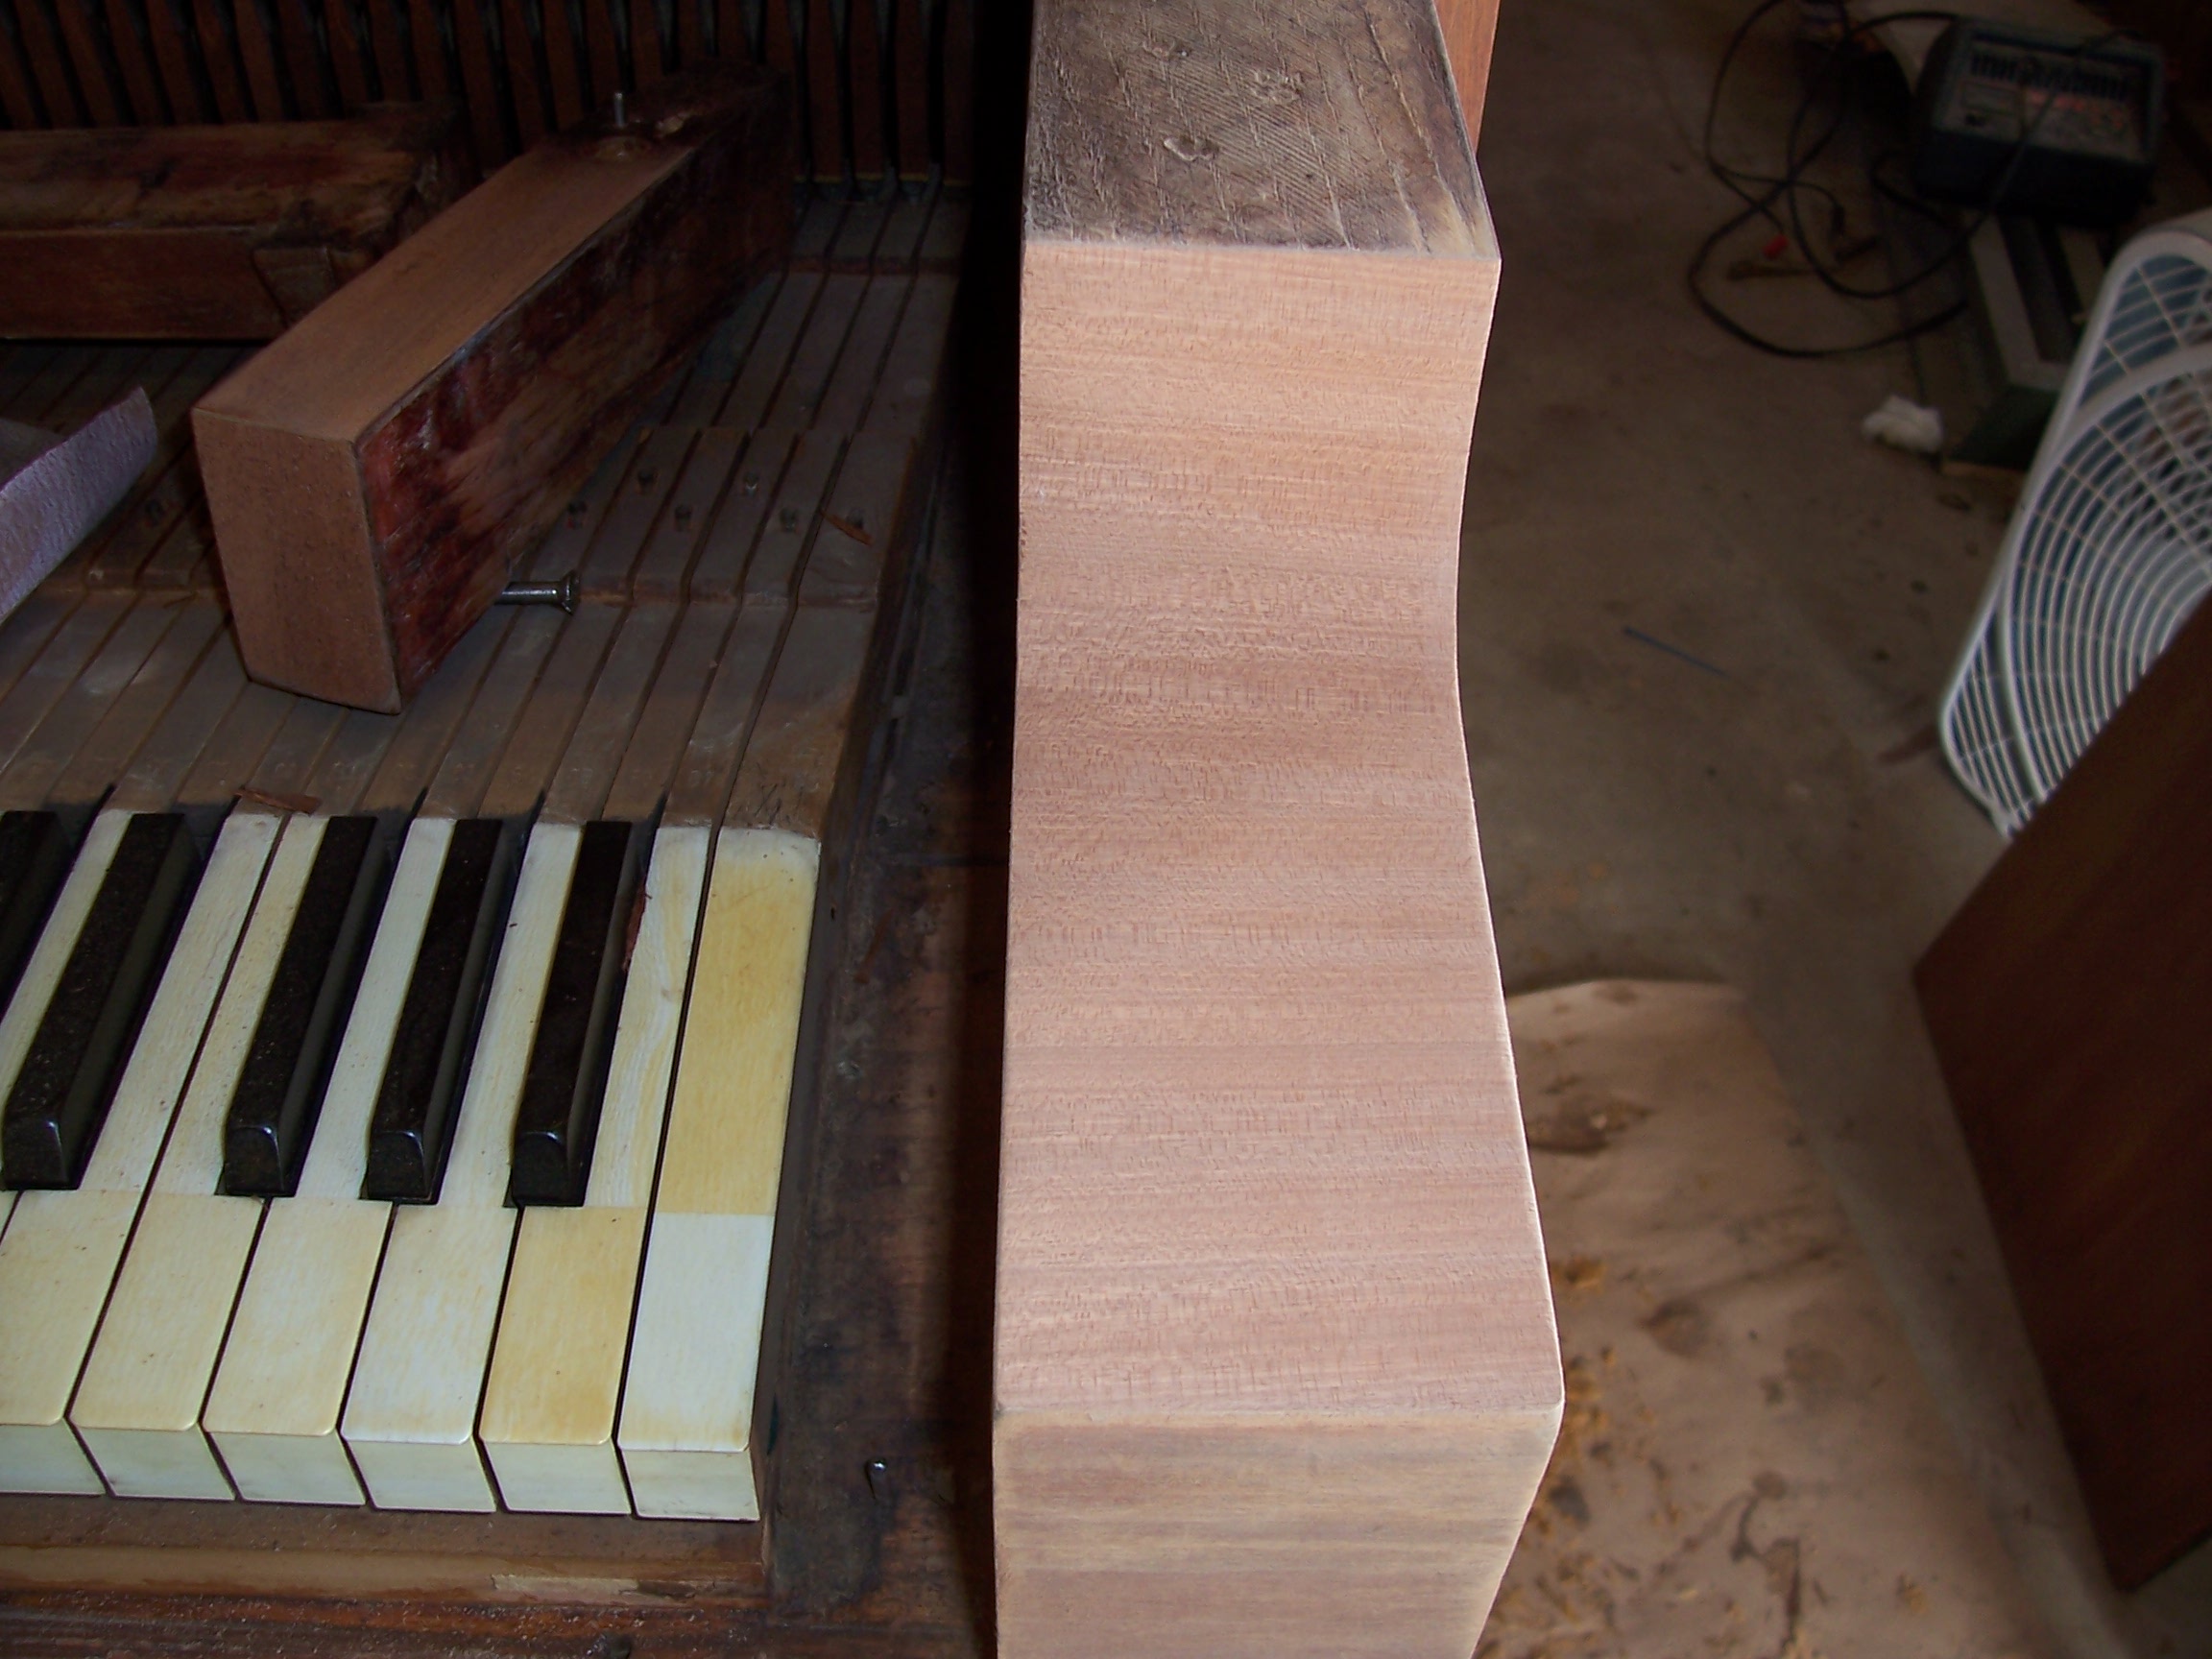
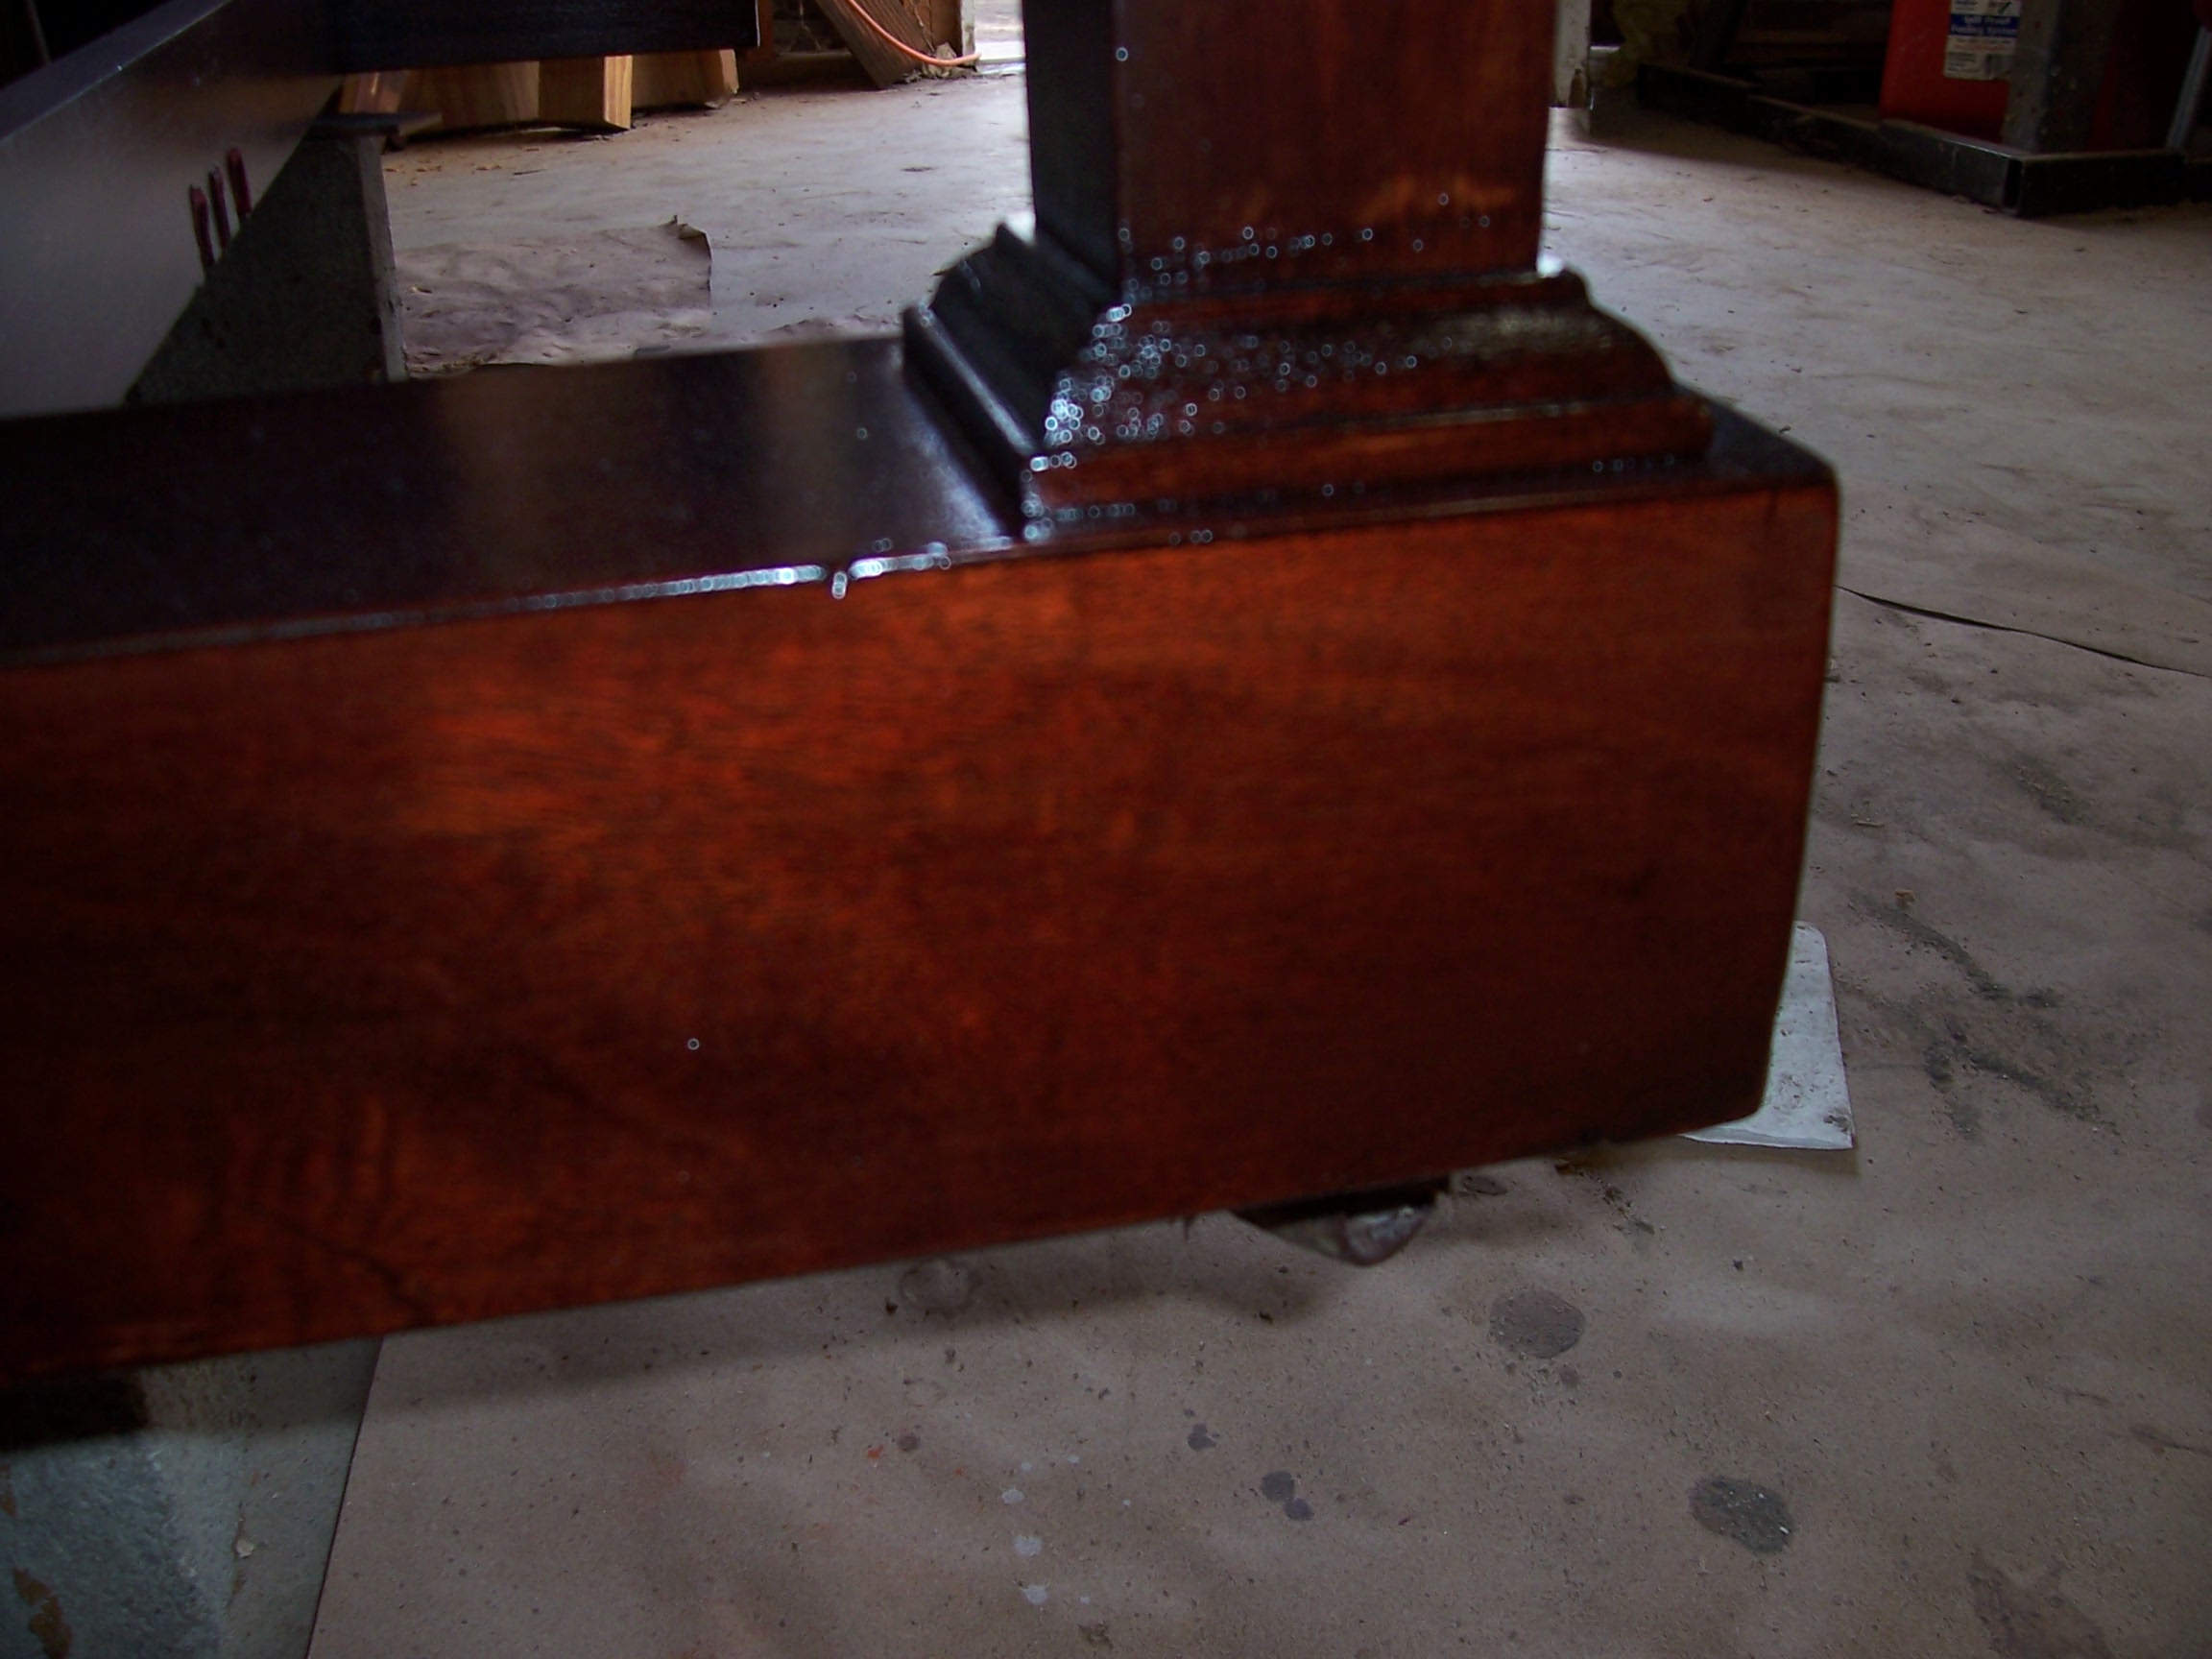
"Grand leg repair"
Not all problems require complete refinishing. This 7' Mason & Hamlin grand piano in the new Fallbrook library had what appeared to be a veneer separation in one of the legs. Upon inspection, it turned out to be an actual split in the structure of the leg. The solution was to repair the split and touch up the repair. Some minor scuffs on the side of the case were also touched up and rubbed out to match the surrounding finish. The result brought this beautiful piano to like-new condition.
"Black magic, continued"
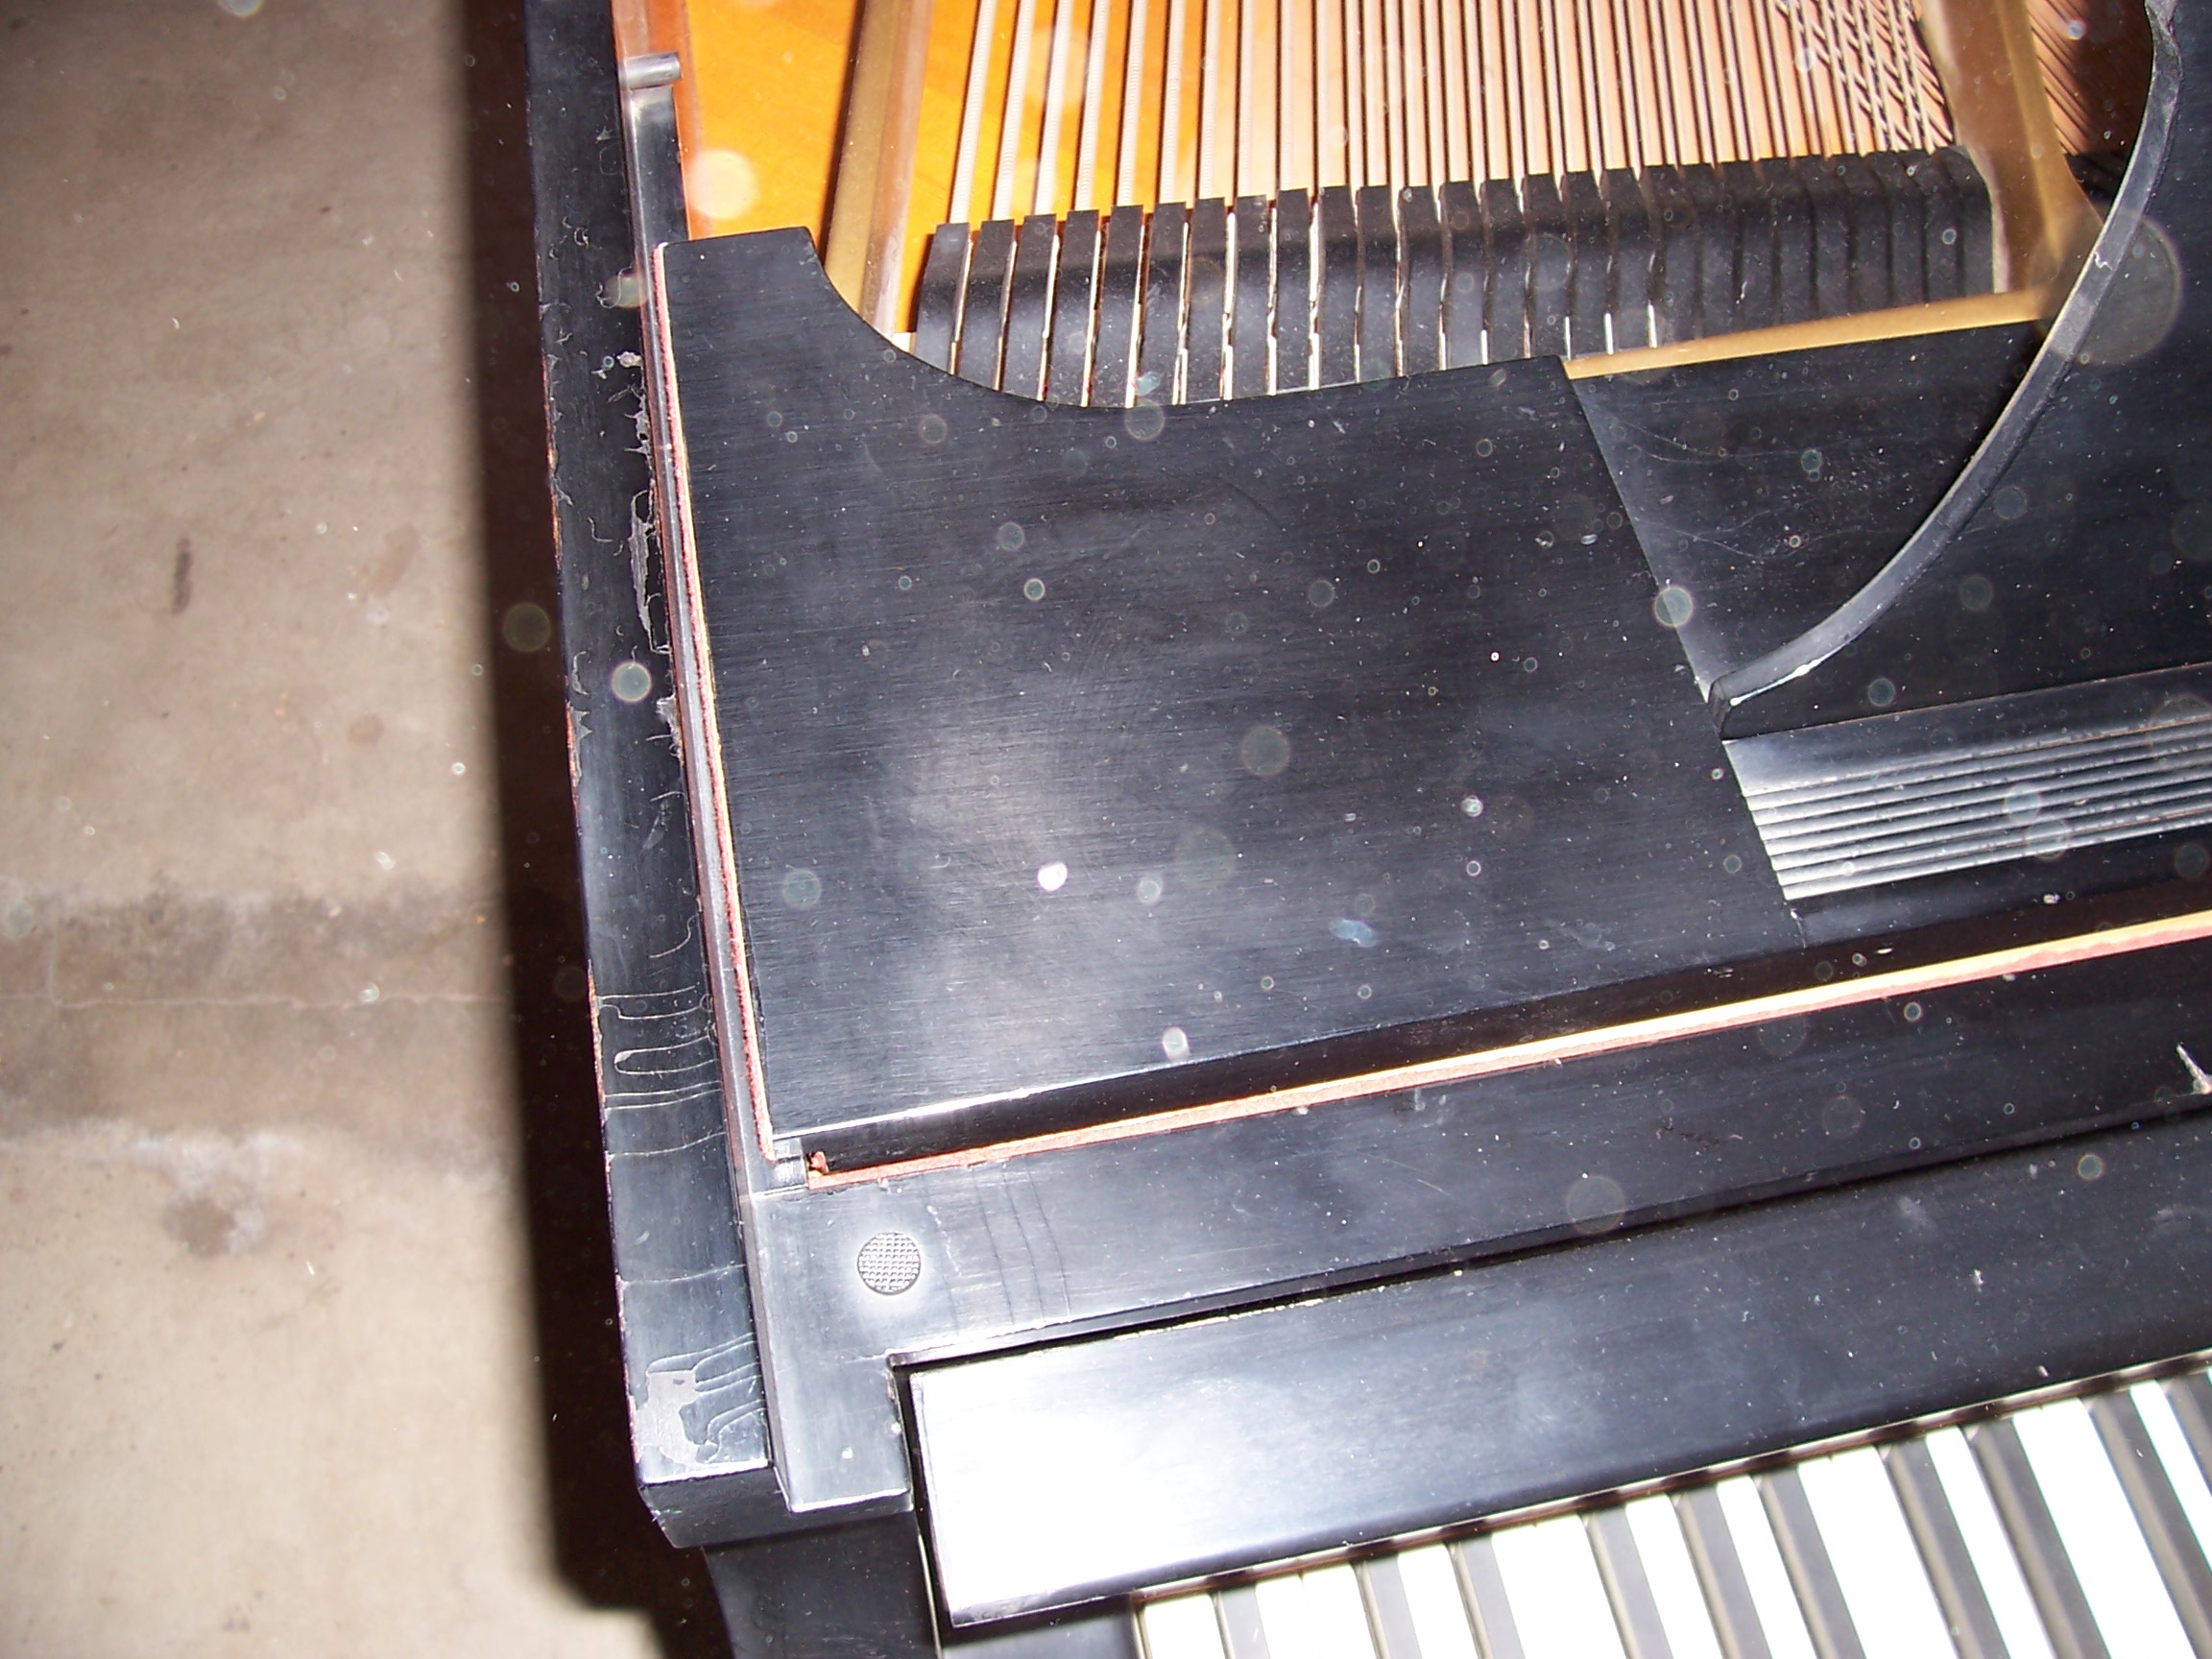
The original idea with the piano above was to refinish the lid, and touch up the rest of the piano. Since the owner brought me the lid, I didn't get a chance to see the piano until I returned the lid. As you can see here, the piano was a bit beyond touchup, so he opted to refinish the rest of the piano to bring it back to like-new.
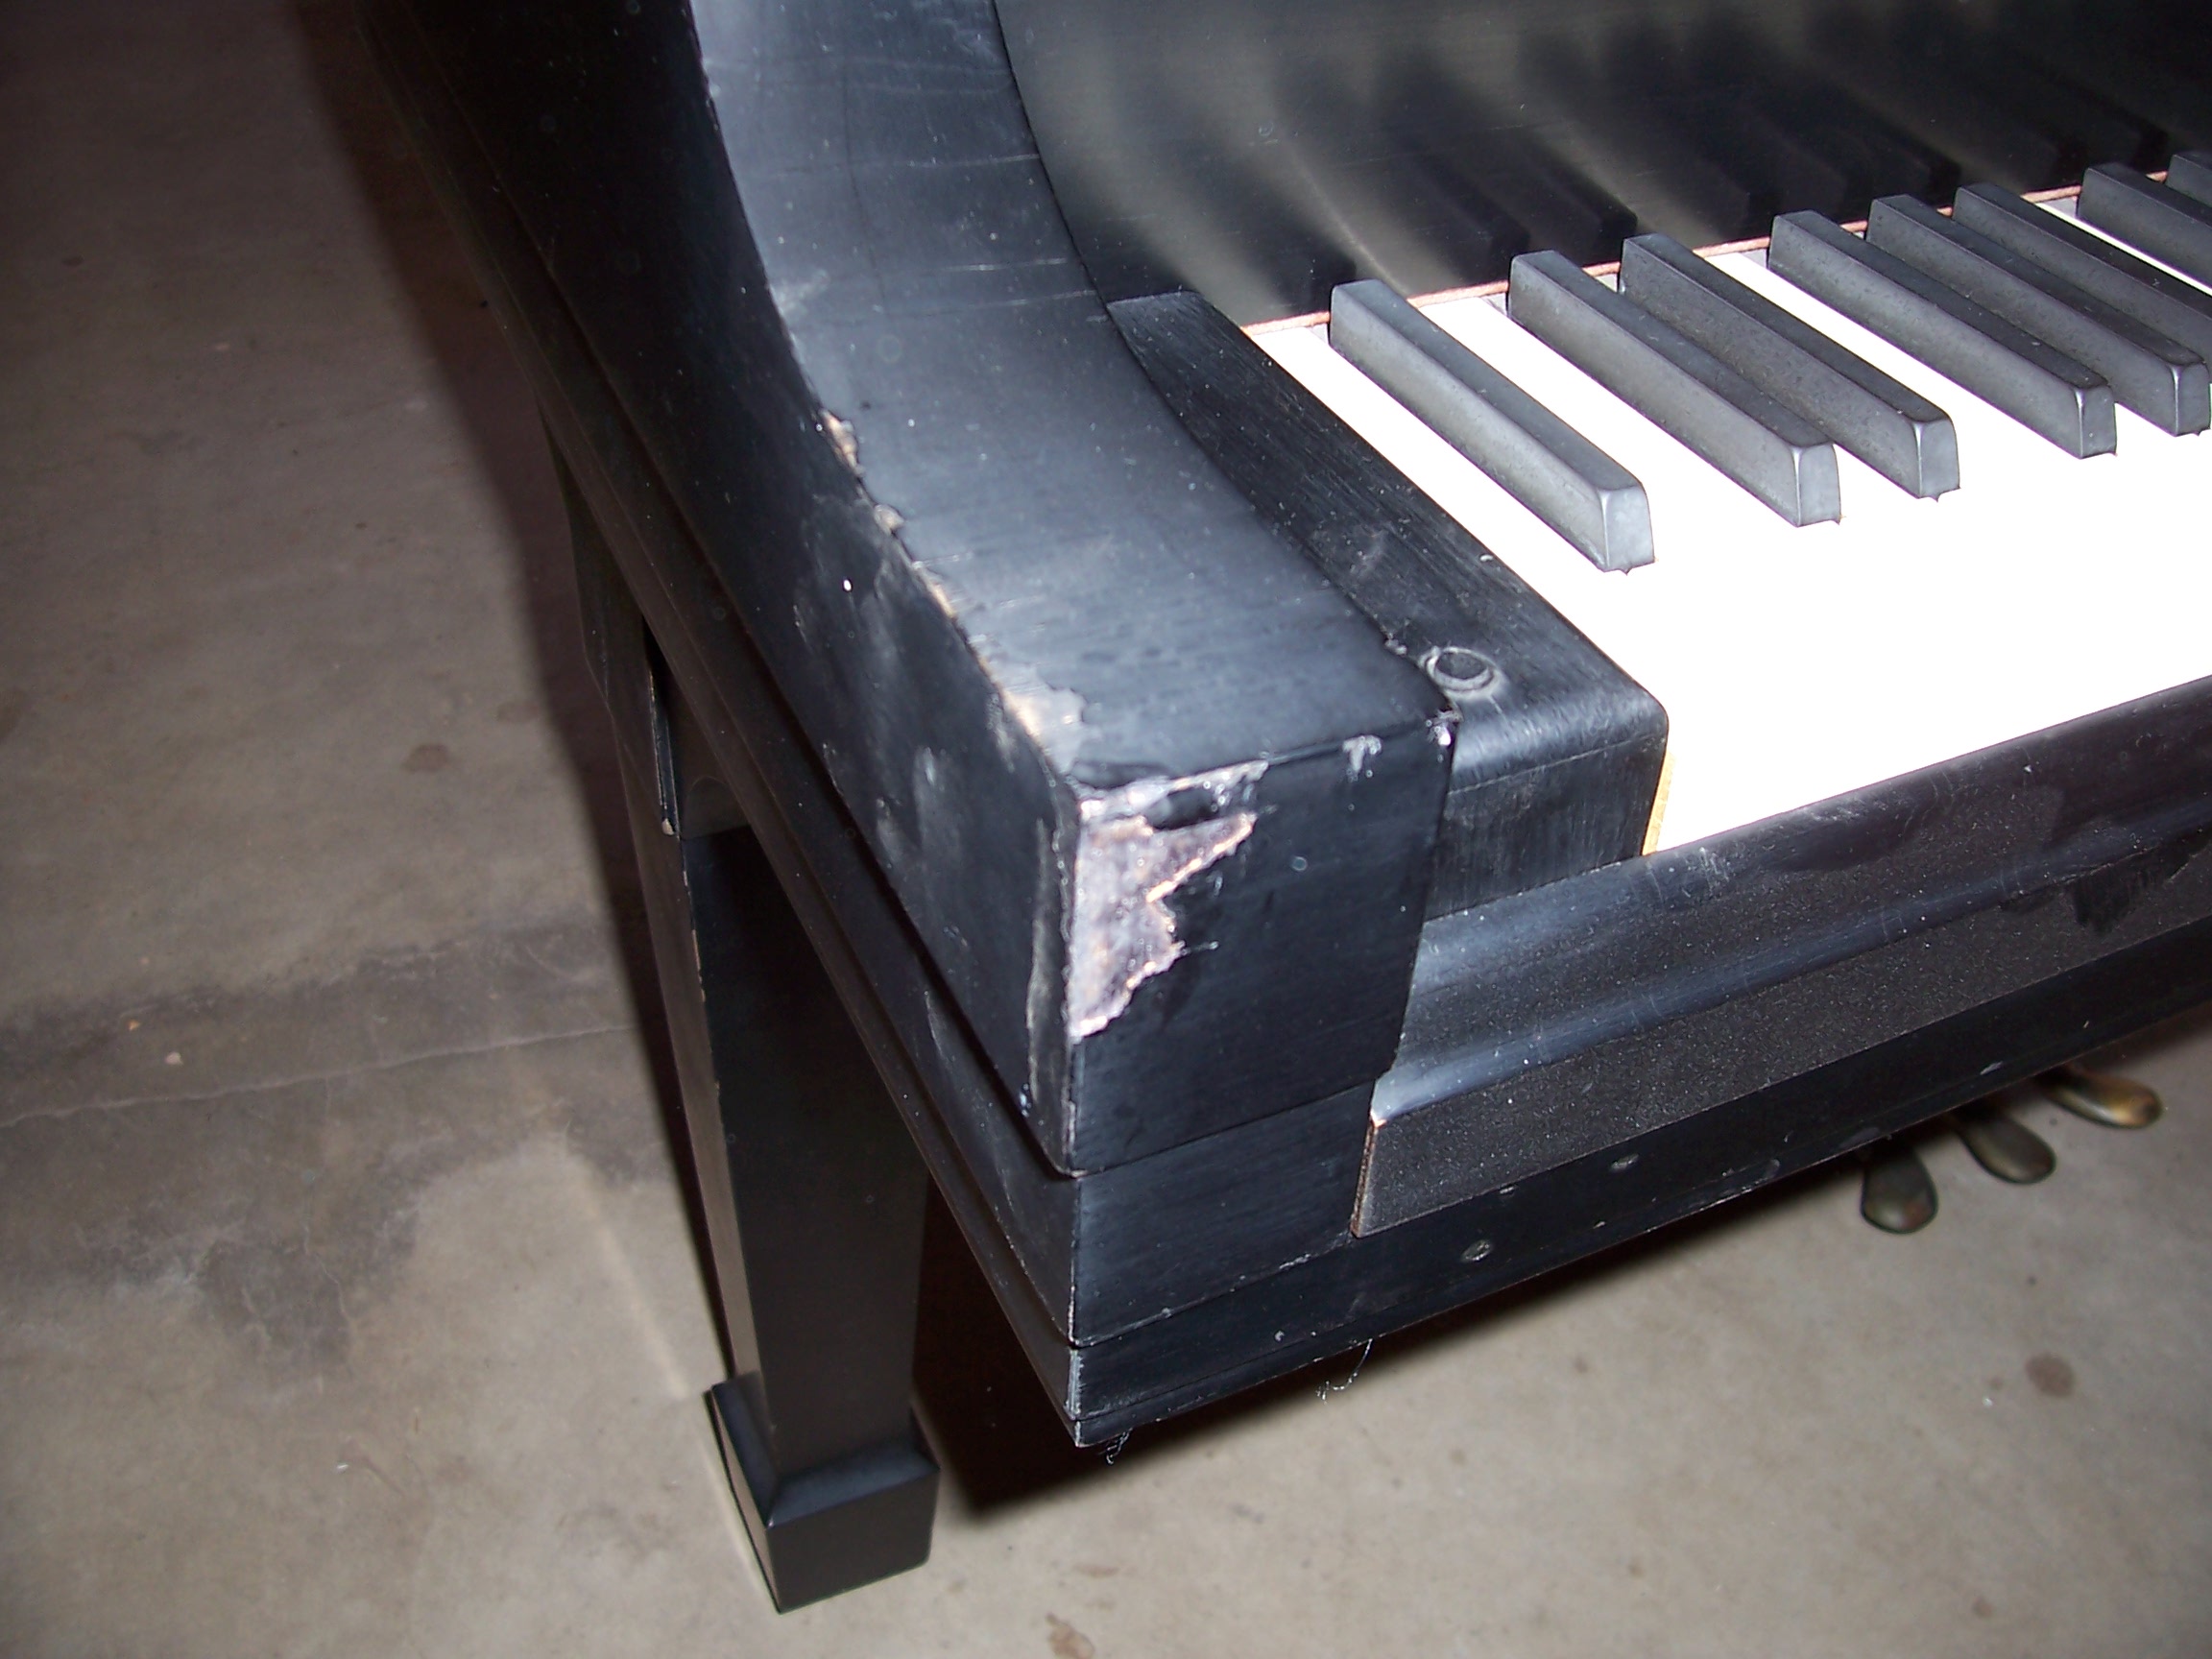
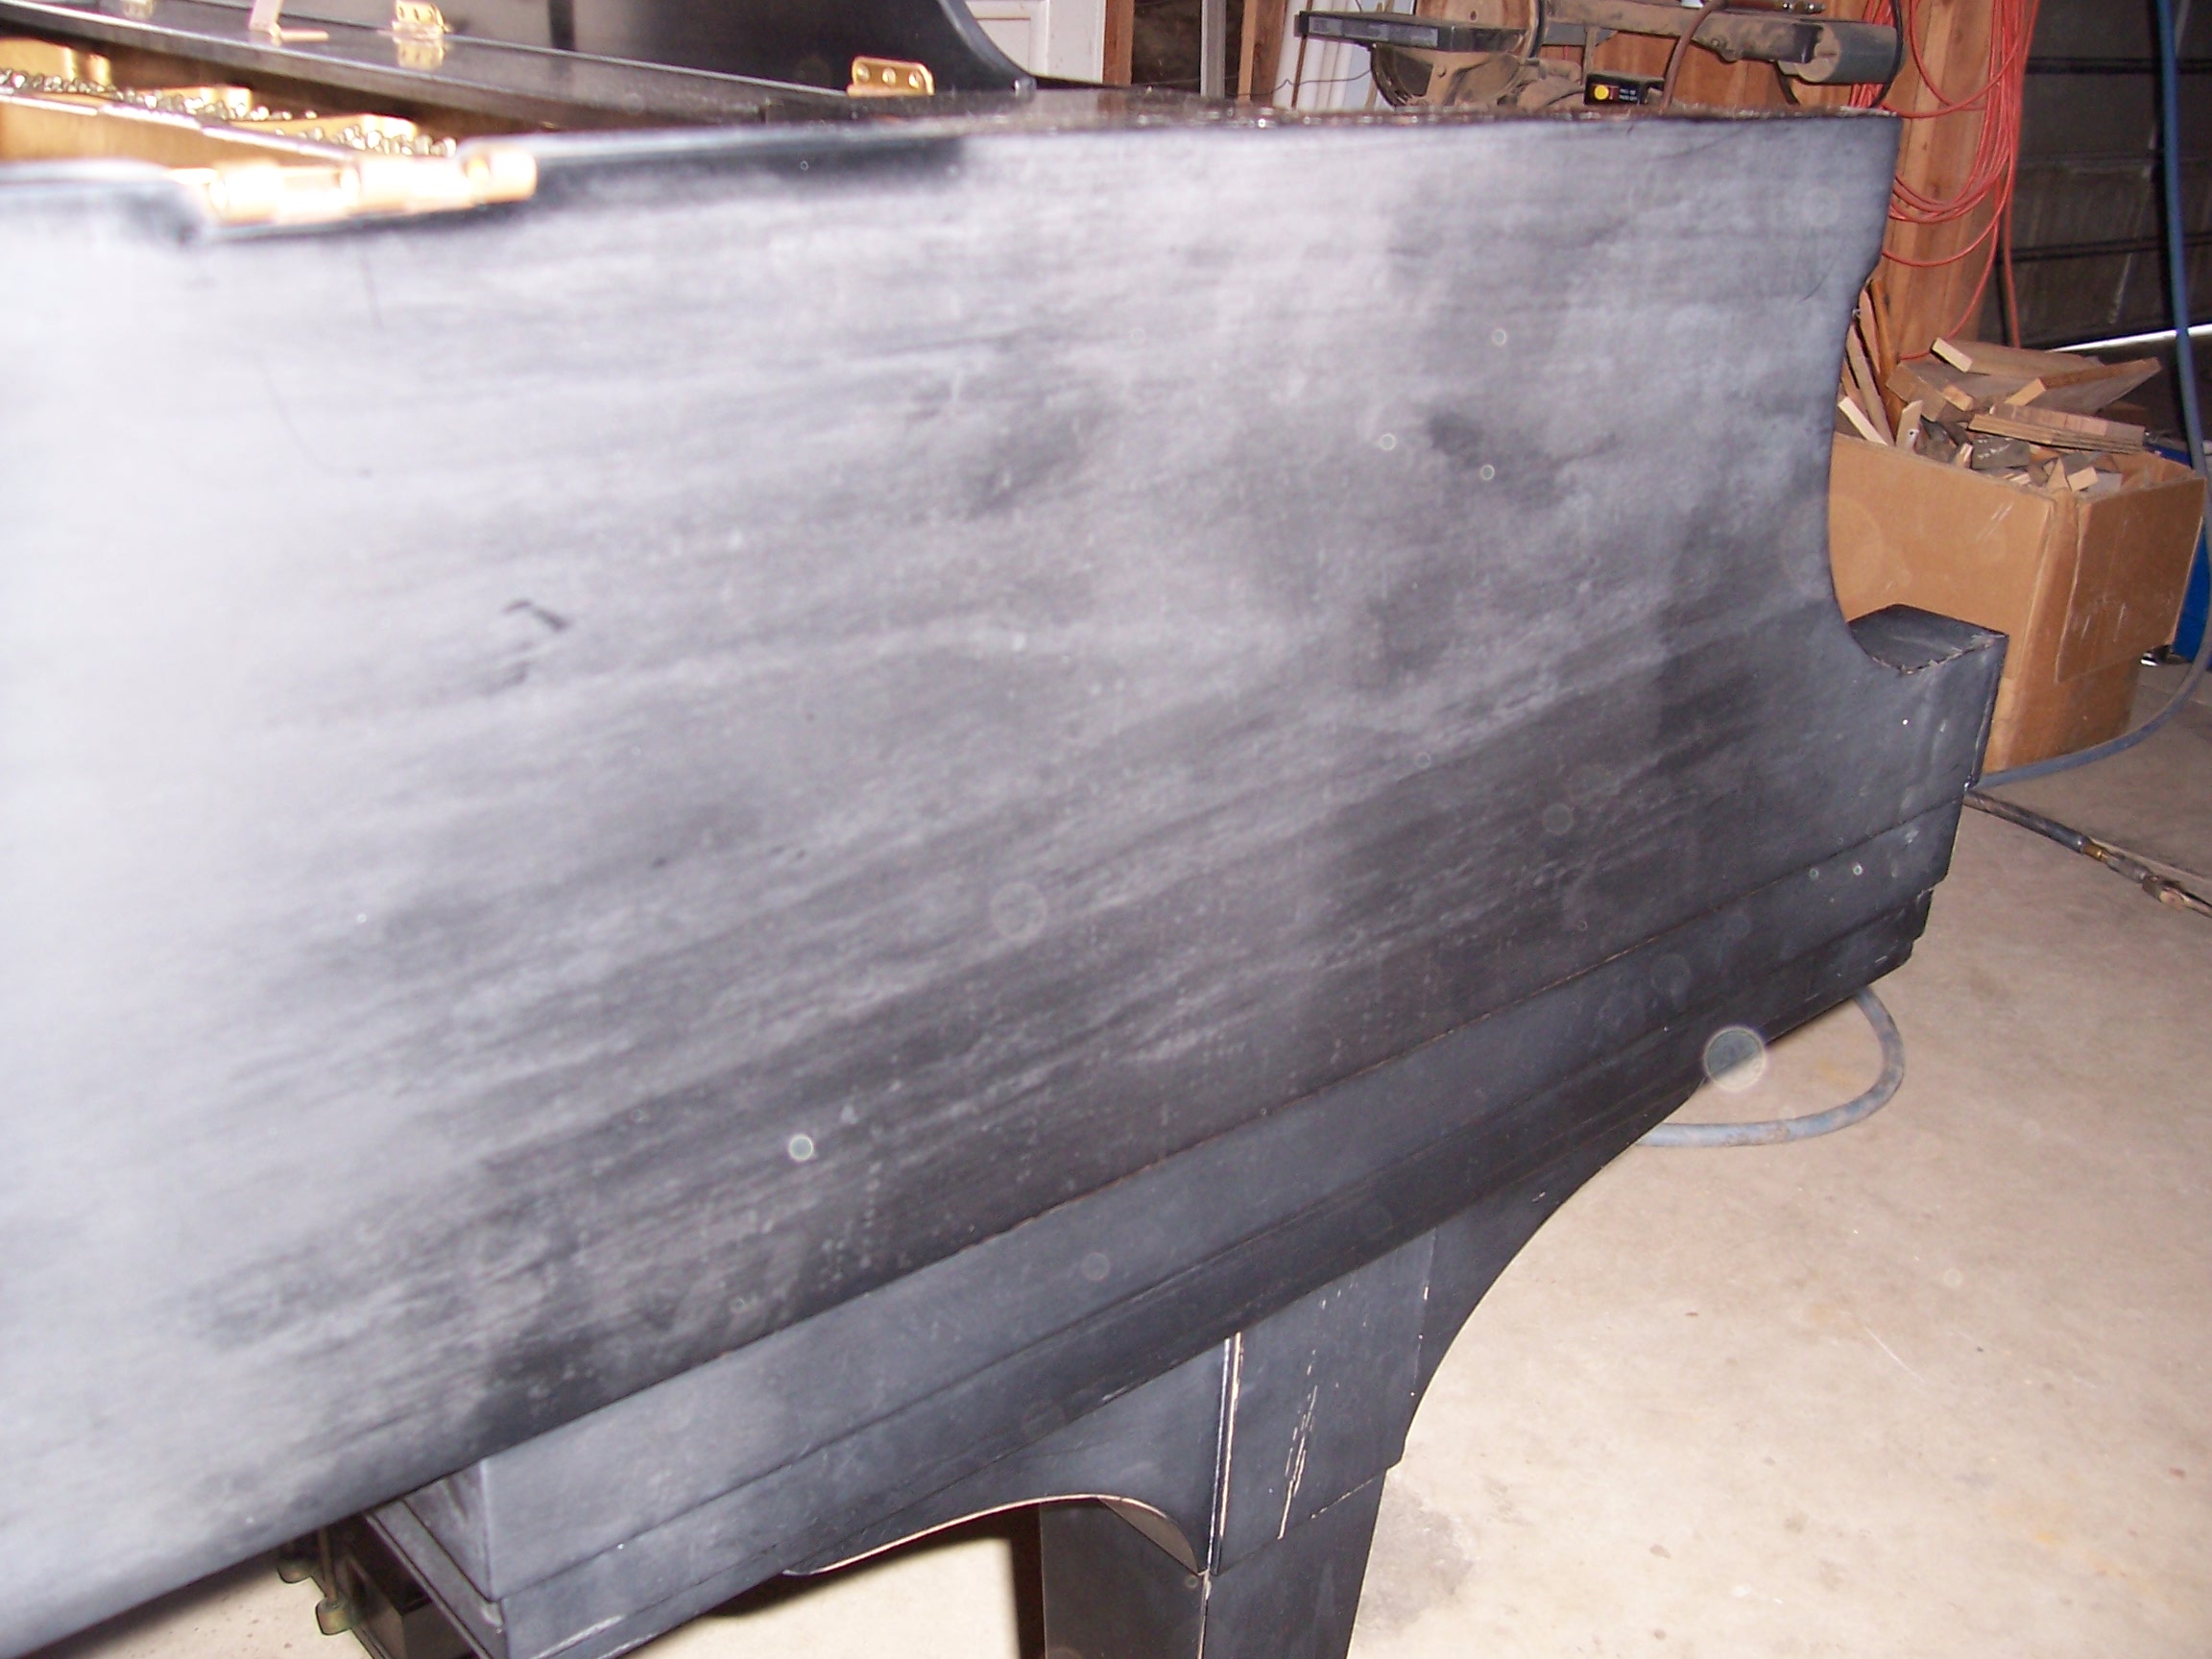
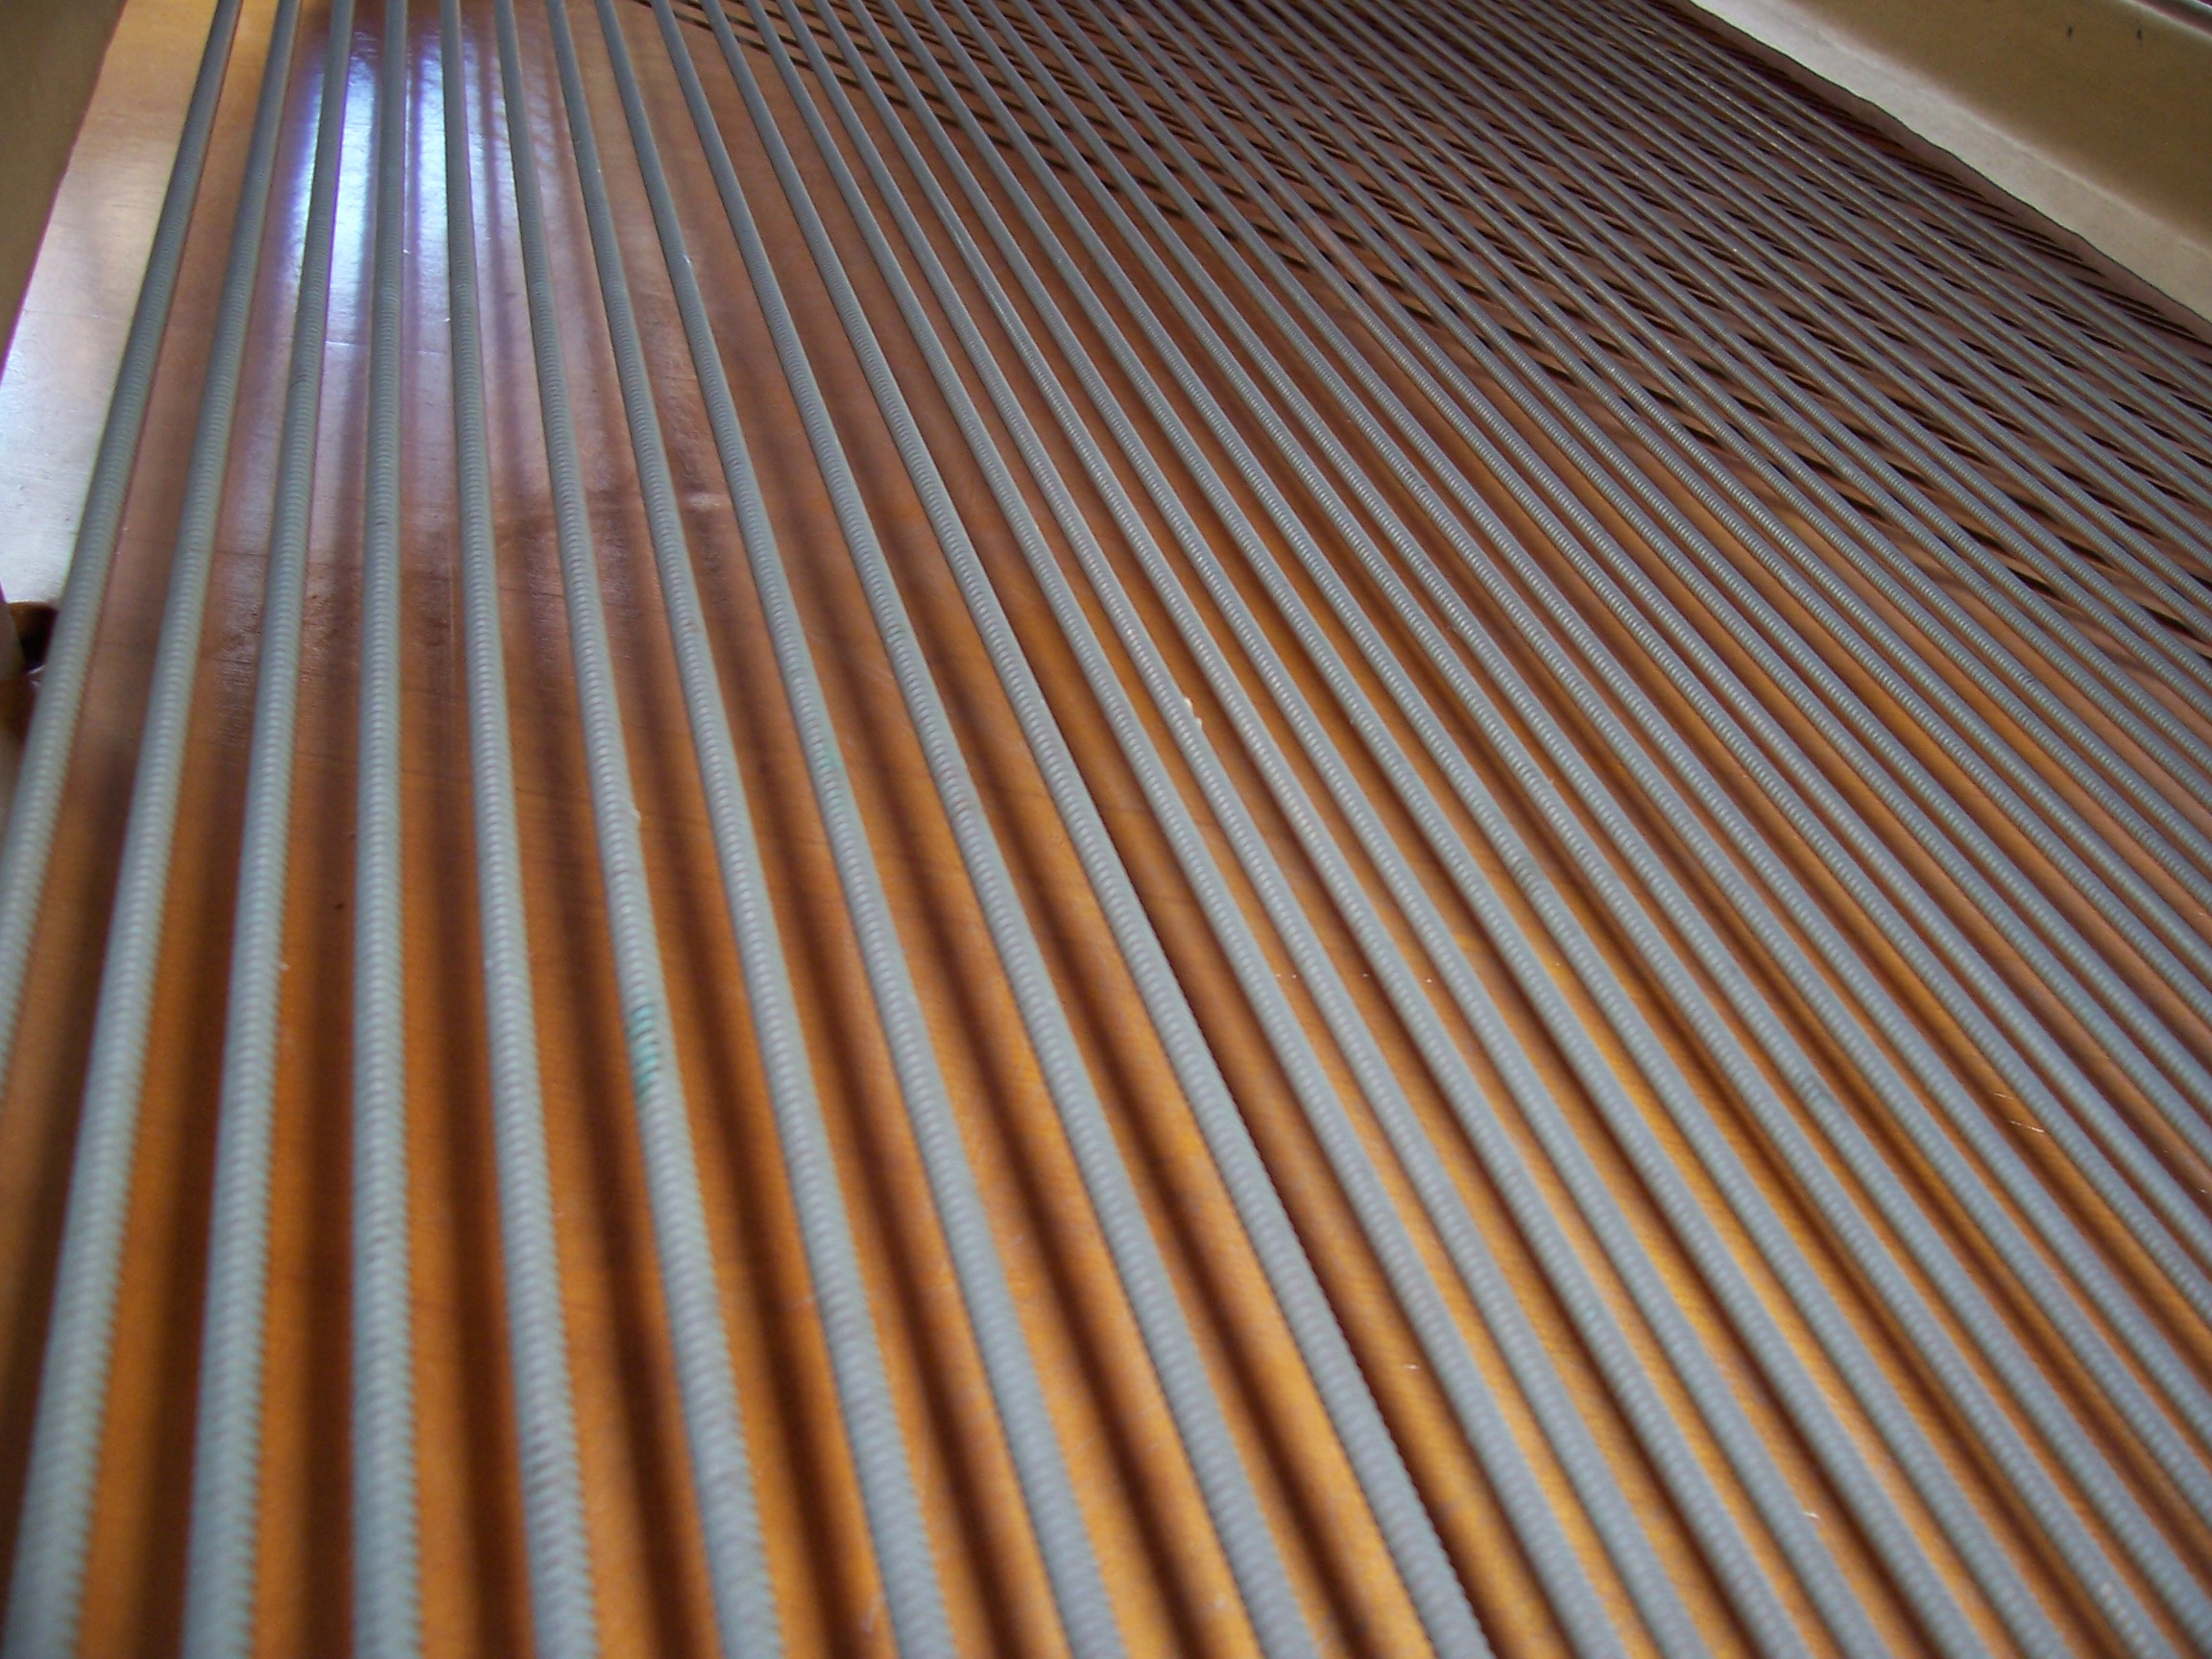
The same checking (alligator cracks) that were evident on the lid were throughout the piano. Additionally, veneer was both missing and lifting from the arm of the piano, and somehow, the finish on the left side of the case was worn to the point of being able to see the wood grain through the finish.
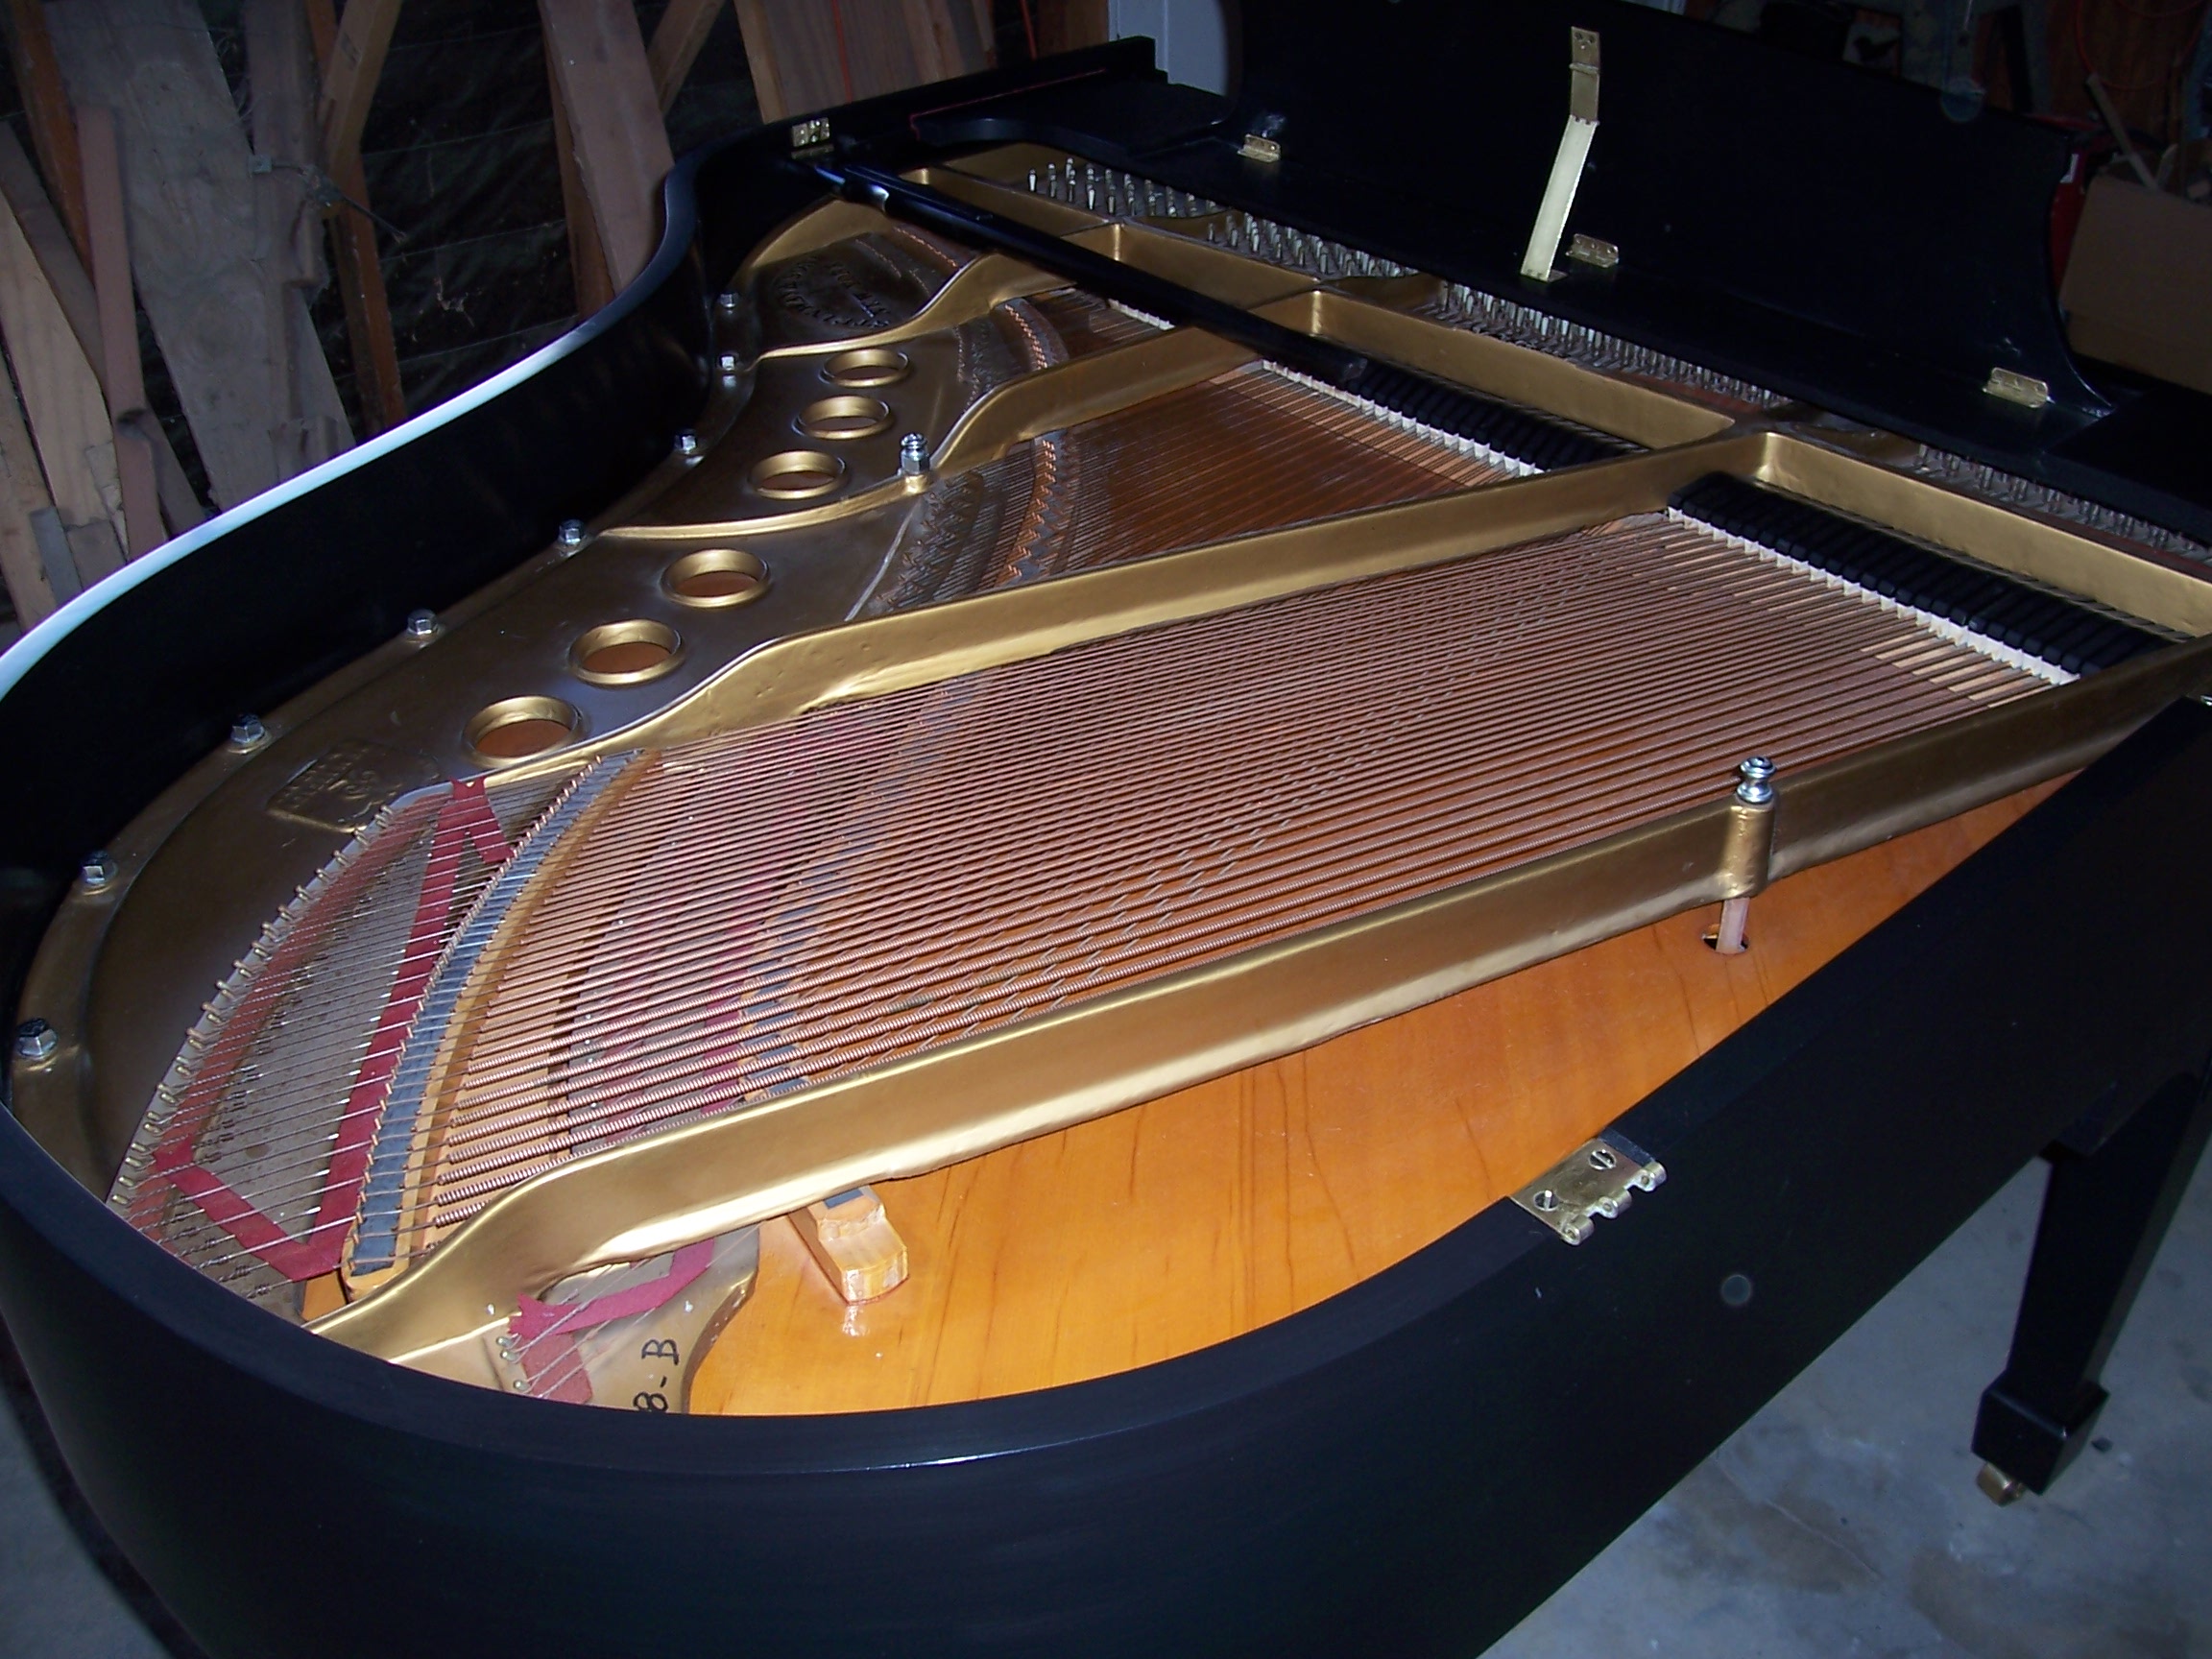
With an ebonized (satin black lacquer, hand-rubbed) finish, as always, stripping back to bare wood to analyze the condition of the wood is the first step. All blemishes, dents, gouges and veneer damage should be repaired at the bare wood stage. Then the wood needs to be sealed and since we will be creating a glass-smooth hand-rubbed finish, this is the time to fill all the pores of the wood. This is done with several coats of sealer, sanded back between coats to prevent excess buildup of finish (critical to avoid chipping and checking in the future). Only when we're sure we have a totally repaired and smooth surface do we go on the next step. And of course, how can you restore the wood to it's original beauty without restoring the corroded brass hardware and cleaning the corrosion from the strings?
At this point, the brass hardware has been polished, the inside of the piano cleaned, and the corrosion removed from the strings.
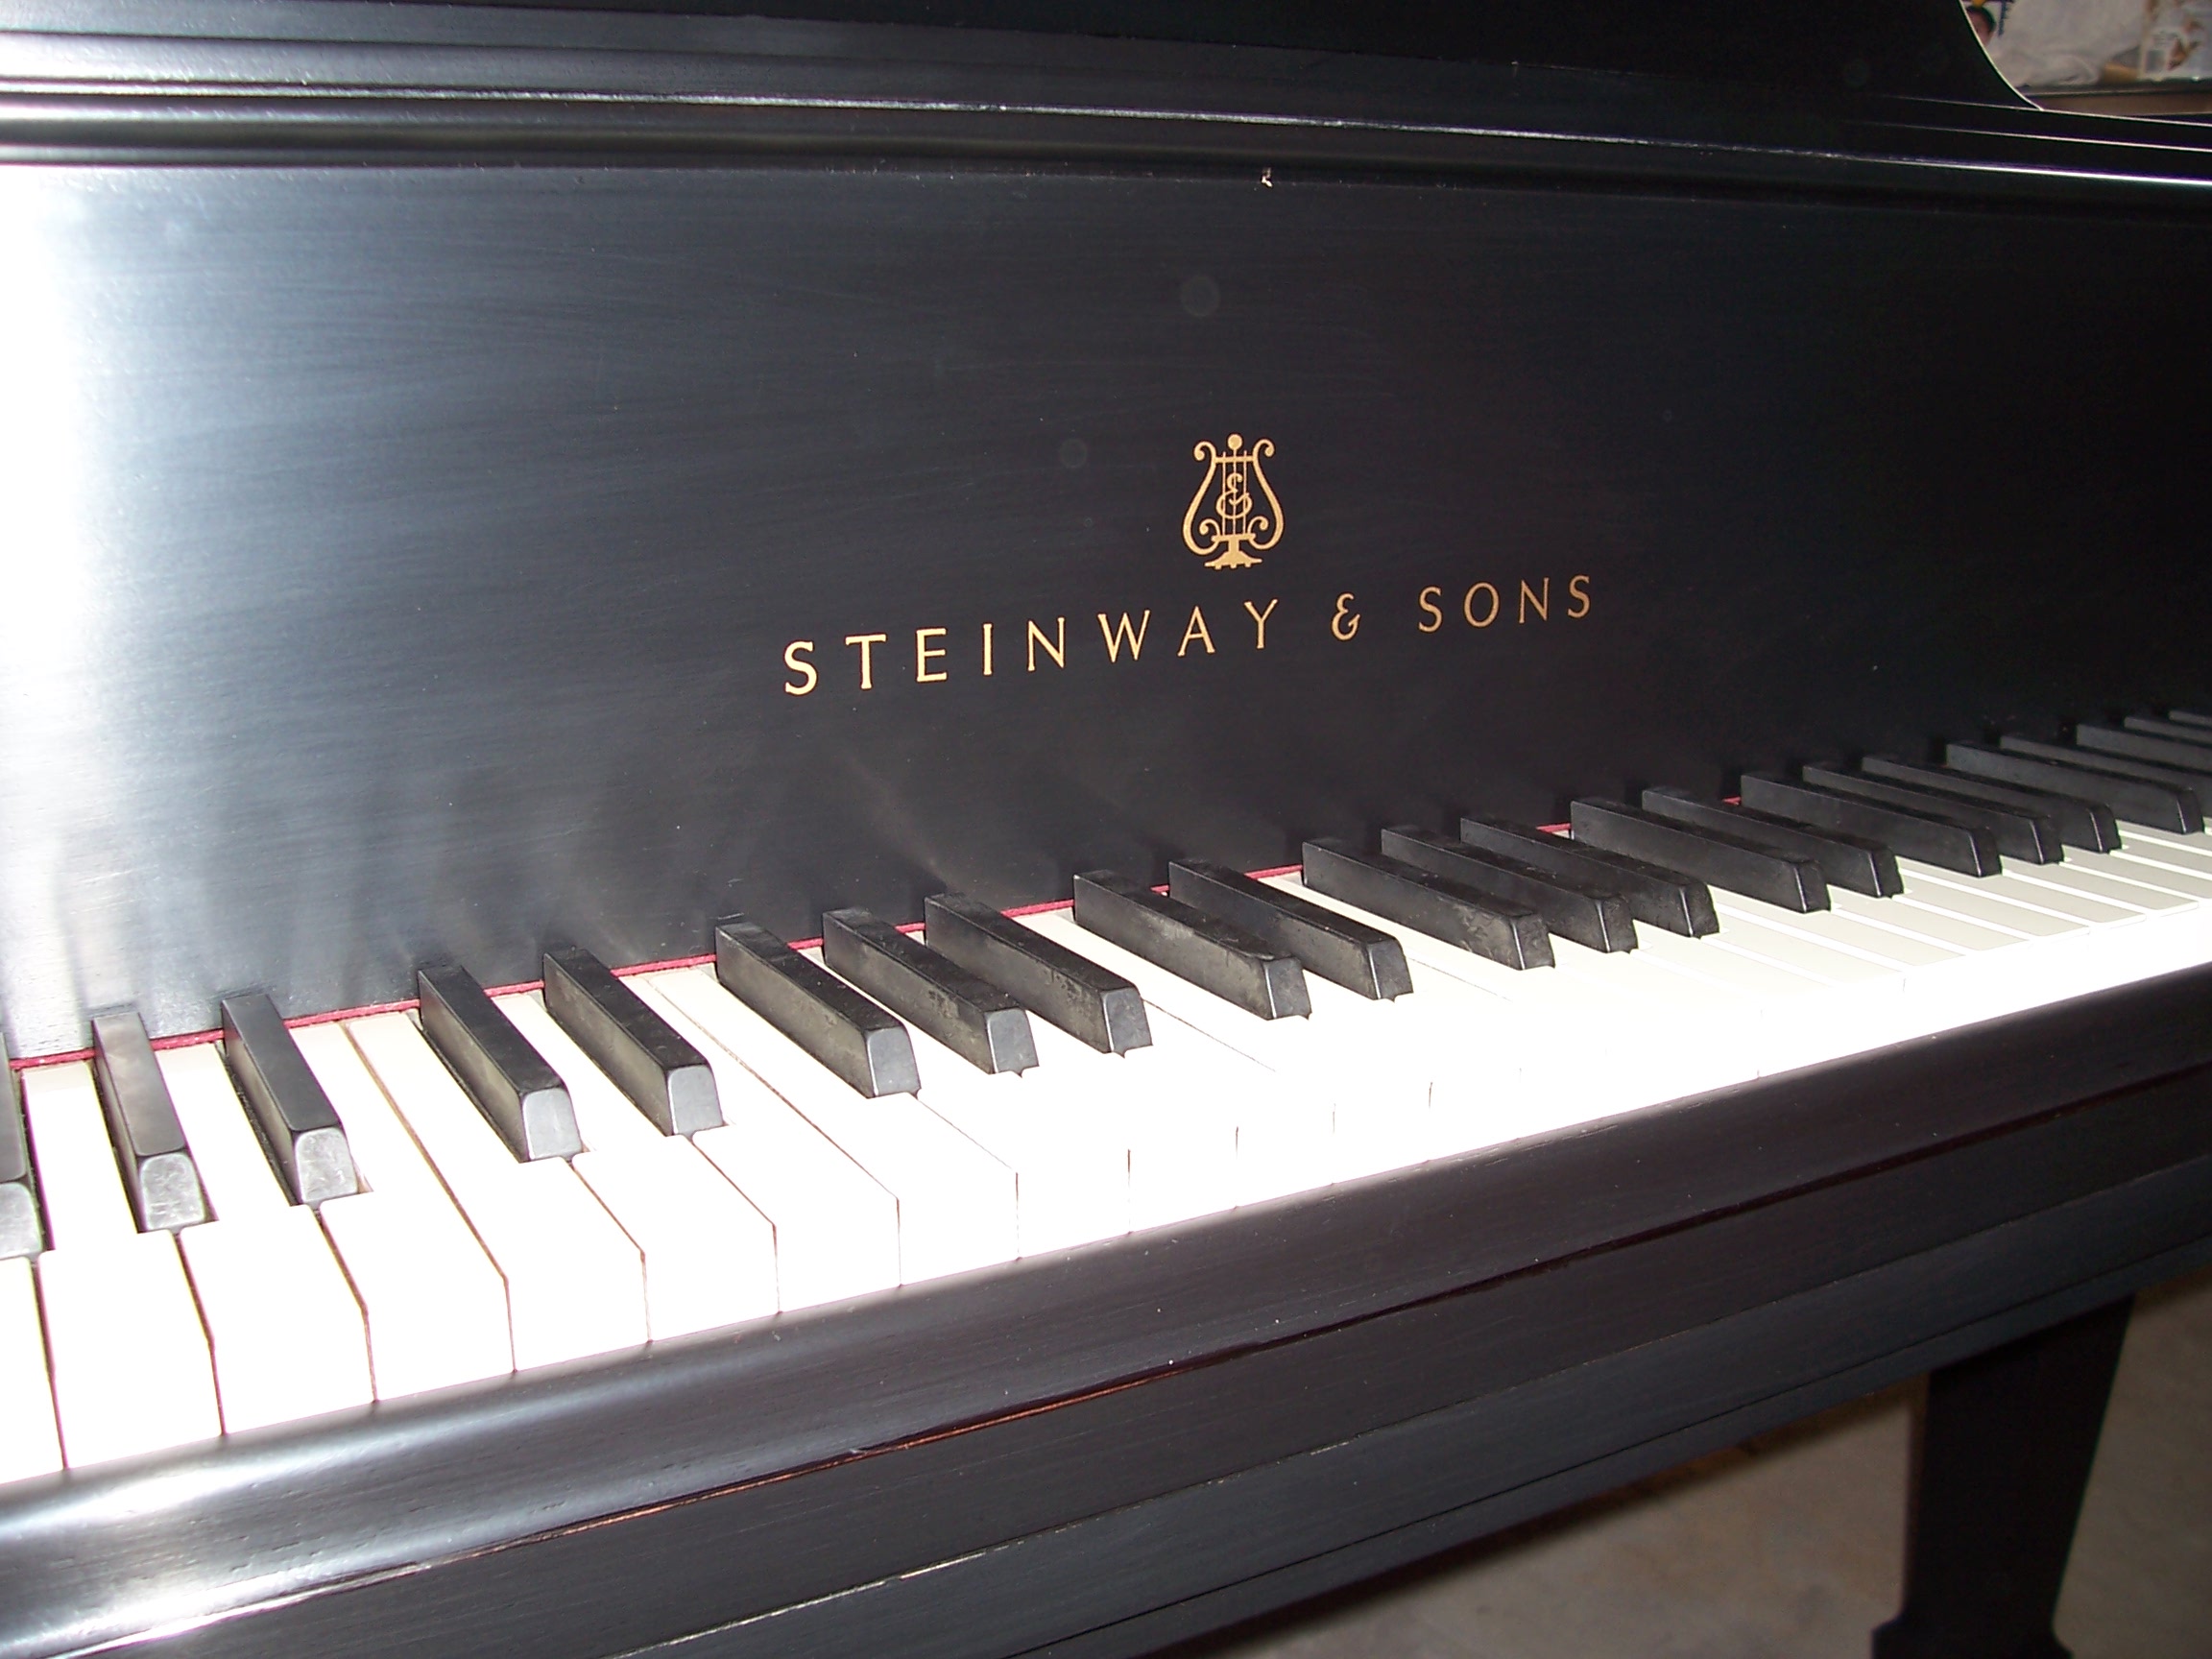
Following the sealer is 4 thin coats of black lacquer for good coverage without excessive buildup, then 8 coats of clear, which is wet-sanded and then polished to a satin sheen. Although the factory does not use clear, I find that future blemishes can be more easily touched up if they occur, plus there is the added protection to help maintain the color. A new Steinway decal is added to the fallboard to match the original.
Back to
Beautiful!
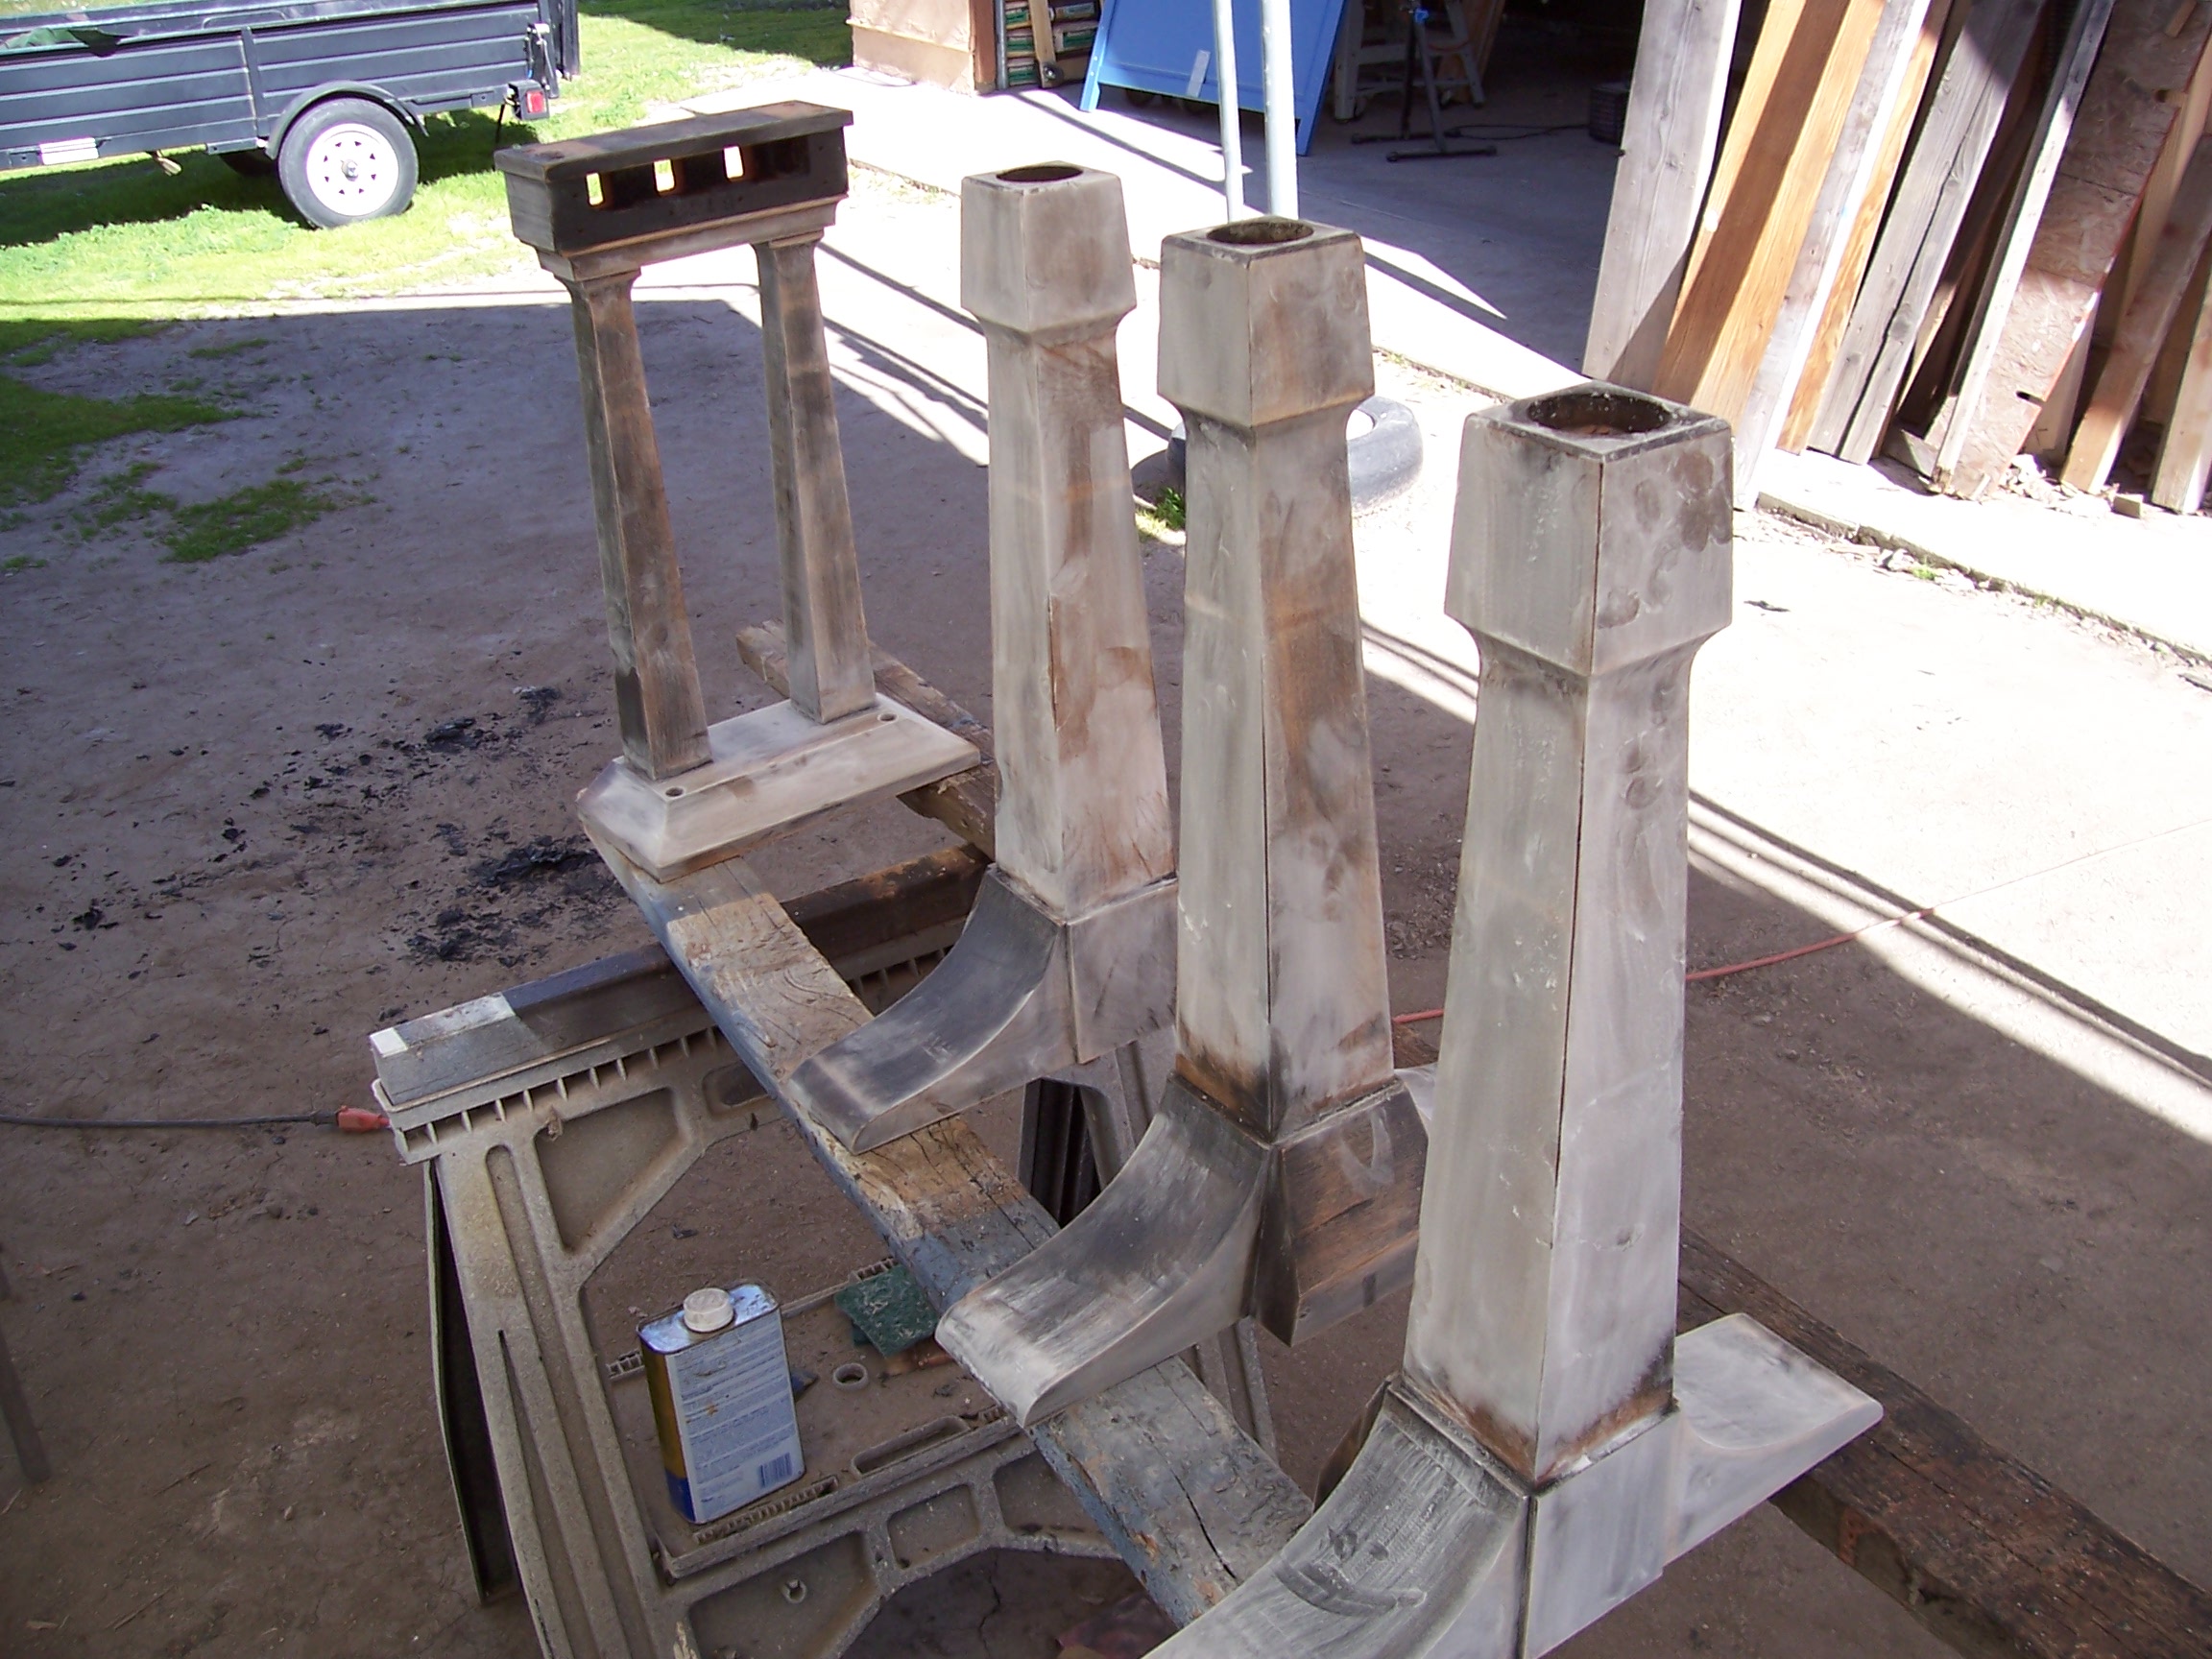
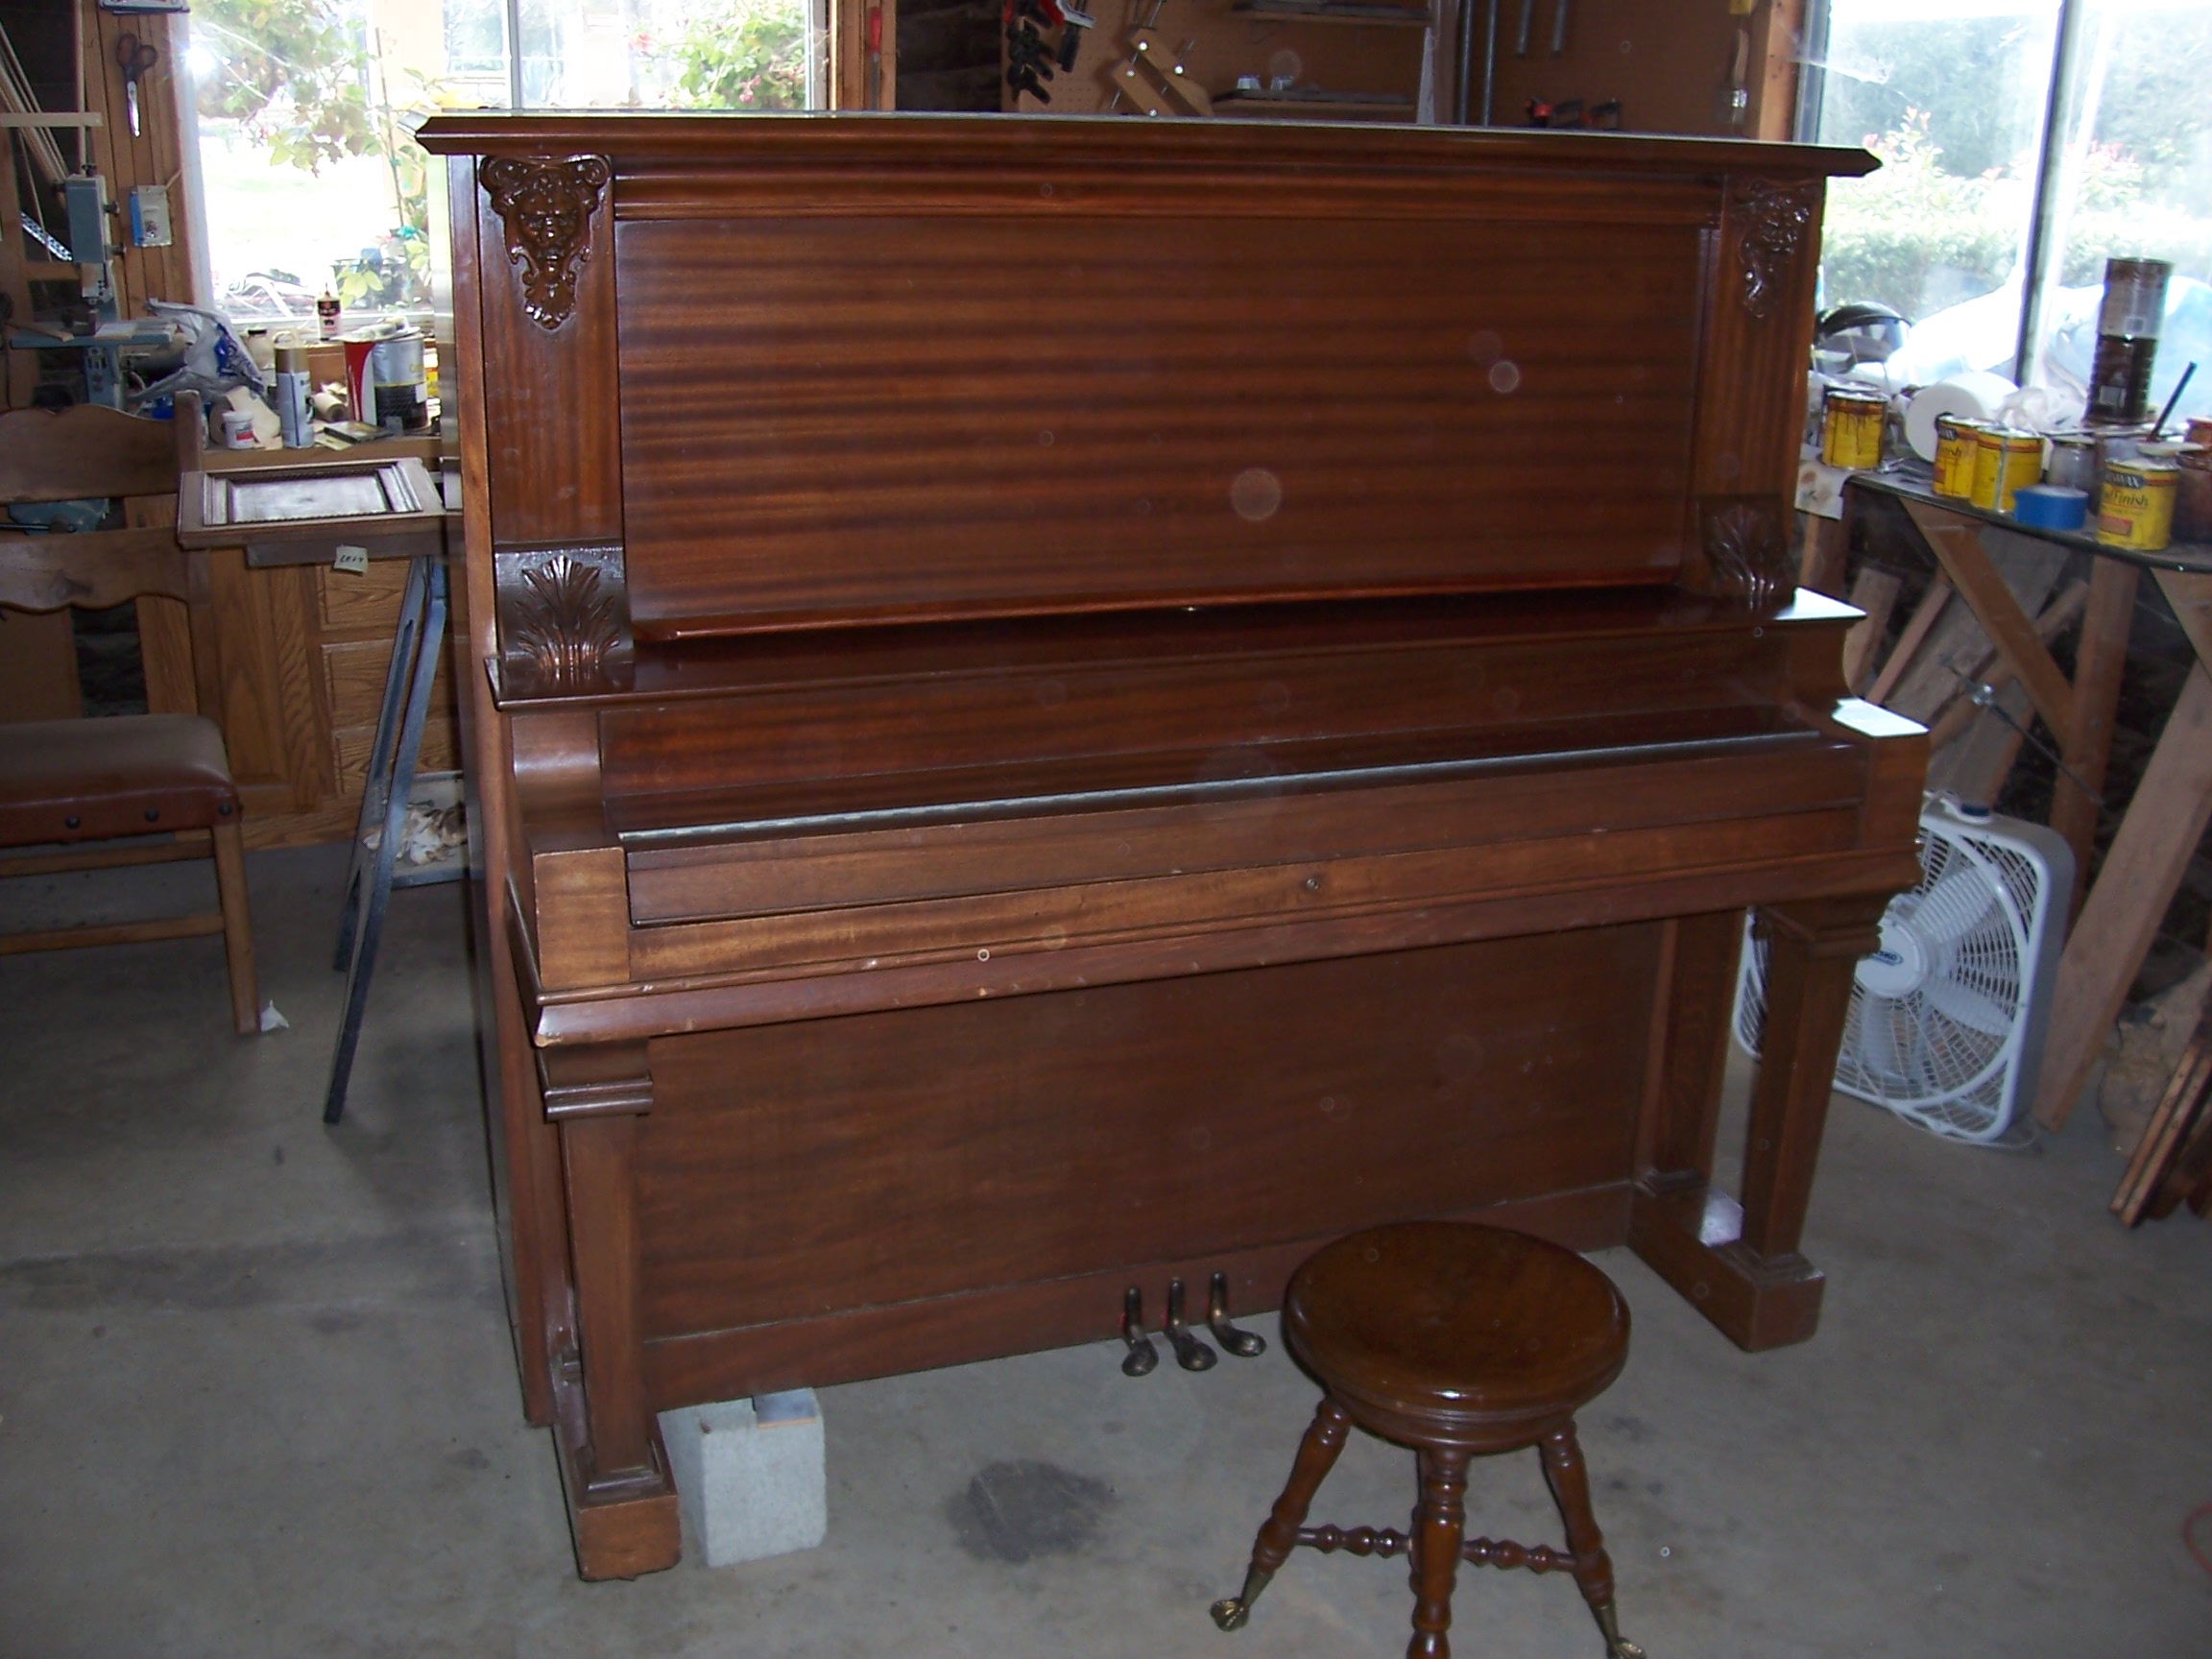
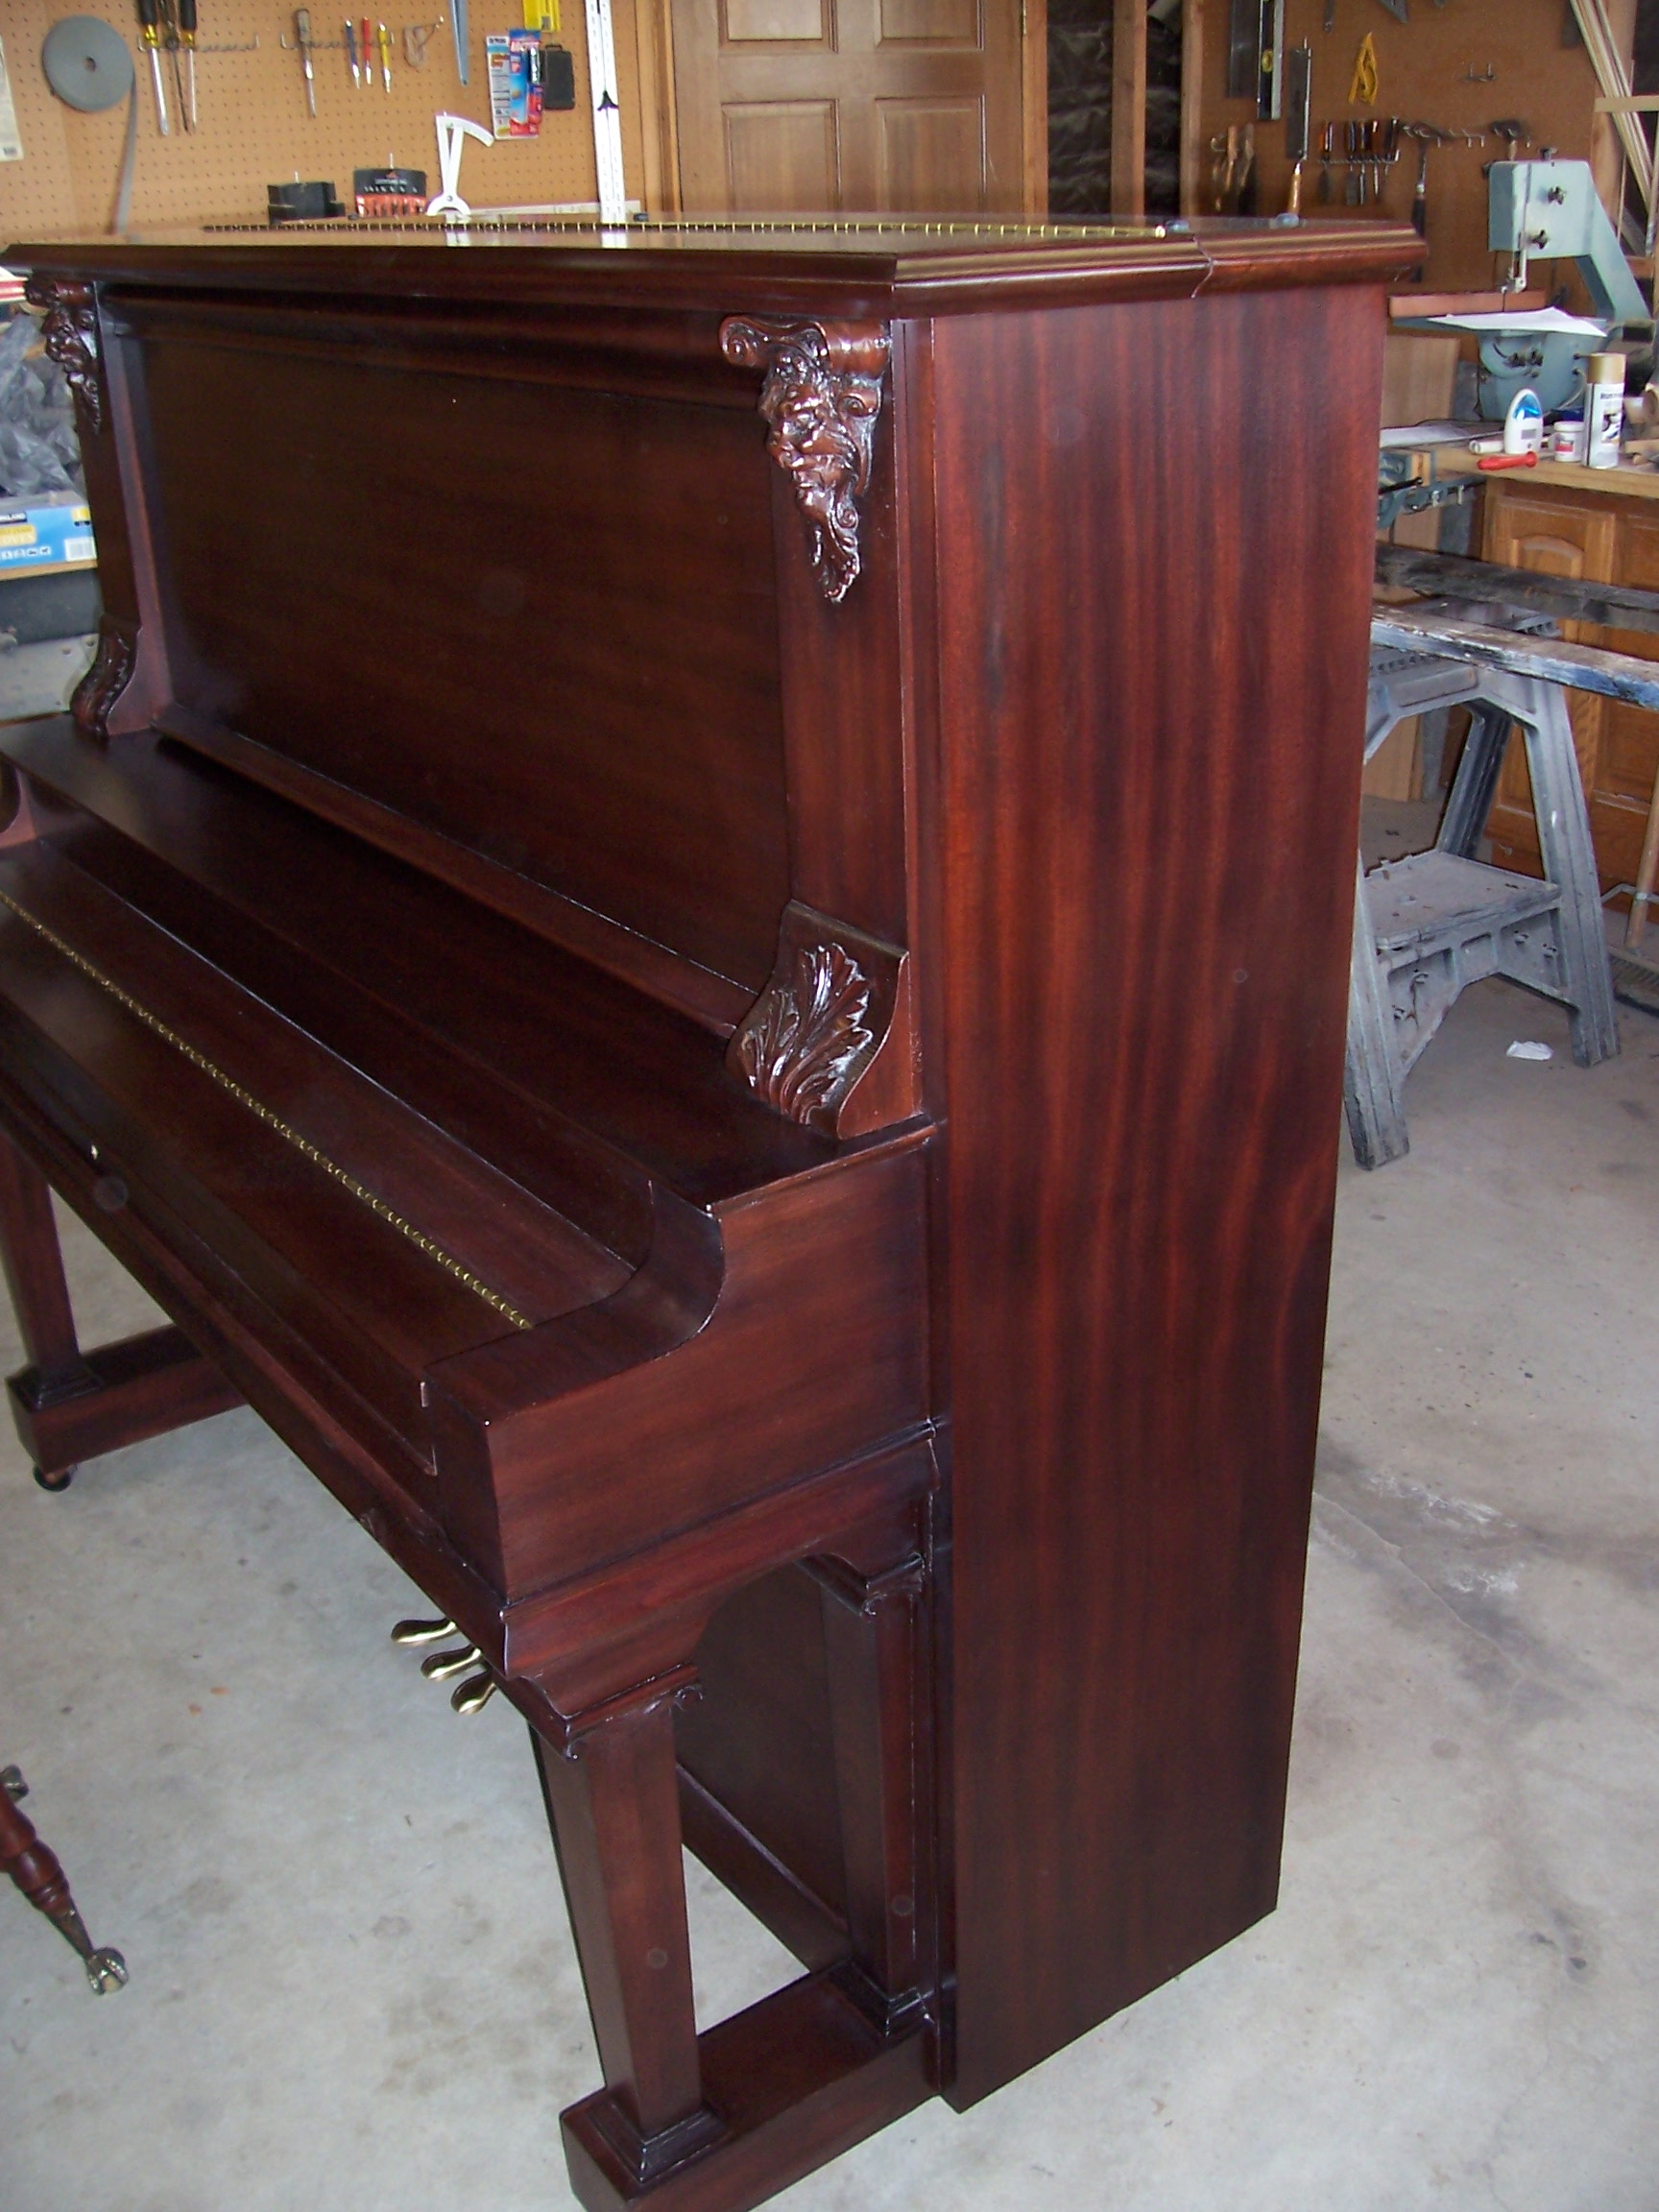
"Everybody loves gargoyles"
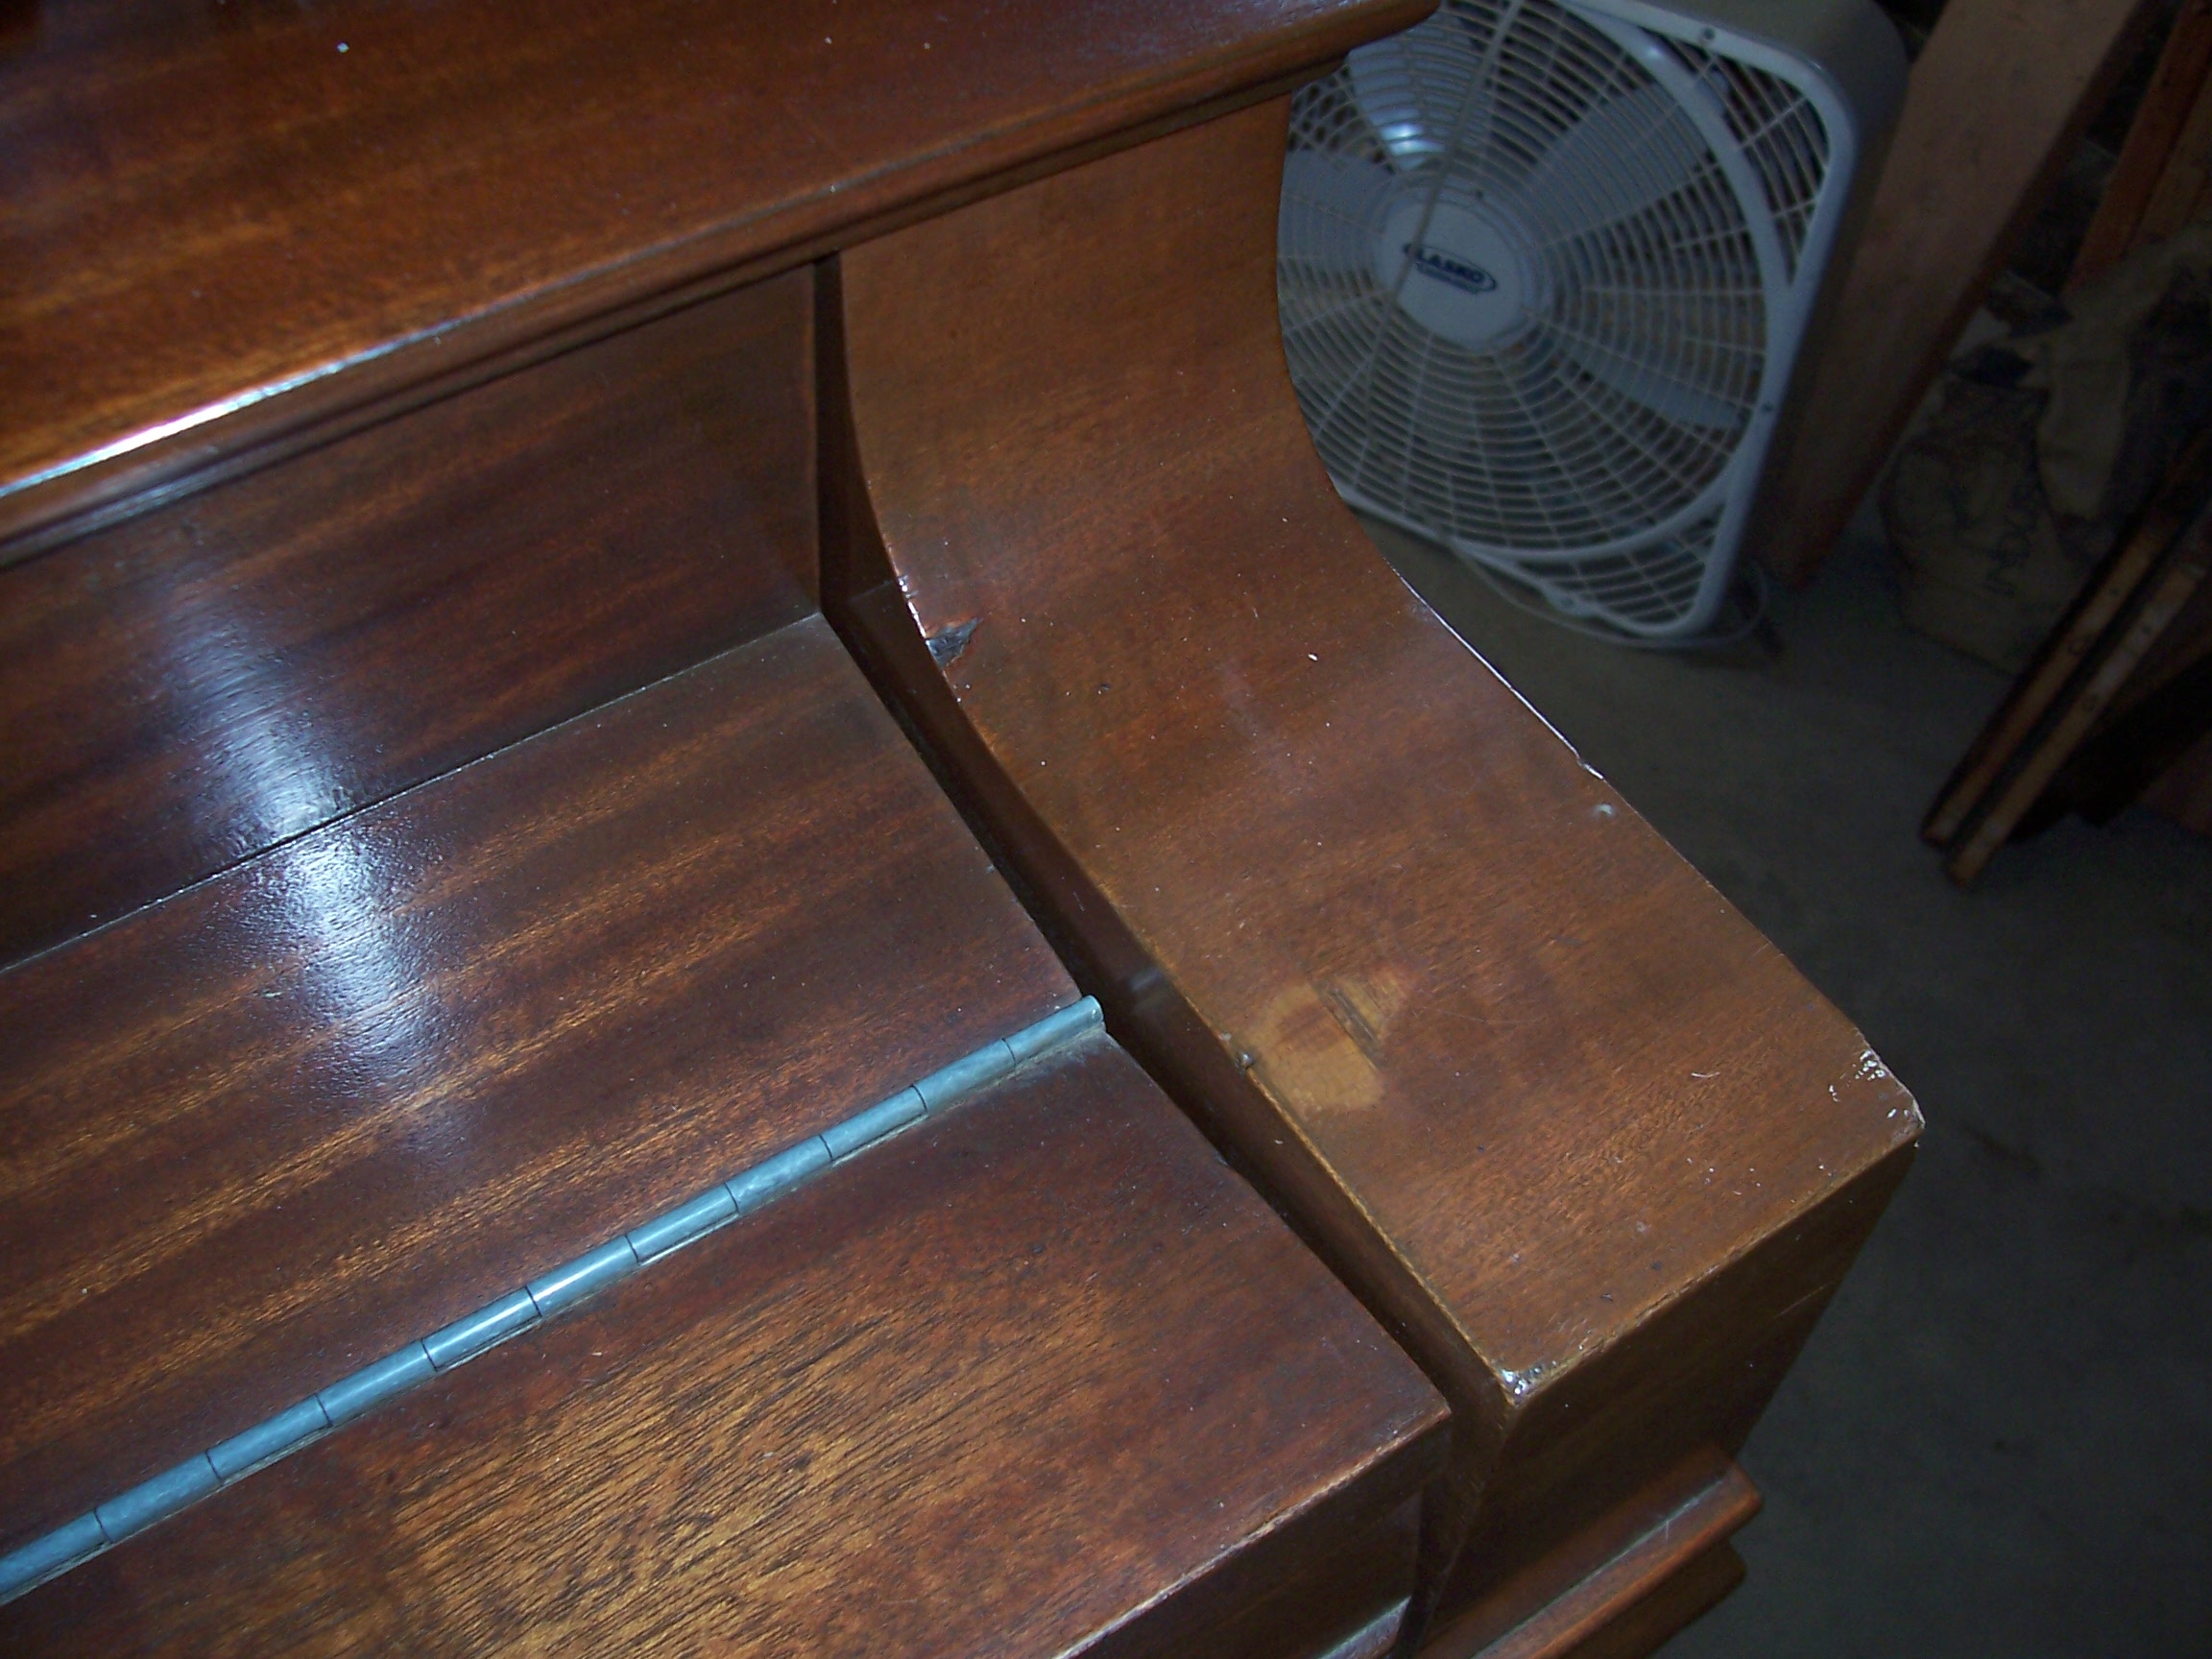
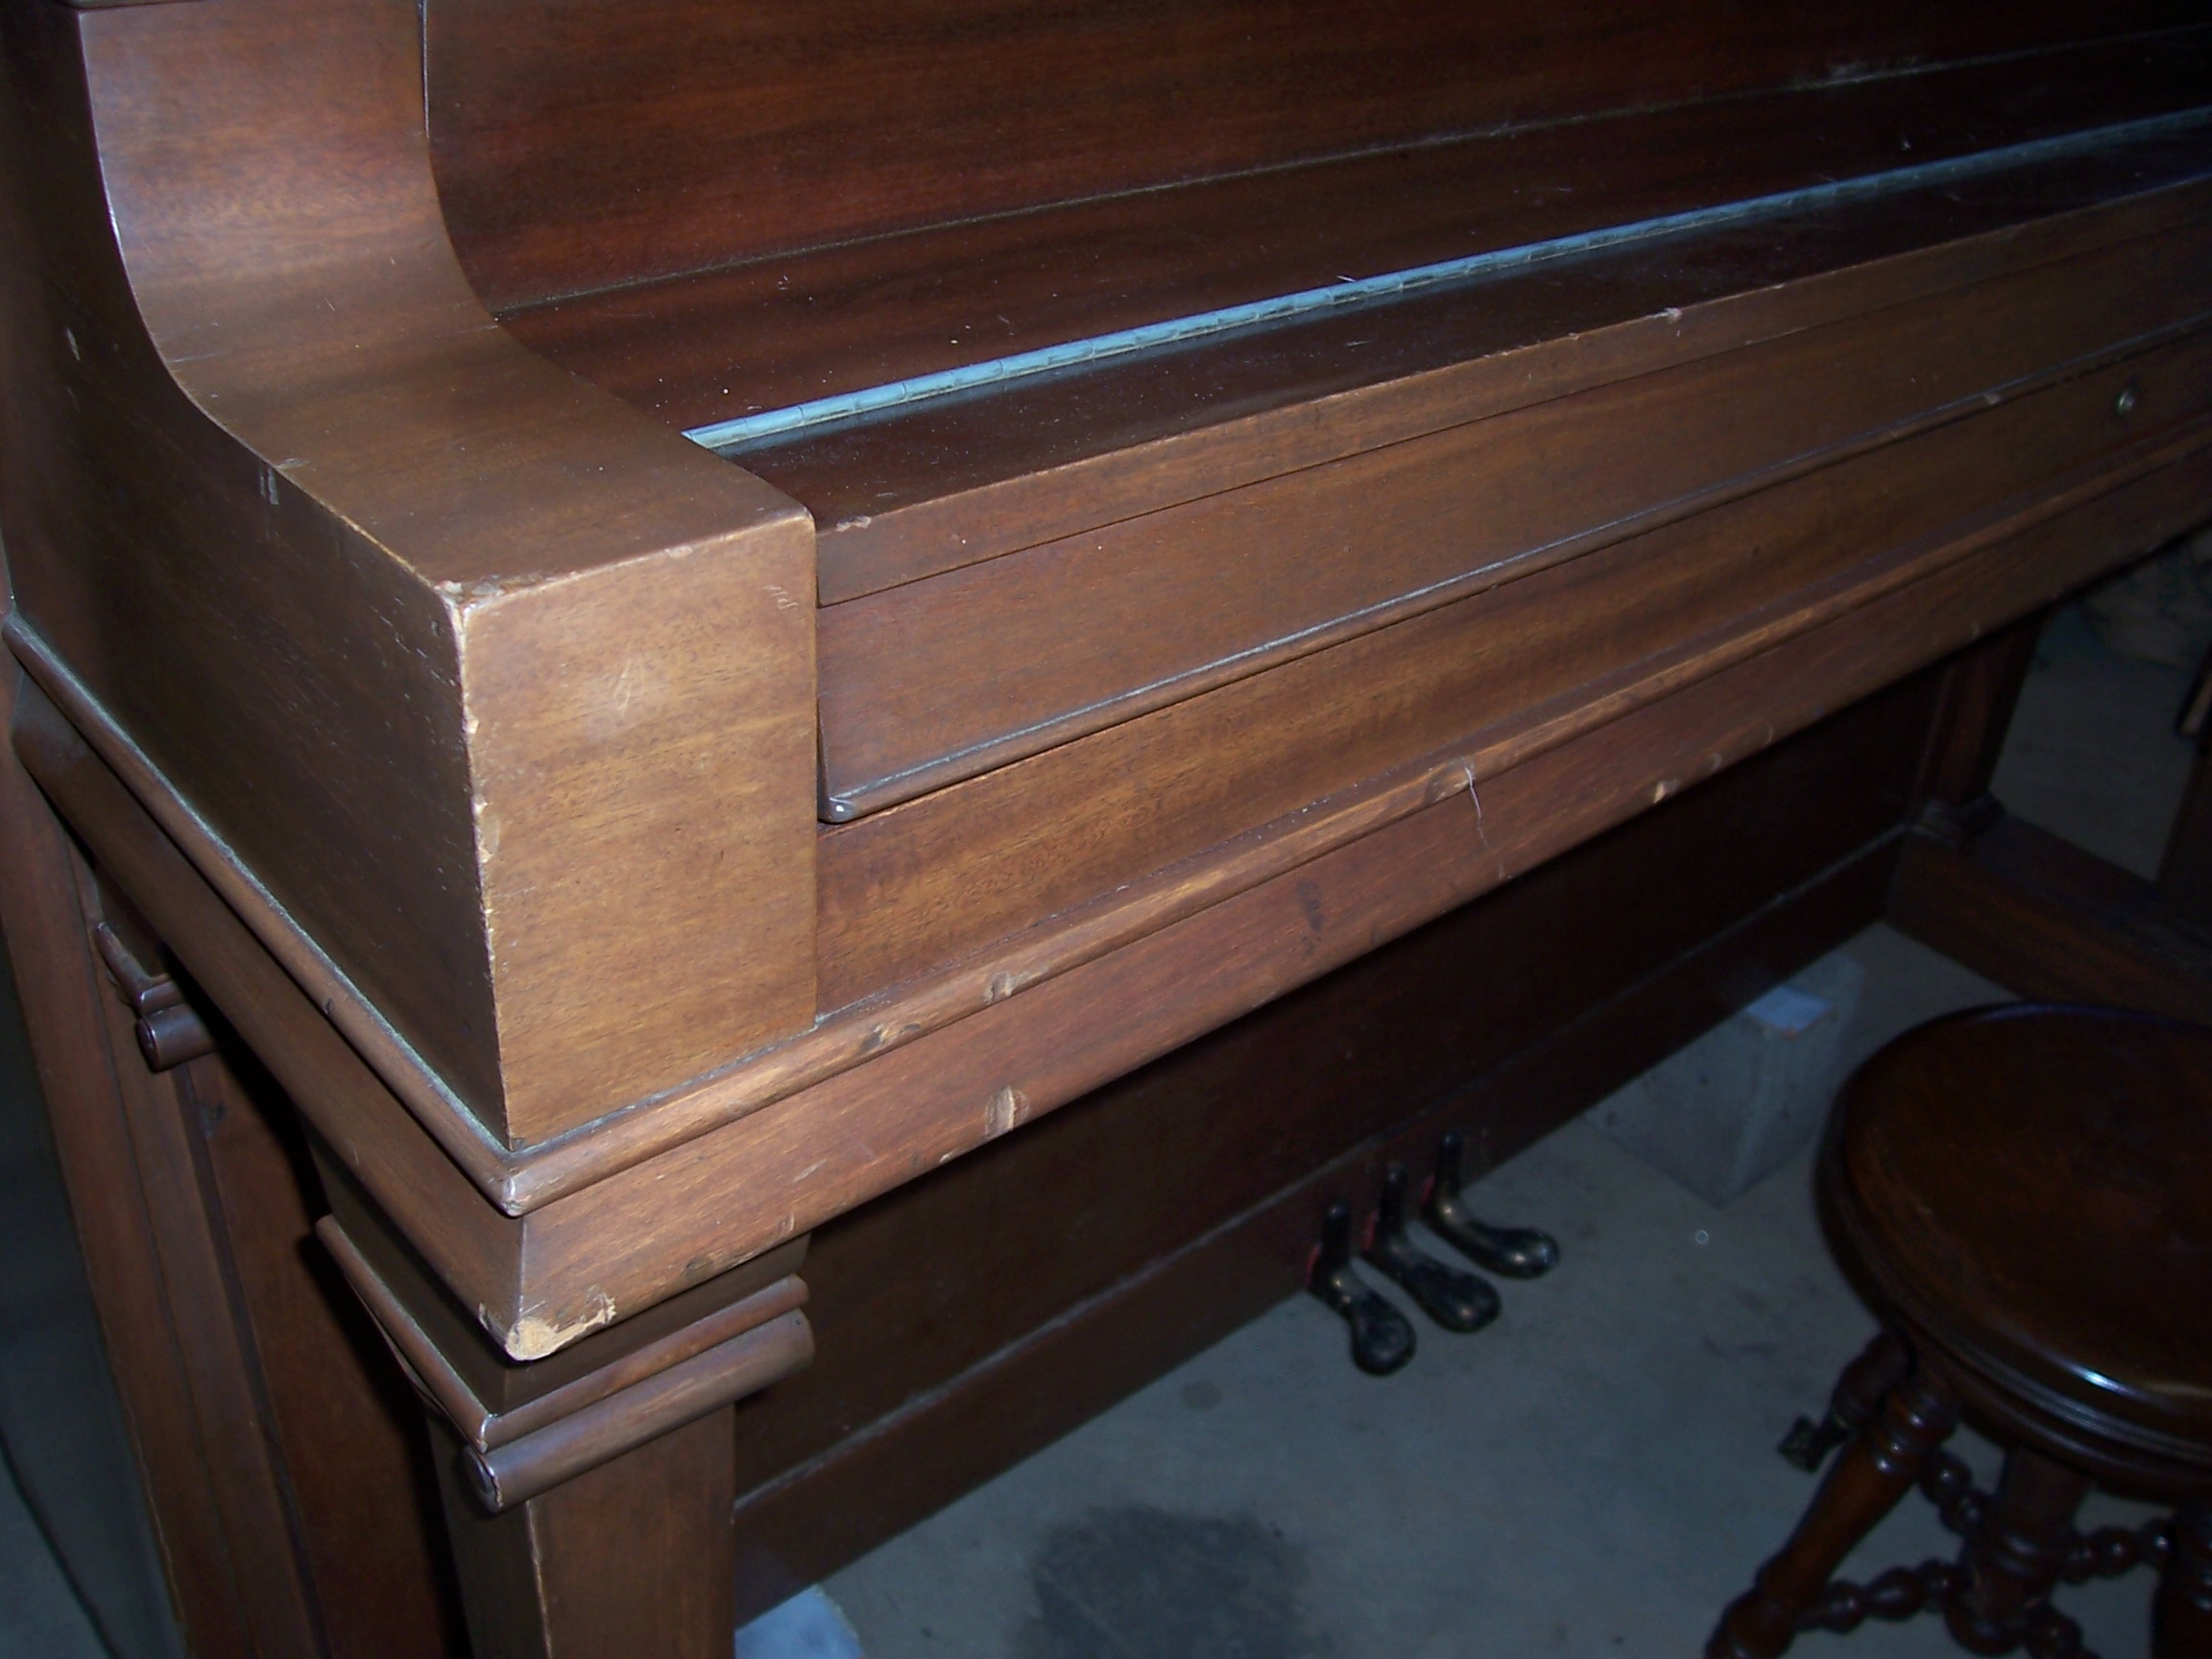
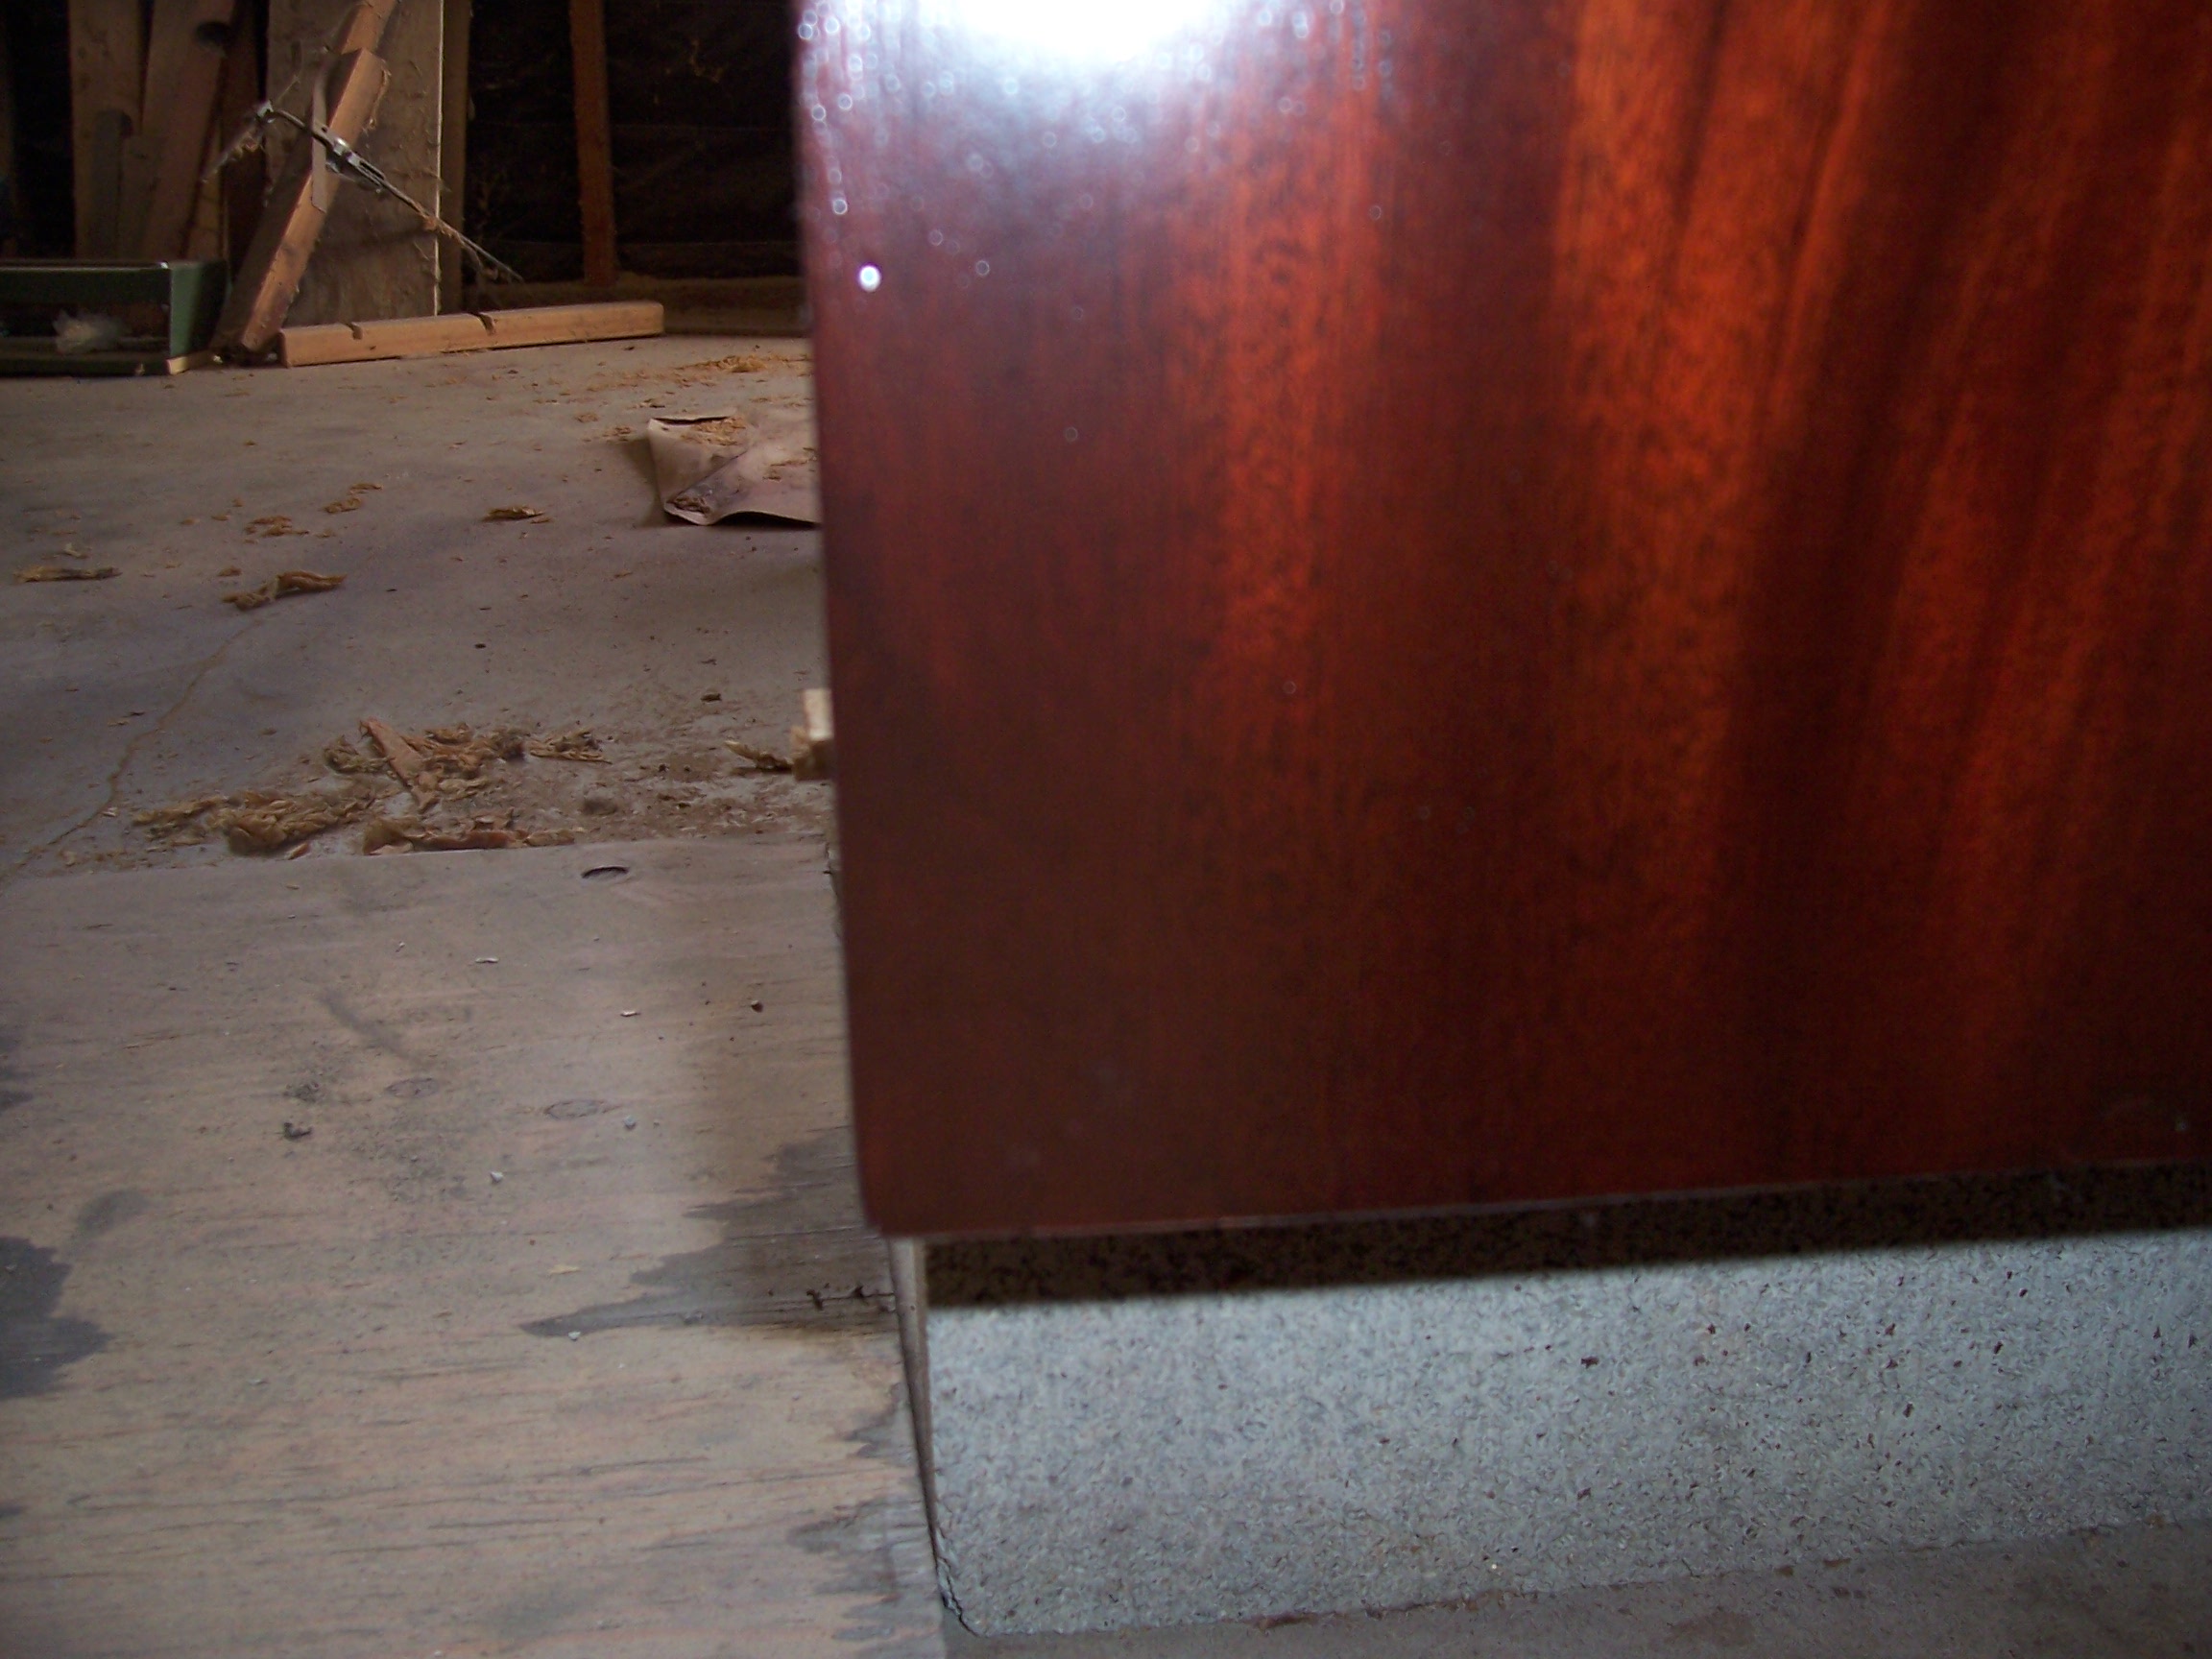
This 1911 King upright grand conformed to what I like to call the "50/10 rule". That is, if you're over 50, slightly myopic, and stand at least 10 feet away, it doesn't look too bad. But this piano had been owned by this family for 3 generations, and the next generation is ready for piano lessons, and on closer inspection, there have been quite a few battlescars over the 30 odd years since the last time it was refinished. And the last refinish wasn't that great. You can see above that although there was a spot where the veneer was worn through on the arm, it was just finished over the damage. The finish was never rubbed out, leaving an "orange-peel" surface, and to the right you can see that too much stain "muddied" the grain of the wood.
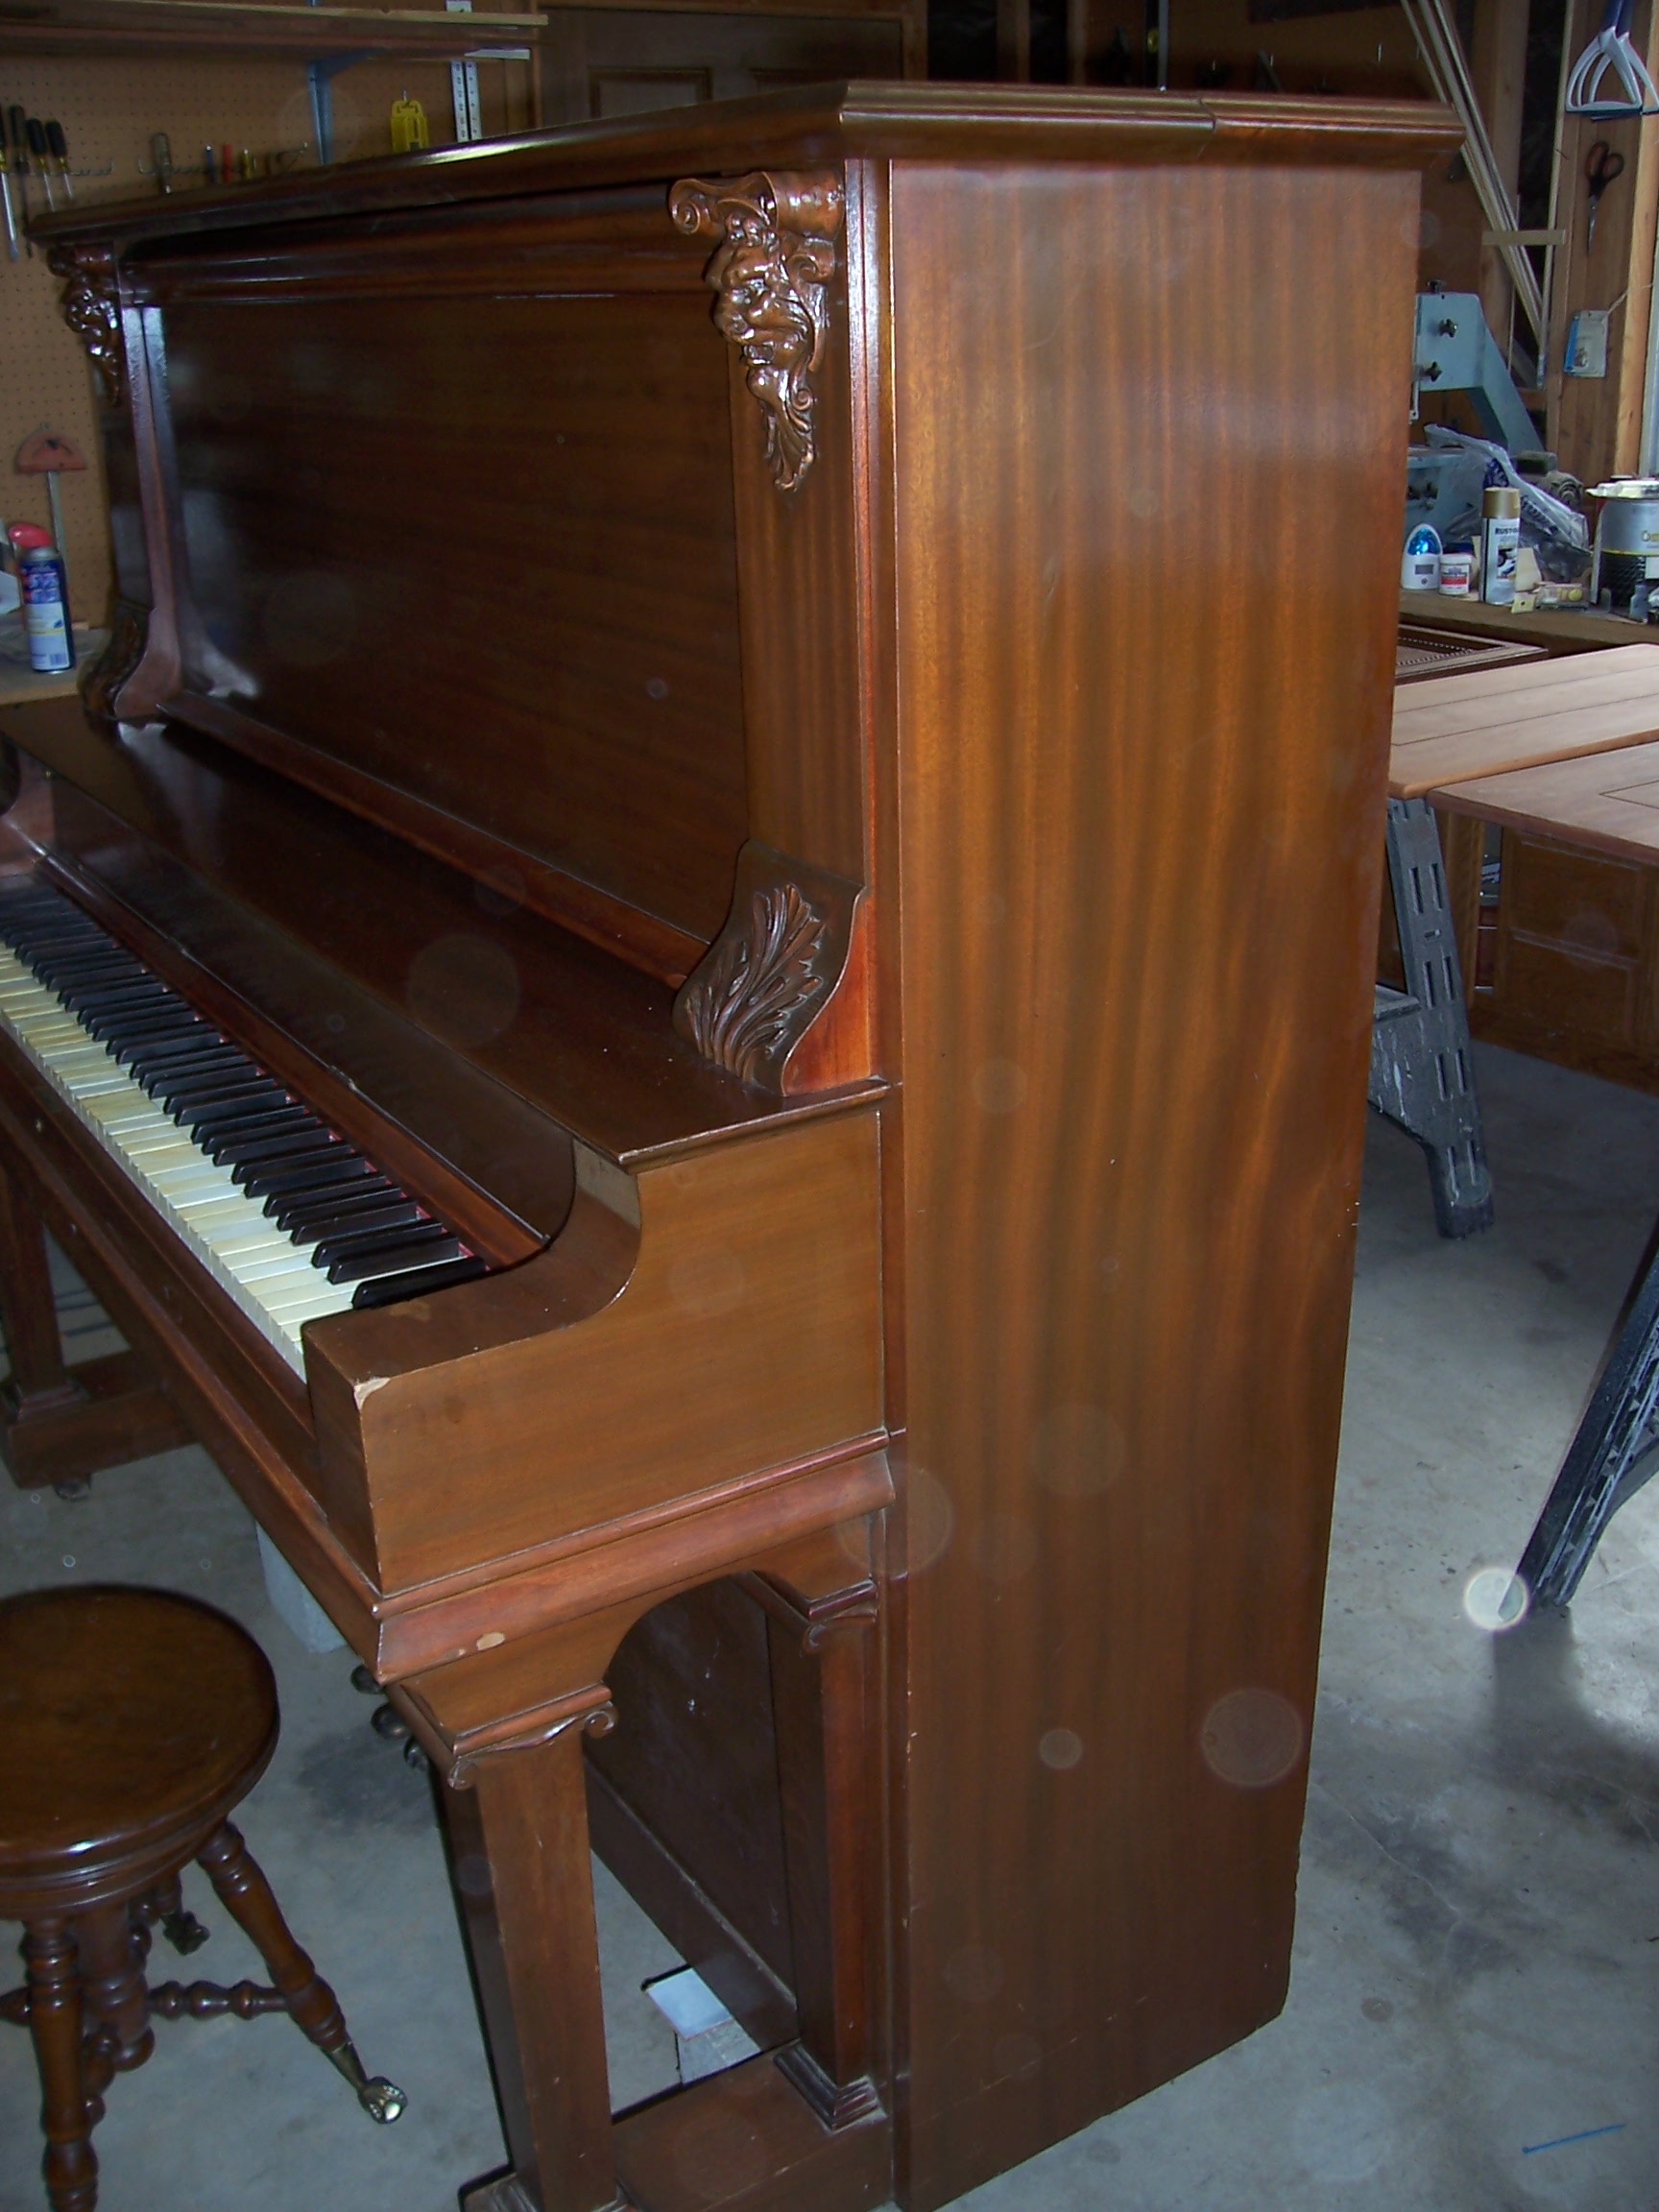
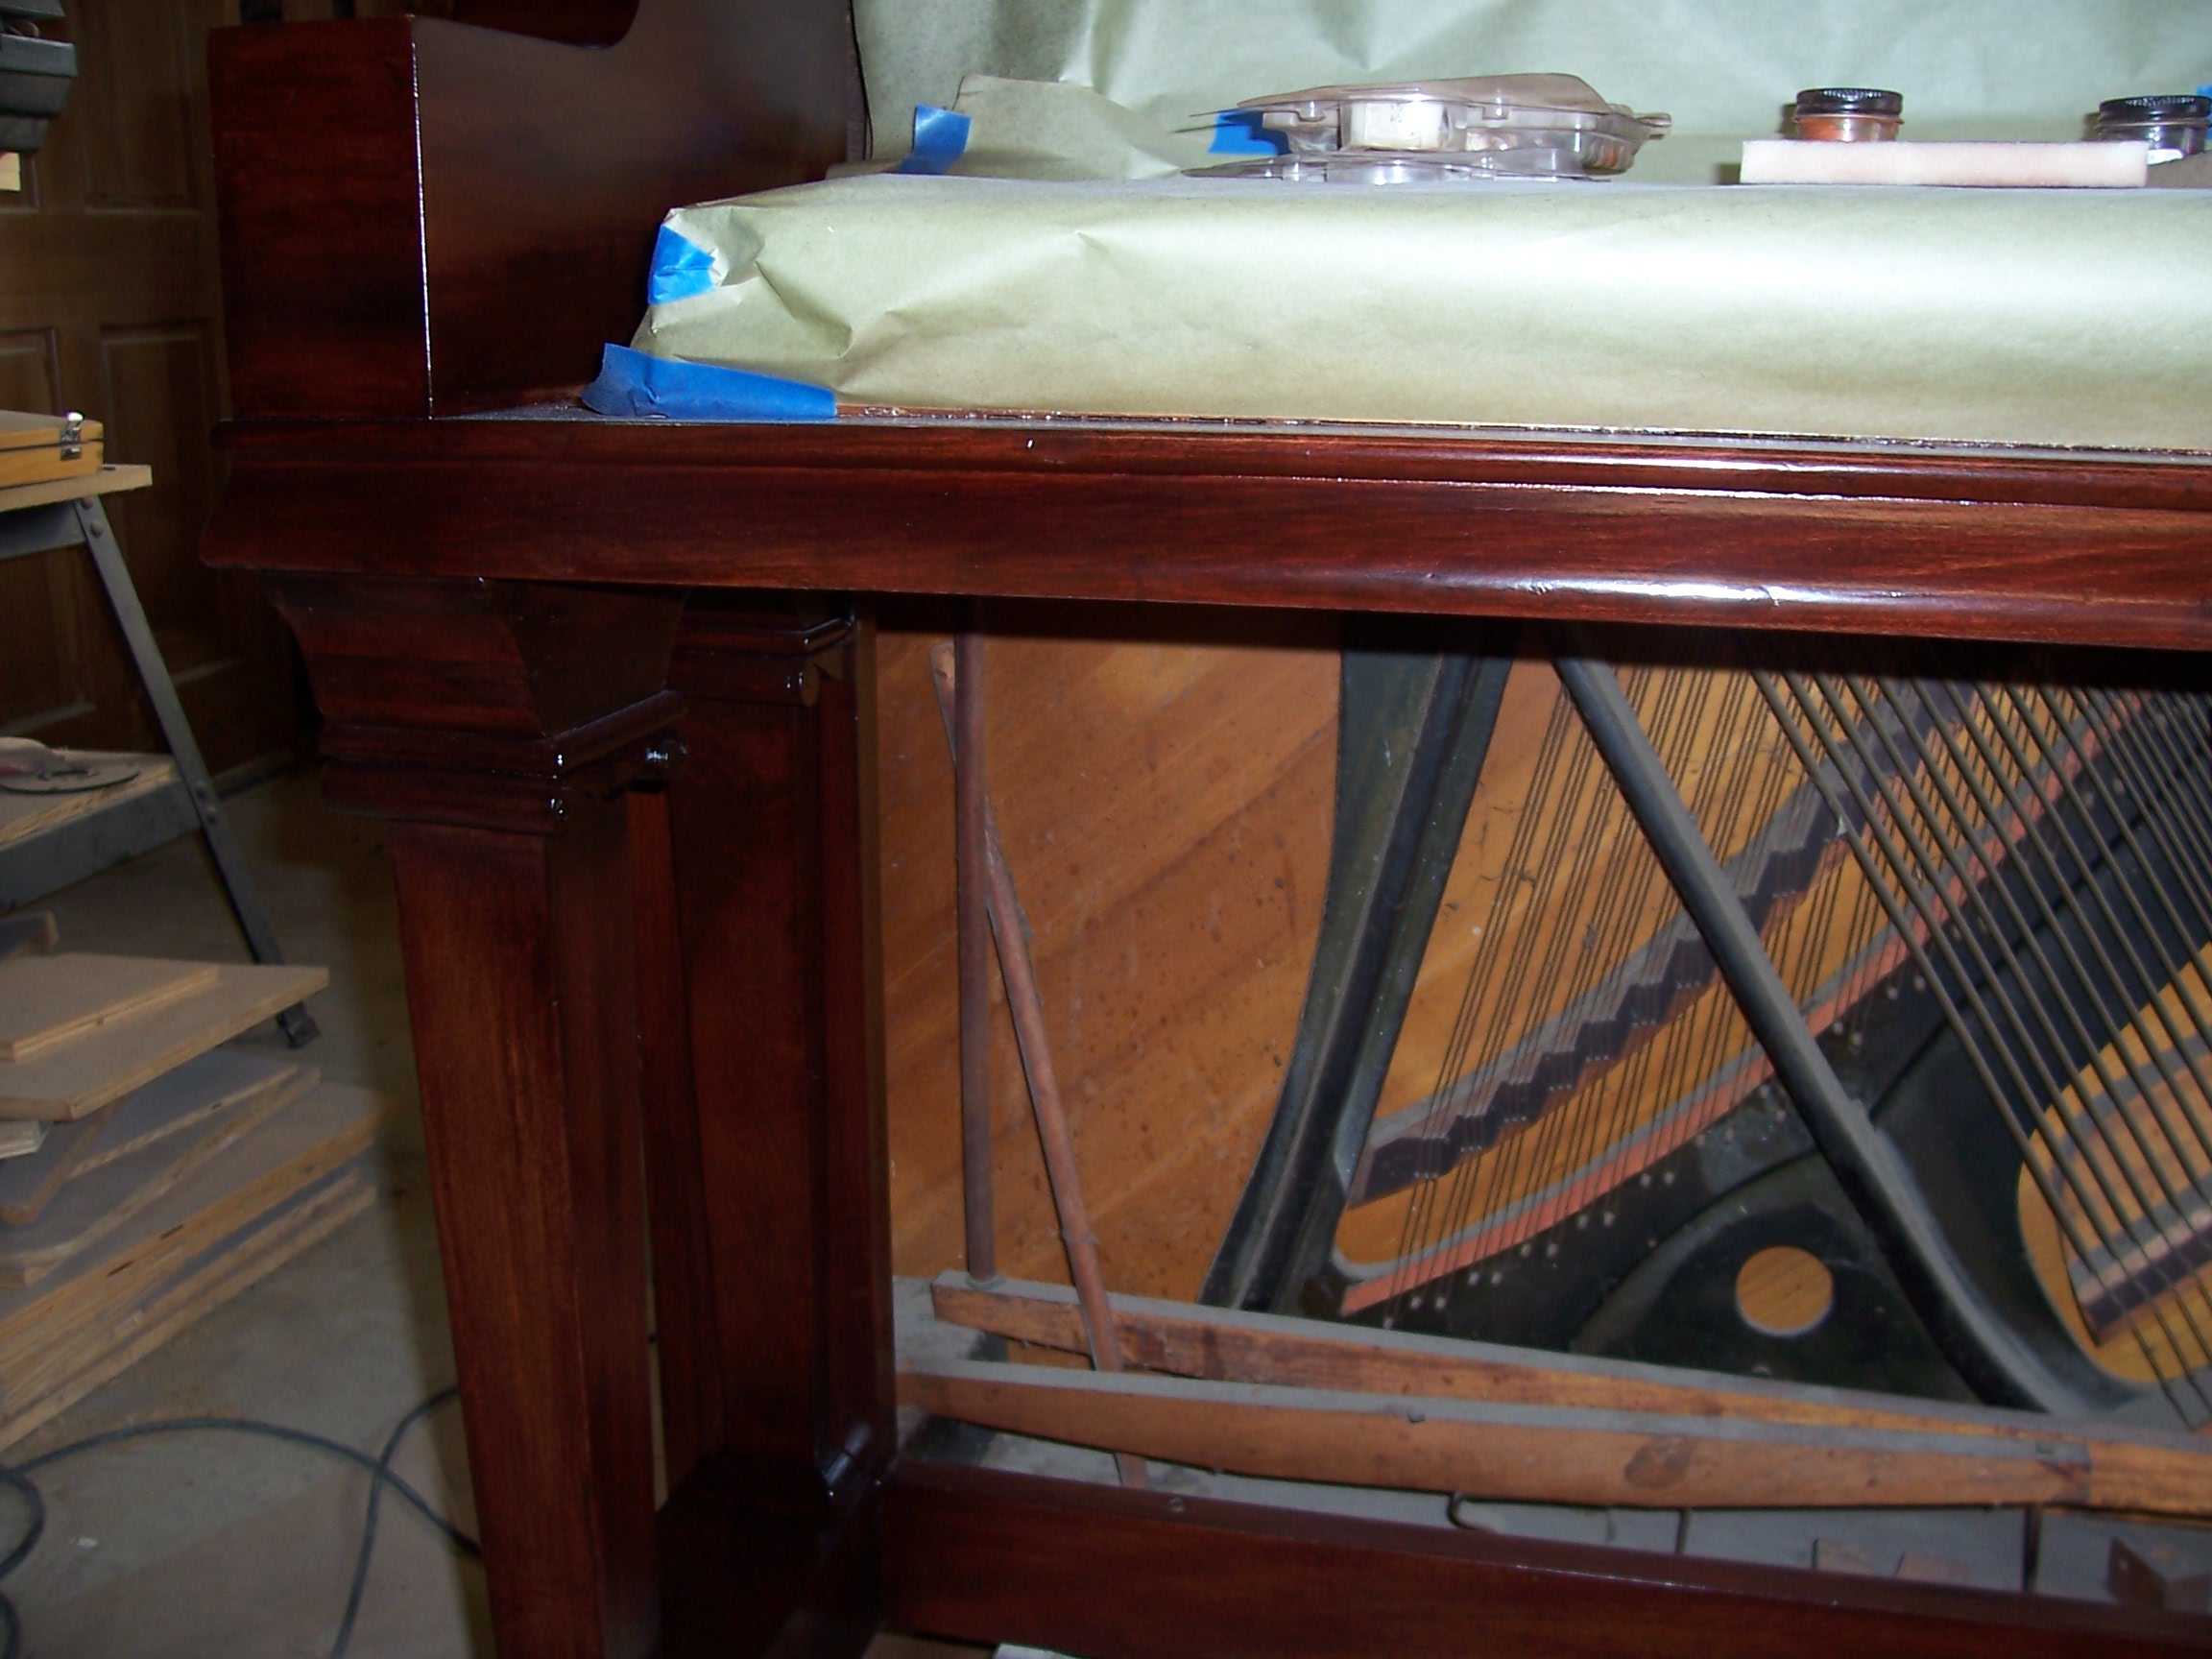
Sometimes things need to get ugly before they get beautiful, and aside from the new veneer (right) on the arm to repair the worn-through spot, most of the dents, gouges and chipped corners get filled with an epoxy putty designed to hold up in these areas without chipping out like conventional fill material. Later, these fills will be sanded back flush, colored to match the surrounding wood, and grain drawn in to make the fills invisible. Naturally, each piece of the piano is removed and individually repaired and finished.
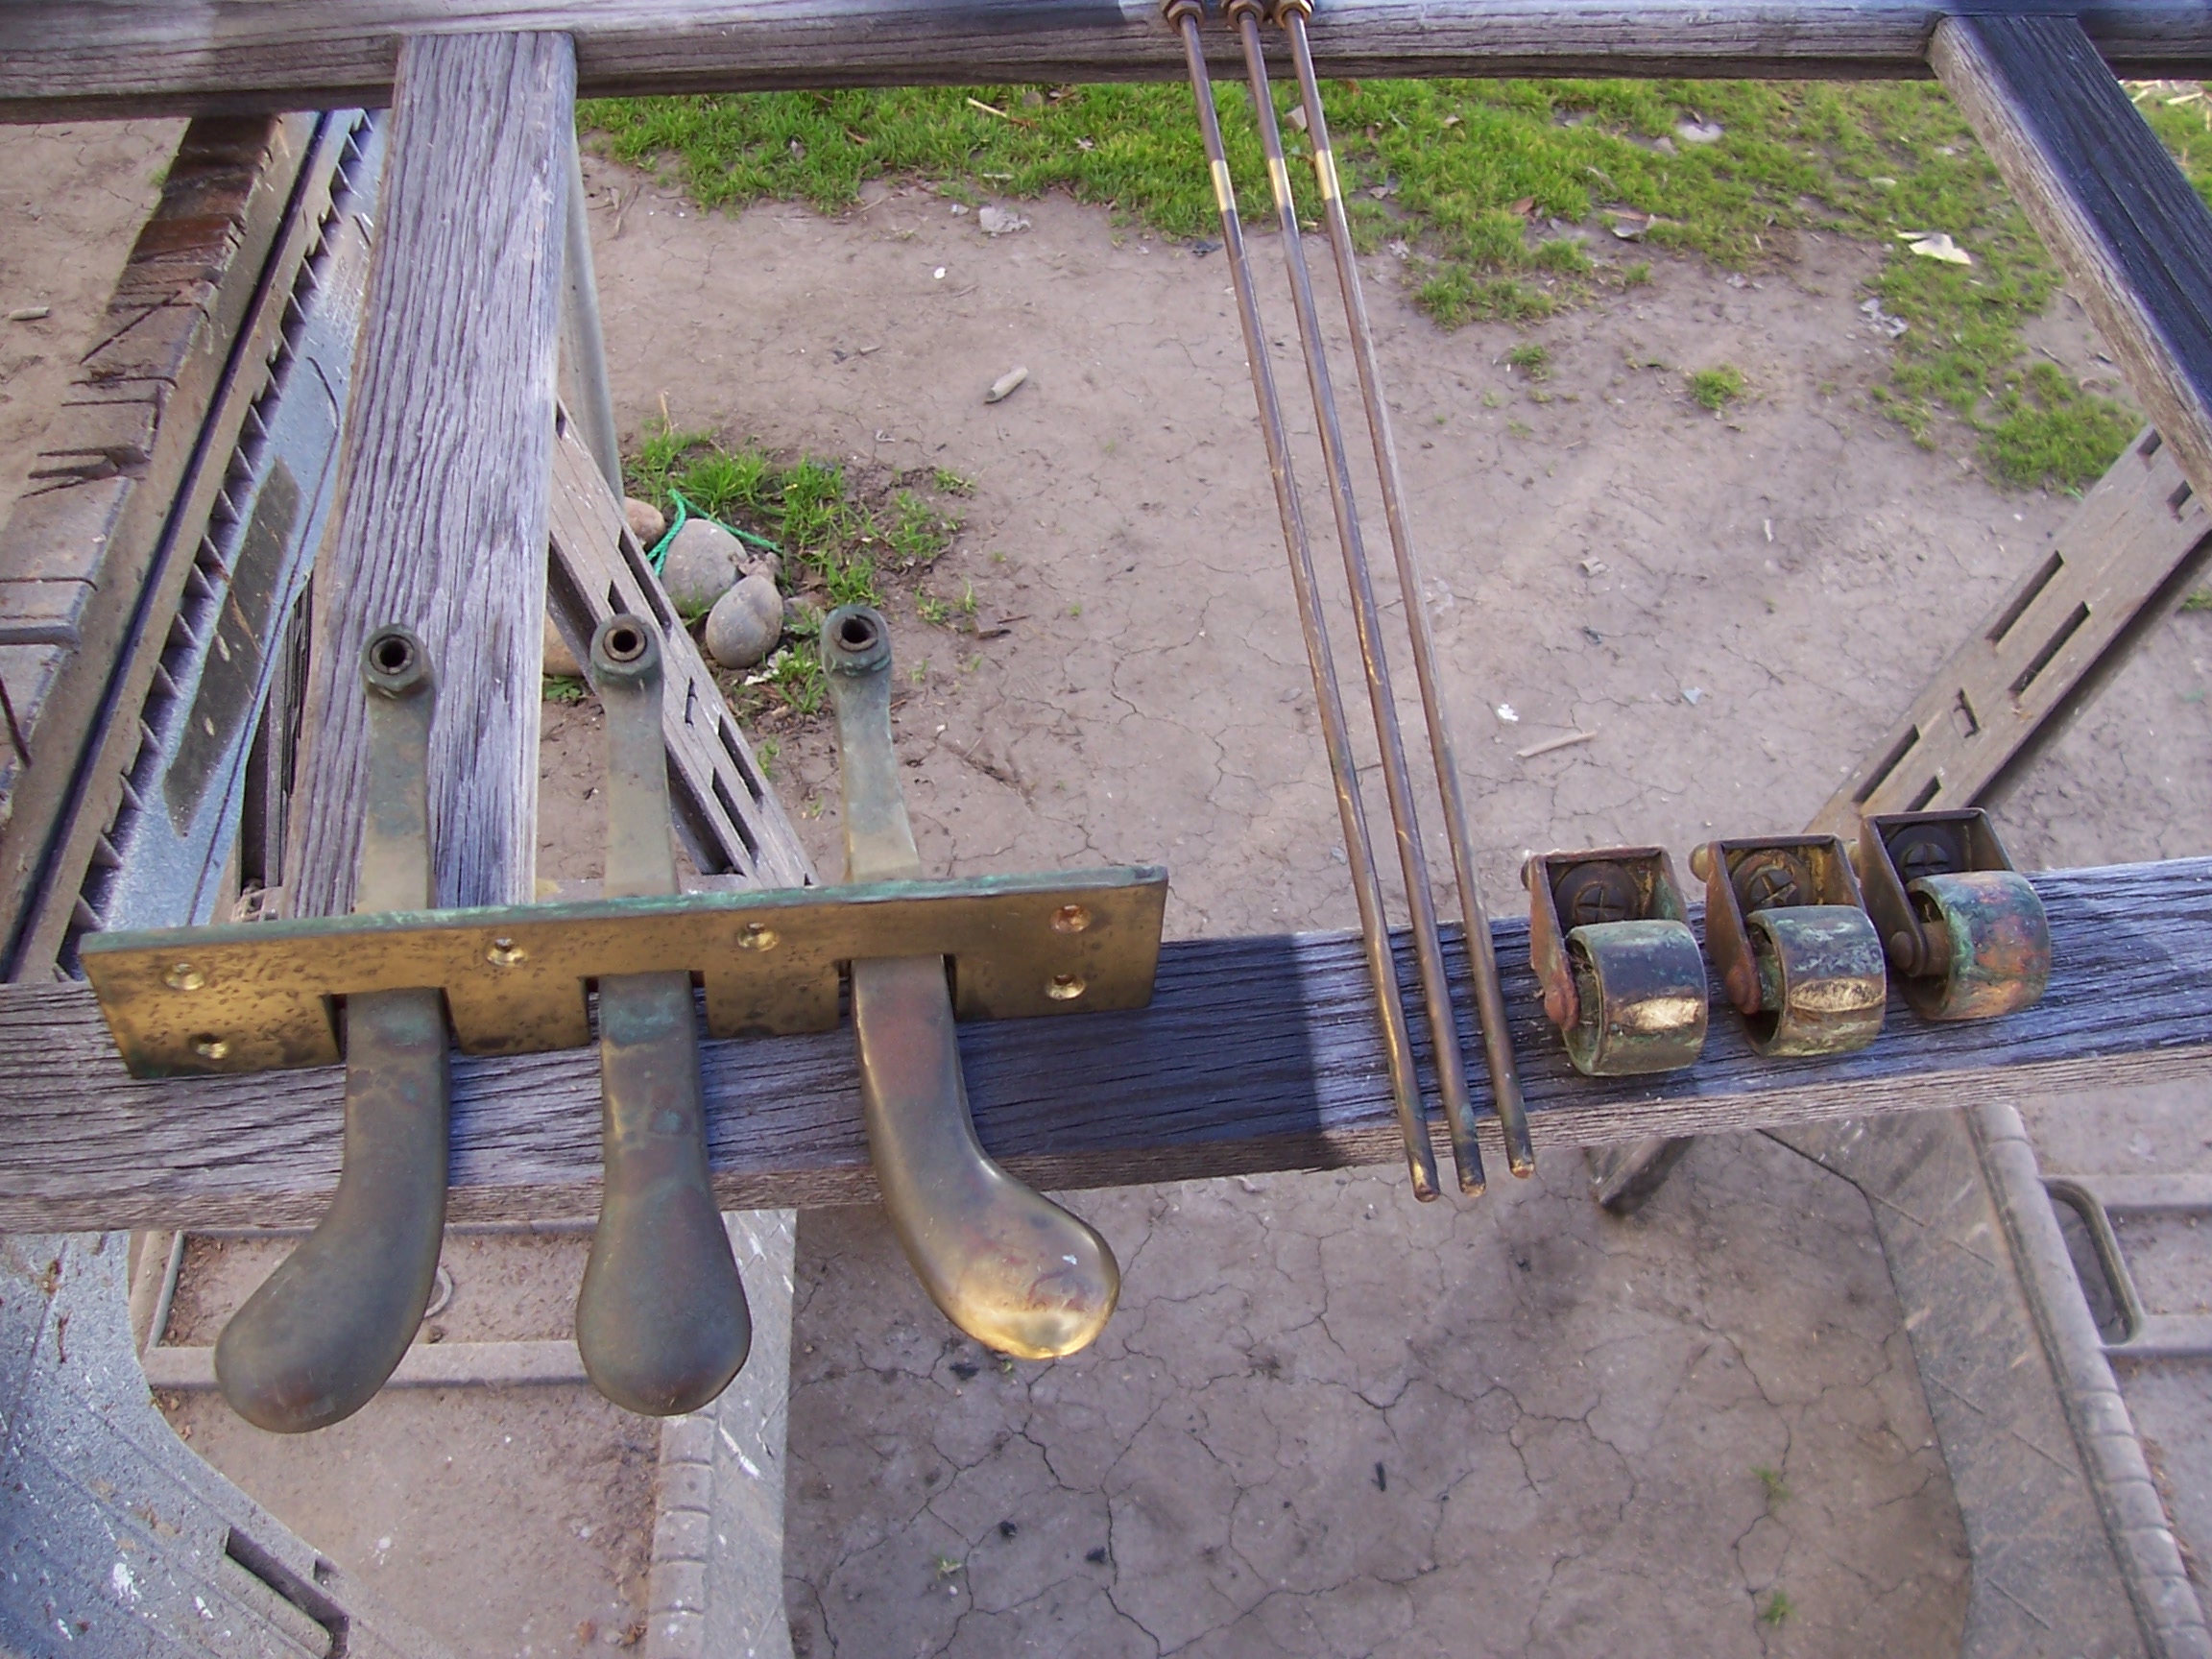
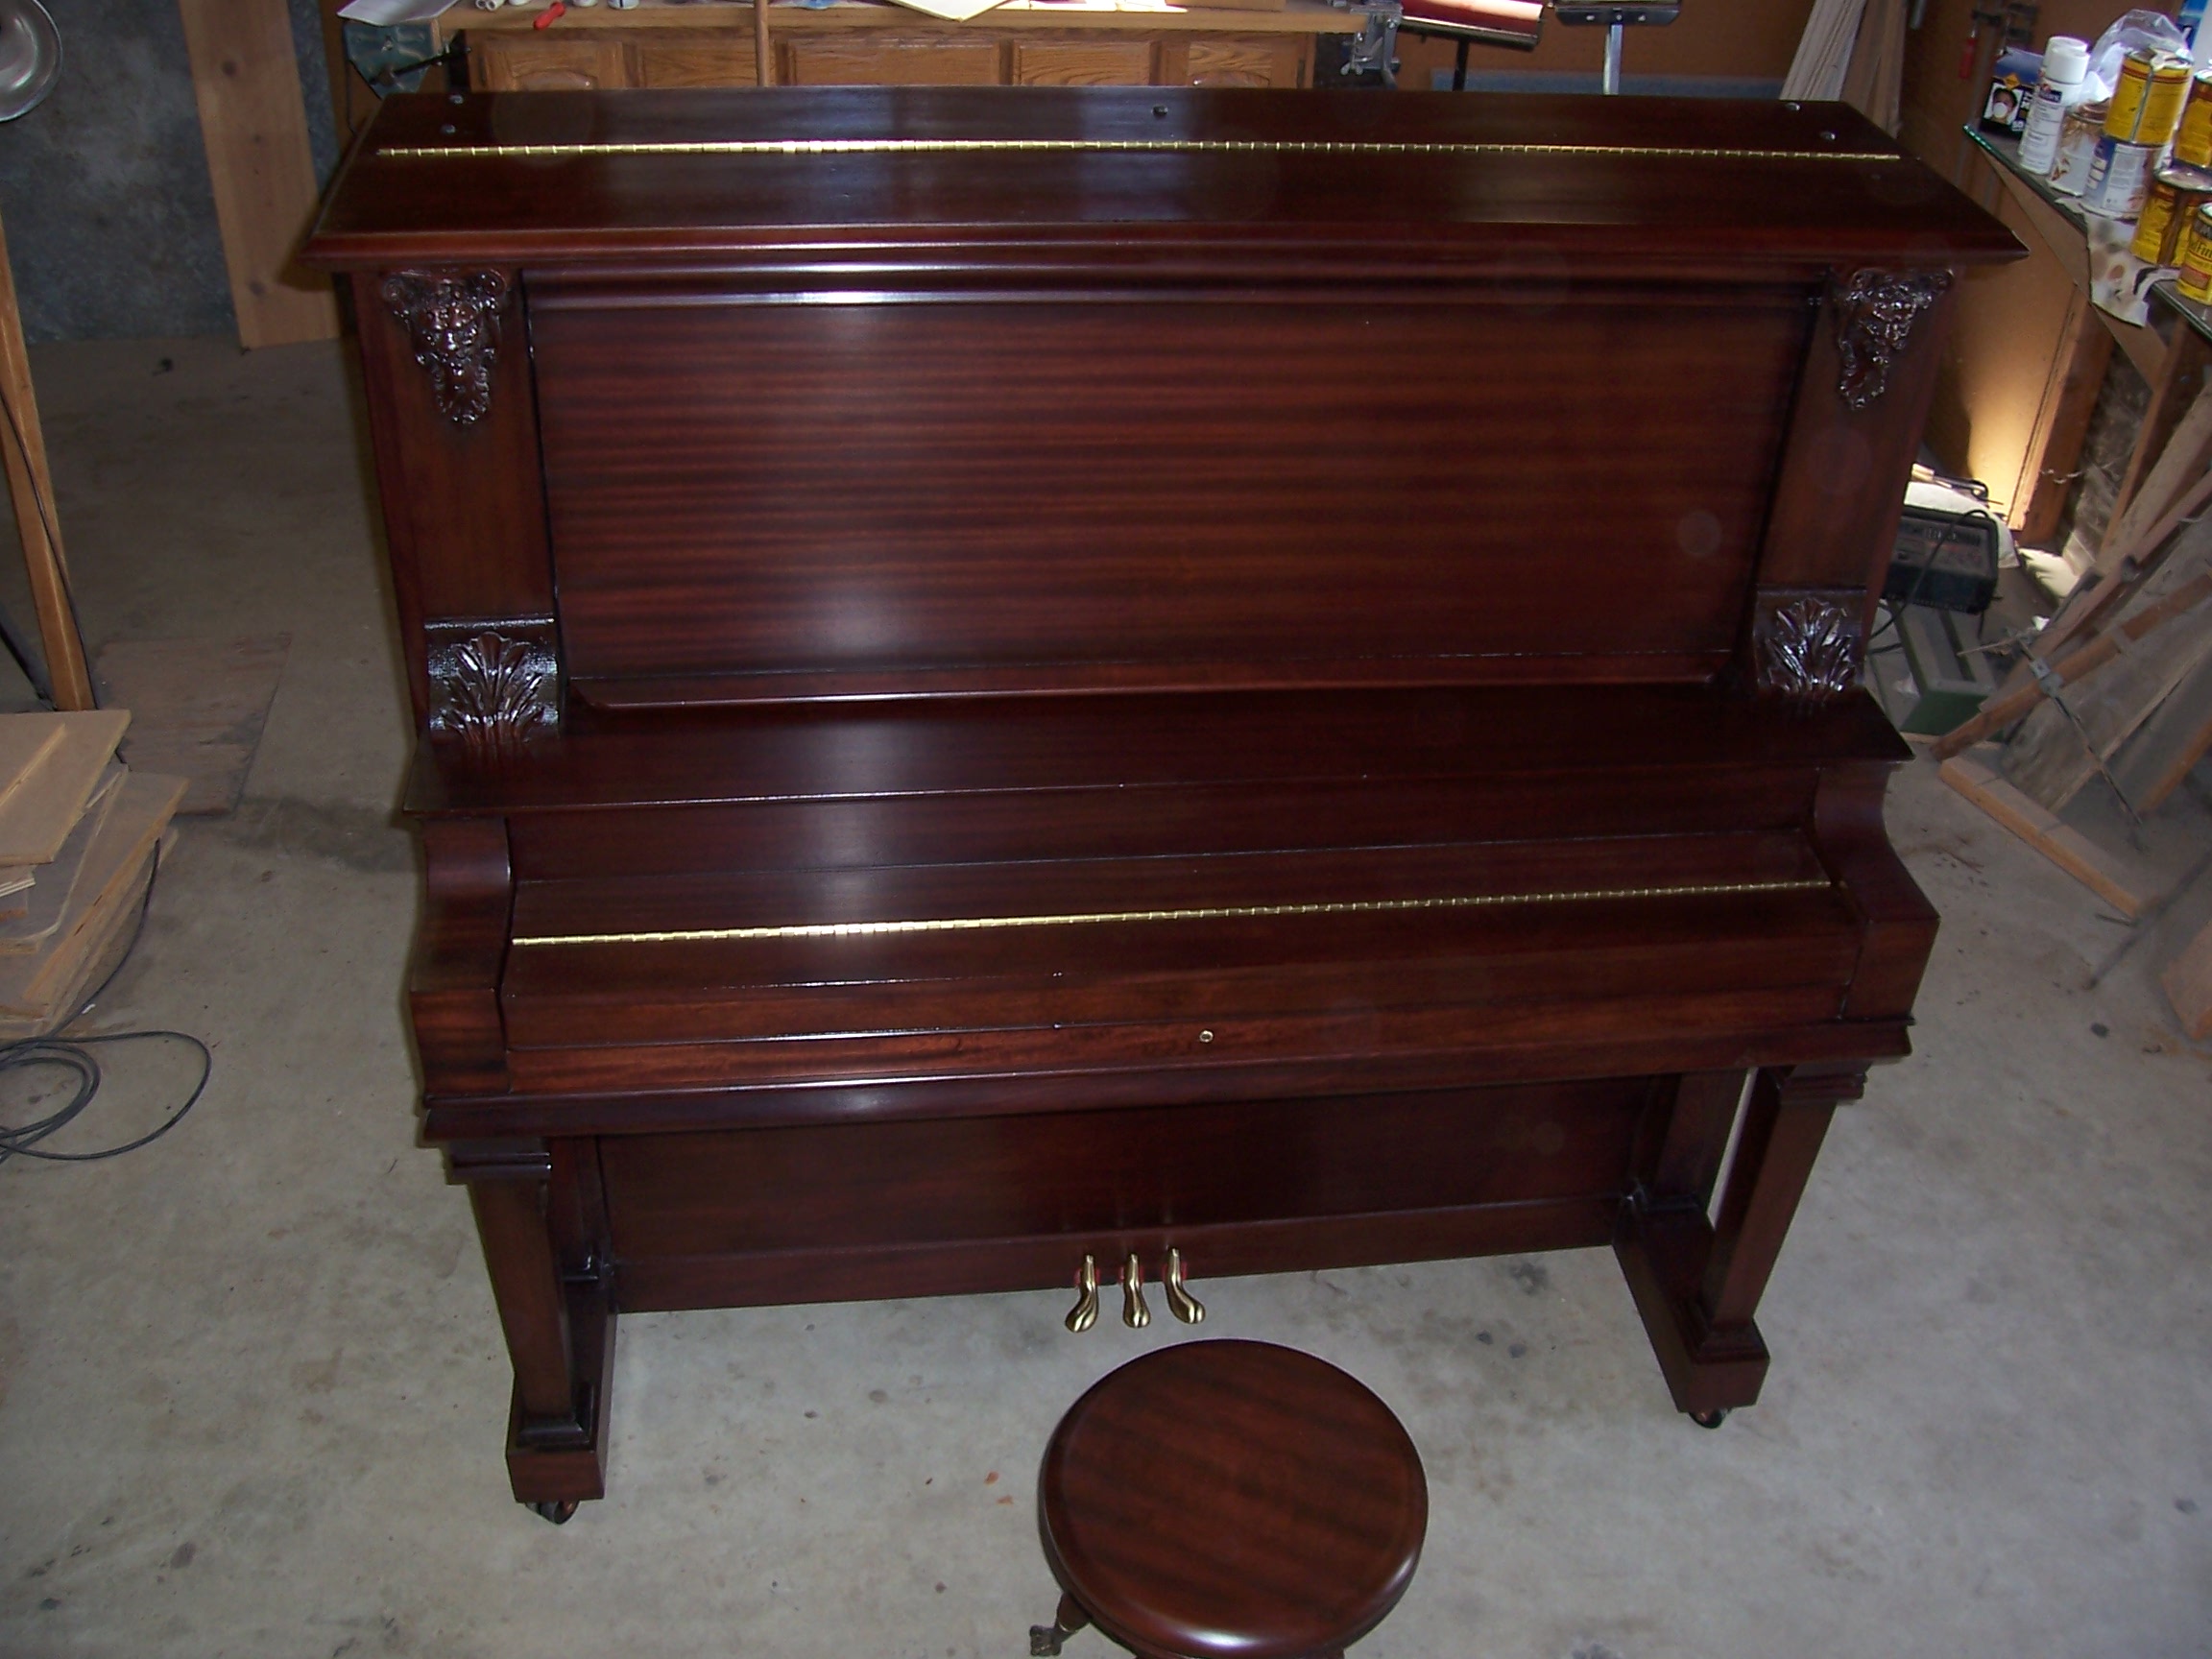
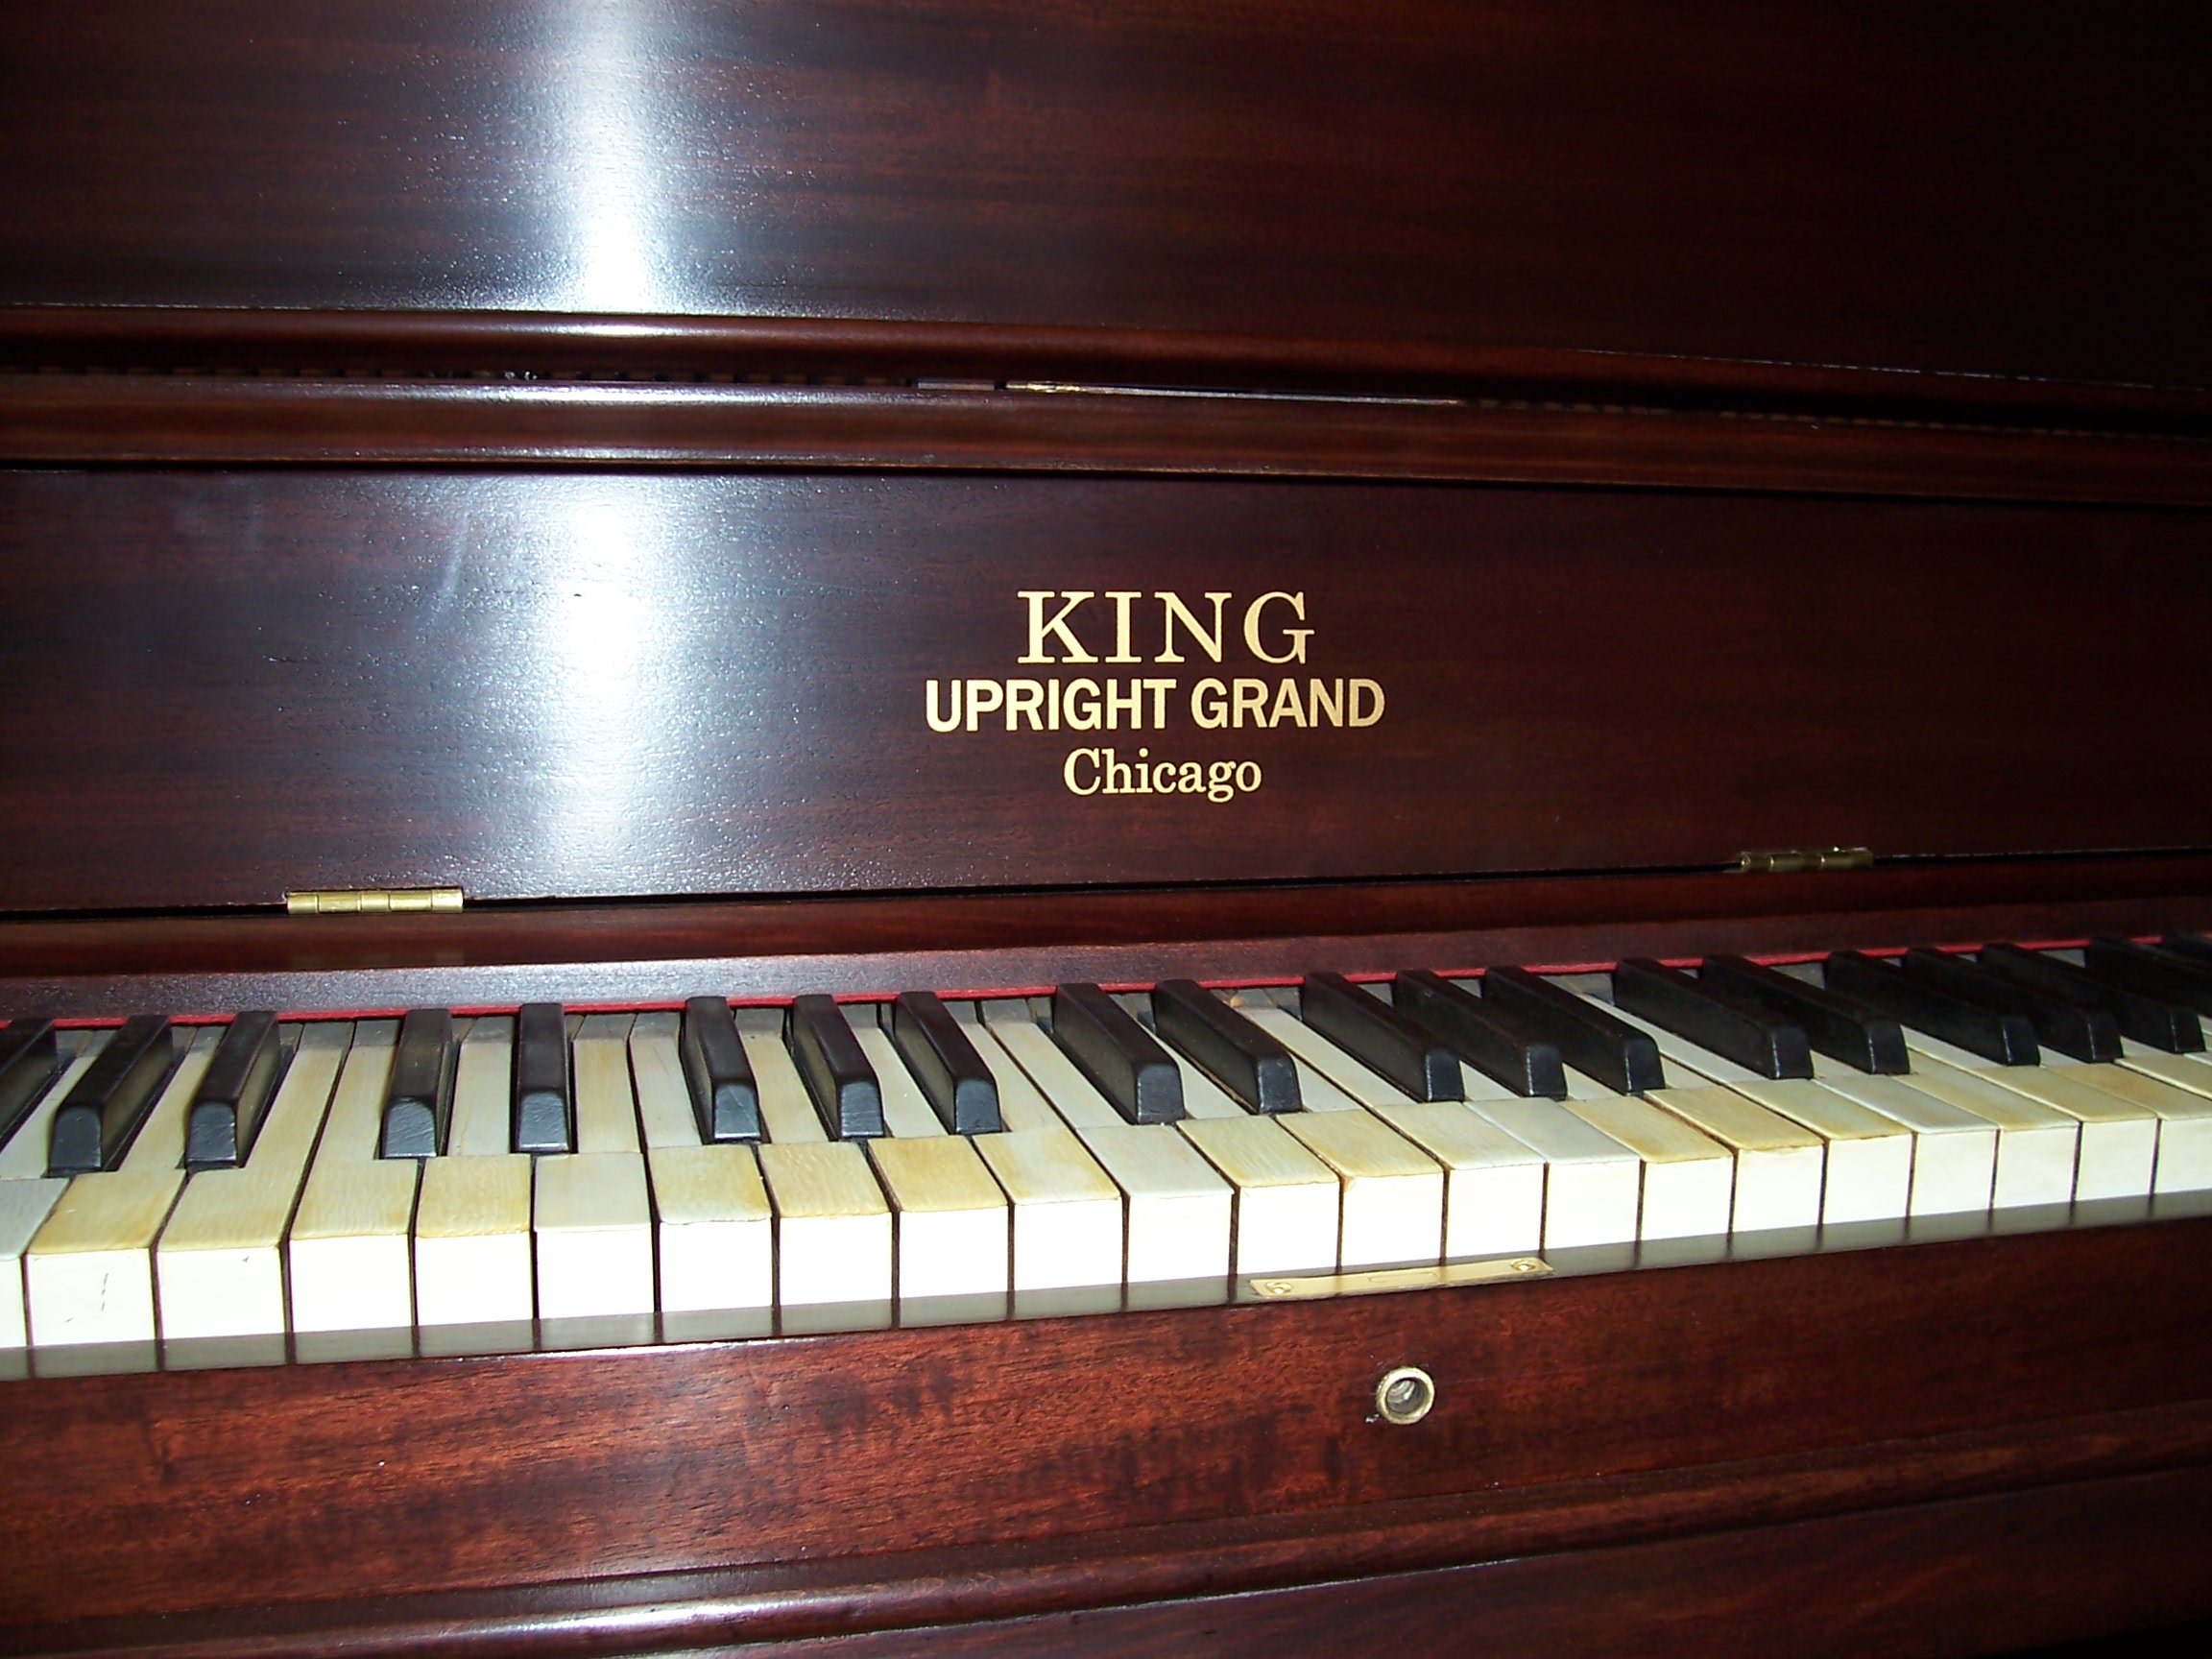
Nice and shiney before the final rubout for the satin finish (above), the repairs have been colored and grained to match. Notice how the natural vibrance of the grain is brought out by proper stain and finish techniques. Below is the finished piano. Corroded nickel-plated hinges and pedals have been replaced with new solid brass pieces. A new fallboard decal, left off during the previous refinish, identifies the piano. The non-matching piano stool has been finished to match, and the striped mahogany (sapeli) has been "faked in"
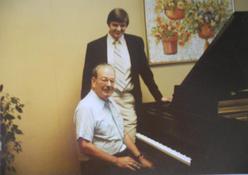
In my tender youth, dressed up for my photo op with John Steinway, then president of the Steinway Piano Co.
CALL TODAY for a free estimate! 951-255-6138
or email photos of your project: paul@paulsfurniturerestoration.com
Serving al of Los Angeles County, Riverside County, Orange County, San Bernardino County, and San Diego County!
Serving all of Los Angeles County, Riverside County, Orange County, San Bernardino County, and San Diego County!